The First Screen of the Object DataSource Wizard appears as shown in Figure 10.1, “Object DataSource Wizard” In this screen the Object DataSource name and schema have to be defined.

The Name of the data source must be unique. Any extra description that is used to describe the data source can be entered in the Description text box.
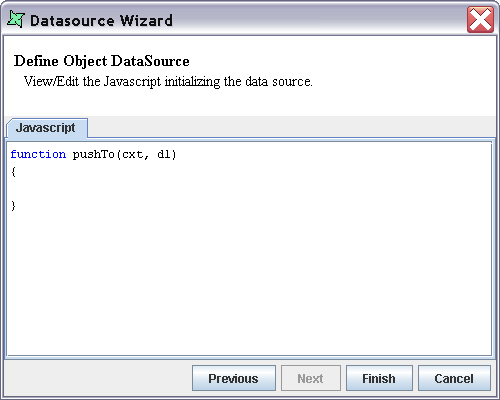
On this page you can define the data class schema by entering the schema and JavaScript manually.
By clicking the Add Column button you can enter the Data class field name and select the corresponding data type from the combo box in the Add Column dialog window. On clicking the OK button the column will be added to the Schema Definition table. You then proceed onto the next screen Figure 10.2, “JavaScript Editor”. Here you can manually enter the JavaScript code to access the fields in the data source.
The JavaScript entered here must conform to the following pattern:
function pushTo(cxt,dl)
{
dl.startData(this);
importClass(Packages.com.dummy.test.Company);
var dIter = Company.getEmployeesAsList();
dIter = dIter.iterator();
while (dIter.hasNext())
{
	rec = this.newRecordInstance();
	data = rec.getData();
	dataObj = dIter.next();
 data[0] = dataObj.getDeparment();
 data[1] = dataObj.getDateJoined();
 data[2] = dataObj.getDesignation();
 data[3] = dataObj.getName();
 data[4] = dataObj.getID();
 data[5] = dataObj.getClass();
 data[6] = dataObj.hashCode();
 data[7] = dataObj.toString();
	dl.processRecord(rec);
}
dl.endData(this);
}
Finally, on clicking the Finish button the Object Data Source will be added to the repository.