Actions
This section provides descriptions on using the available actions for the Repository module.
The type of actions available depends on the type of item being selection, whether it is a folder or a particular type of file. A DocX or RML file allows you to render a report while a DS file allows you to generate a output file.
Access Control
Access control allows you to define which folder and/or files you wish to share with other users in the Repository module.
In order for other users to access the sub-folder and the files in it, you need to grant access to its parent folder. The basic rules are:
- To read a file or folder, all parent files/folders must also be readable.
- To write/modify/delete a file or folder, all parent files/folders must be readable and the target (file or folder) must be writable.
By default, the access control is defined at the <Username> folder, with read and write access. The sub-folders uses the defined access control of its parent folder, unless being defined at its level.

If you wish to grant read access of a sub-folder to another user, the reader access of the parent folder must be first given to the user. This will enable the user to “see” the parent folder. If the sub-folders follows the access control of its parent folder, the user will be have the read access to the sub-folder. All files in these folders will be readable to the user as well.
You are not allowed to remove write access to a folder or file where you cannot undo it. For example, removing write access from your own /User/<Username> folder. You will not be able to add yourself back again.

Another example, UserA belongs to a role “Sales”. “Sales” has write access to ProjectA folder. If UserA removes write access of “Sales” to ProjectA folder, the above error message will appear. But if UserA adds itself with write permission to ProjectA folder, then removes “Sales” write access, then this action is permitted.
Administrators with mod-repository-admin privilege will never see this message, as they can always write access to anything folder or files.
Example 1
In this example, UserA has 2 sub-folders (ProjectA and ProjectB) in the /User/UserA/ folder, in which UserA wish to give UserB read access to ProjectA folder only.
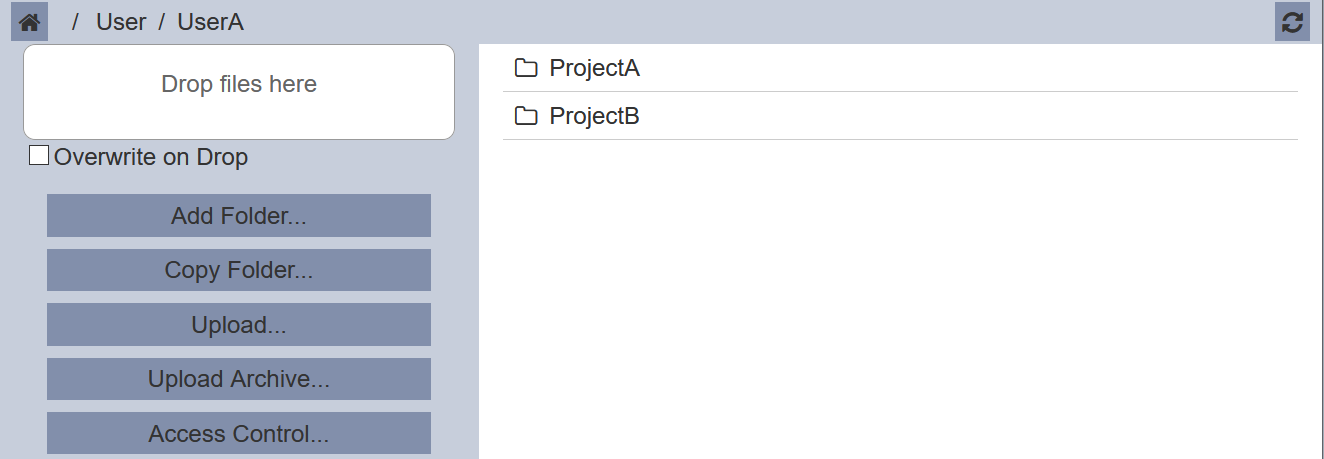
First, UserA need to grant UserB read access to the UserA folder. That will allow UserB to have read access to the UserA folder and the sub-folders under it, as the sub-folders uses the defined access control of its parent folder. To do so, click on the “Access Control” button on the Action Panel.
Click on the “+” icon in the “Access Control” dialog box. The “Users and Roles” dialog box will appear to allow UserA to add other users and/or roles to the selected folder.

The first drop-down list contains the options of either Roles, Users and All. In this case Users is selected as UserA just want to grant access to UserB. The content in the second drop-down list will change according to your selection. Since Users is selected, the drop-down list will display all the available users. Select UserB from the drop-down list. Click on the “OK” button to save the changes. Click on the “Cancel” button to abort the action.
Once UserB is added, by default, only `“Reader” access is granted. To grant write access, select the checkbox under the “Writer” column in the “Access Control” dialog box. You can also remove the user by clicking on the  icon corresponding to the desired user. Click on the “OK” button in the “Access Control” dialog box to save the changes.
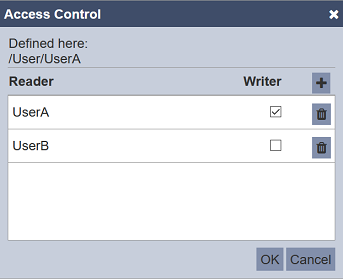
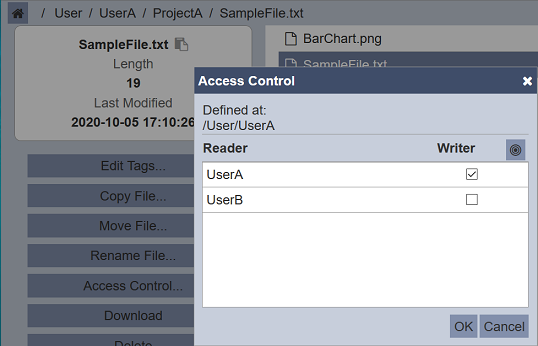
Right now all sub-folders uses the defined access control of their parent folder, which is /User/UserA. To limit UserB’s access to only ProjectA folder, select ProjectB folder and click on the “Access Control” button in the Action Panel.
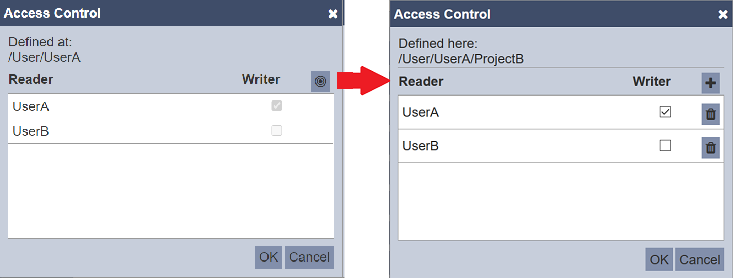
Here you will see the  “Define Here” icon instead of the “+” icon on the right. This indicates that this folder uses the access control defined at its parent folder
 /User/UserA.
Click on the icon to define the access control at this folder level, which is ProjectB folder. To remove reader access for UserB, click on the icon on the right, corresponding to UserB row. Click on the “OK” button to save the changes or click on the “Cancel” button to abort the action.
Now ProjectB folder is not accessible to UserB. The folders that UserB can access are UserA folder and its sub-folder ProjectA. The files in ProjectA folder will use the defined access control for ProjectA folder, in this case, reader access. The ProjectB sub-folder is hidden from UserB.

Example 2
Using the example above, UserB has the read access to ProjectA folder. Now UserA want to grant UserB the write access to one of the files in ProjectA folder.
To do so, select the desired file and click on the “Access Control” button in the Action Panel.
Click on the icon to define the access control for the file.
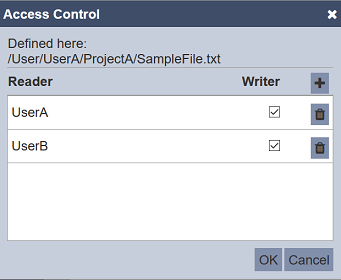
Select the checkbox under the Writer column, corresponding the UserB row. Click on the “OK” button to save the changes.
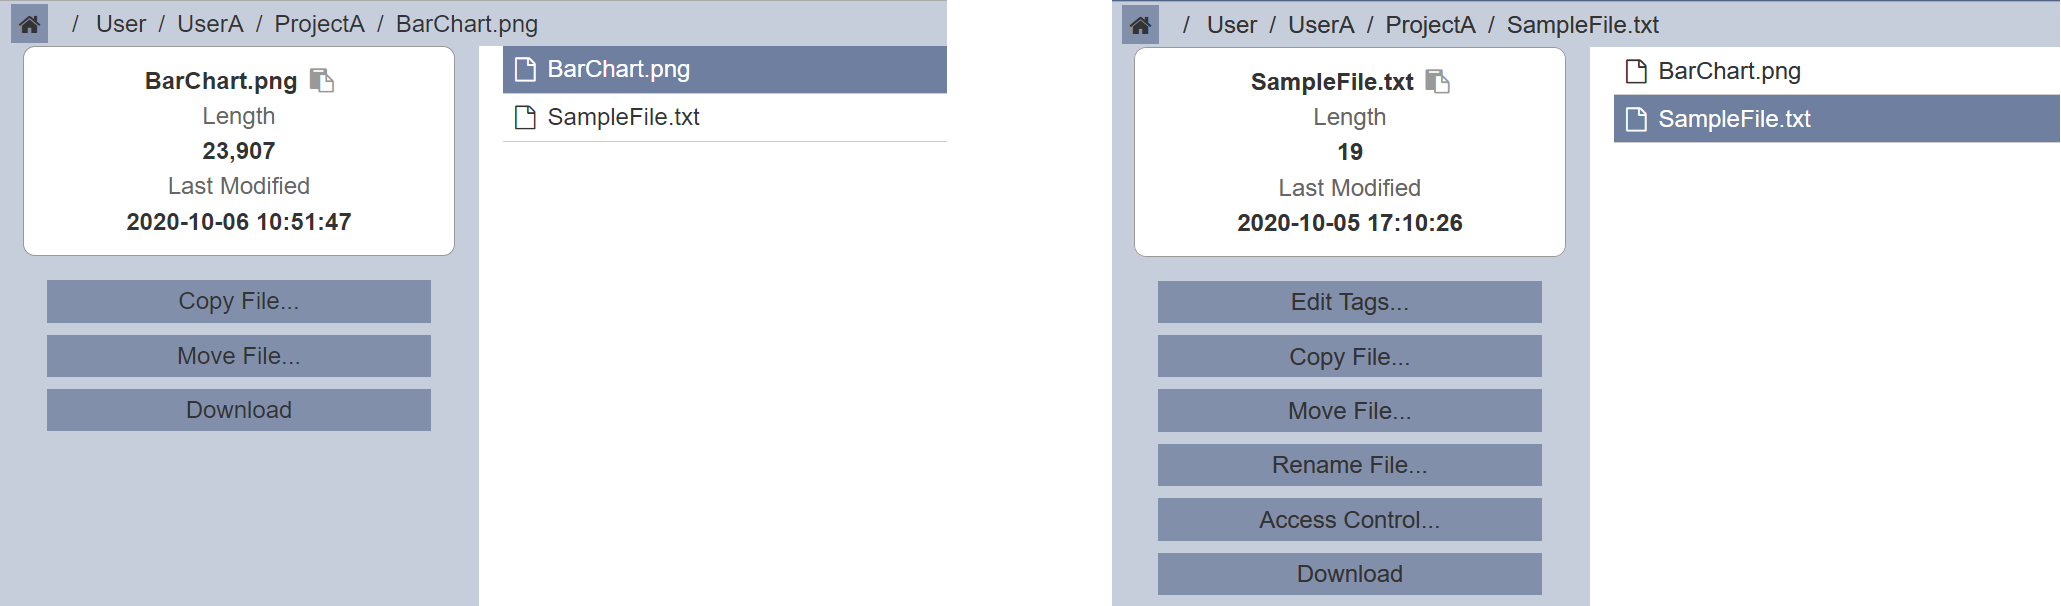
Now UserB has read and write access to the SampleText.txt file and read access to the BarChart.png file in the ProjectA folder.
Add Folder
To add a folder, select the desired parent folder. Click on the “Add Folder” button on the Action Panel and the “Add Folder” dialog box will appear.
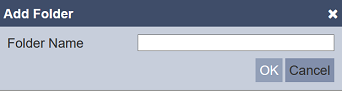
In the “Folder Name” field, key in the desired folder name and click on the “OK” button to create the new folder. Click on the “Cancel” button to abort the action. The folder name must be unique, otherwise an error message will appear.

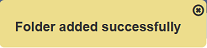
Upon creating the new folder, a notification will appear.
This new folder will follow the access control defined for its parent folder.
Copy File / Copy Folder
This copy function allows you to copy a file or folder from the current location to the desired target location. Do note that you cannot copy a folder to the child of itself.
To copy a file from one location to another, select the desired file and click on the “Copy File…” button in the Action Panel. The “Copy File” dialog box will appear.
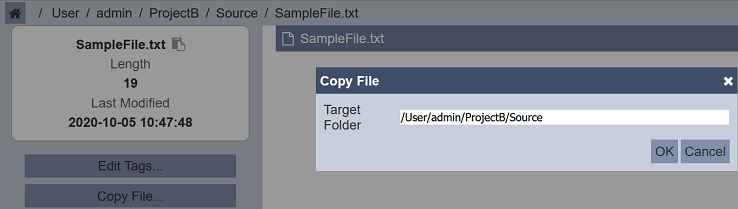
By default, the parent folder of the selected item is displayed in the “Target Folder” field. Rename the path to the desired location. Click on the “OK” button to copy the file to the target location. To abort, click ont the “Cancel” button.
If the target folder does not exist, an error message will appear.

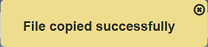
Once the file is copied successfully, a notification will appear. Below is an example.
A suffix will be automatically appended at the end of the file name if there is an existing file with the same name. For example, if a file named Example.txt exist in a folder. When another file with the same name is copied into the same folder, the file will be appended with a suffix (Copy). The new file name will be Example.txt(Copy). If Example.txt is copied into the folder again, the new file name will be Exapmle.txt (Copy 2), etc.
The same applies to folders.
Delete File / Delete Folder
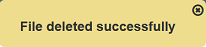
To delete a file, click on the “Delete File…” button in the Action Panel. Upon successful deletion, a notification will appear.
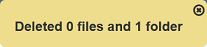
To delete a folder, click on the “Delete Folder” button in the Action Panel. A dialog box will appear to notify you how many sub-folders and files will be deleted along with the selected folder.

To confirm deletion, click on the “OK” button. To abort, click on the “Cancel” button. Upon successful deletion, a notification will appear.
Do note that there is no undo for this action for both file and folder.
Download
To download a file, click on the “Download” button in the Actions Panel. Once the file starts to download, a notification will appear.

Download Zip
This function allows you to select a folder and download its contents, including its sub-folders and files into a zip file.
to download the folders and files, sleect the desired folder and click on the “Download Zip” button in the Action Panel. Once it starts to download, a notification will appear.

Drop Files Here
The “Drop files here” acts as add file function in the Repository module.
Simply drop and drop any file into the selected folder.

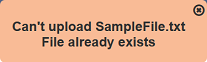
If the file with the same name already exists, an error message will appear.
To overwrite an existing file, select the “Overwrite on Drop” checkbox and you will be able to overwrite the existing file.
Edit Tags
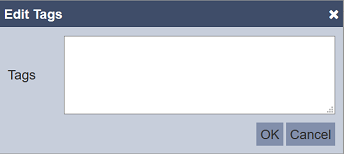
Select the desired file, to create or edit a tag, click on the “Edit Tags…” button in the Action Panel. The “Edit Tags” dialog box will appear. Key in the desired text and click on the “OK” button.
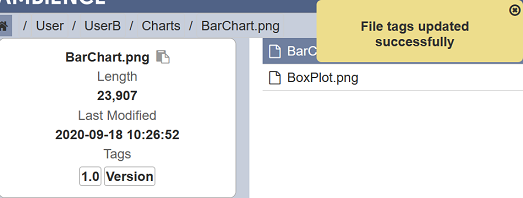
Once the tag is created or edited, the tag will be added to the file and a message will appear.
Generate
This function allows you to generate either a output file from a datasource (DS) file. You will need to have mod-ds-engine privilege to access the datasource engine.
To do so, select the desired DS file and click on the “Generate…” button in the Action Panel. The “Datasource Engine” page will appear.

In the “Generate as” field, select the desired output file type (JSON, CSV and XLSX). In the “To” field, select the desired output location (either open with a browser or save to disk). Click on the “Generate” button to generate the output.
Do note that currently not all DS file type is supported. An error message will appear if the DS file type is selected.

Move File / Move Folder
The Repository module allows you to move a file or folder from one location to another. When moving a folder, its sub-folders and file get moved along as well. Do note that you cannot move a folder to the child of itself.
Below is an example of moving a file from one location to another location. Click on the “Move File…” button on the Action Panel. The “Move File” dialog box will appear.
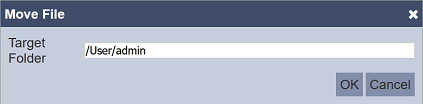
By default, the path /User/<Username> is displayed in the “Target Folder” field. Key in or select the desired path from the drop-down list and click on the “OK” button to move the file. Click on the “Cancel” button to abort the action.
If the target folder does not exist, an error message will appear.
Once the file is moved successfully, a notification will appear.

The above applies to a folder as well.
The table below tabulates the messages or notifications that may occur.
| Message | Description | Type |
|---|---|---|
| |
Target folder does not exist. | File / Folder |
 |
File with same filename exists in target folder. | File |
| |
File moved successfully. | File |
 |
Target folder already exists. | Folder |
 |
Folder moved successfully. | Folder |
Rename File / Rename Folder
The Repository module allows you to rename the file or folder you own or those that you have write access to. The file or folder name must be unique.
Below is an example of renaming a file. To rename a file, click on the “Rename File…” button in the Action Panel and the “Rename” dialog box will appear.
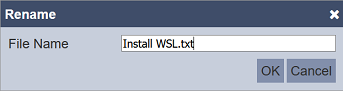
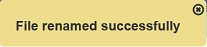
Amend the file name as desired (must not exist) and click on the “OK” button. To abort, click on the “Cancel” button. Once the file is successfully renamed, a notification will appear.
If the new file name already exists in the folder, an error message will appear.

The above applies to folders as well.
Render
For DocX and RML files, there is a “Render” action available for them. The mod-docx-engine privilege is required to access the DocX Report Engine. Whilst the mod-rml-engine is required to access the RML Report Engine.
To render a report, select the appropriate DocX or RML file. Click on the “Render” button in the Action Panel and the appropriate Report Engine page will appear.
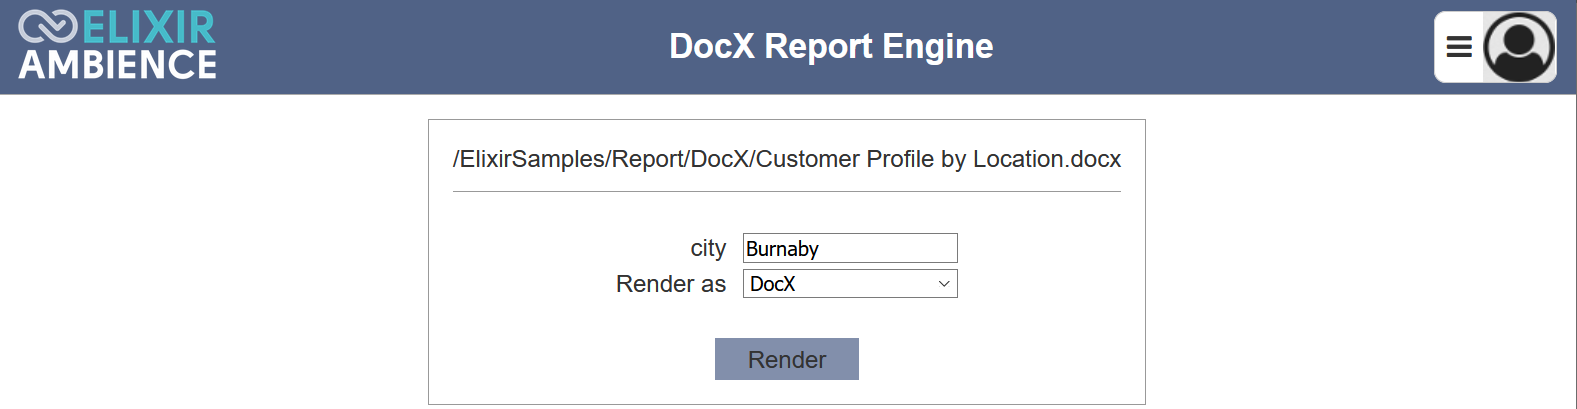

Select the appropriate options and click on the “Render” button to generate the report. To abort, close the Report Engine page.
Upload
This function allows you to add any file onto the Repository.
To upload a file into the Repository folder, select the desired folder and click on the “Upload” button in the Action Panel. The “Upload” dialog box will appear.

Browse to the location of the file to be uploaded and click on the “OK” button. Click on the “Cancel” button to abort the action.
If the file already exists, an error message will appear.

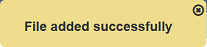
Upon successful uploading, a notification will appear.
Upload Archive
This Upload Archive function allows you to upload an archived file onto the repository and extract the folders and files in the archived file.
To upload an archived file, select the desired folder to upload and click on the “Upload Archive” button in the Action Panel. The “Upload Archive” dialog box will appear.
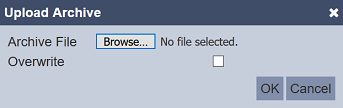
Browse to the location of the archive file and click on the “OK” button.
If the folders and files already exists, an error message will appear.

Upon successful uploading, a notification will appear.