Imports
Description
The Imports Module provides the most straightforward way to load data into any MongoDB instance that Ambience has write access to. Simply prepare a file (e.g. XLSX, CSV, JSON, etc.) and import it into a MongoDB collection. The collection (in the default and recommended config) is easily accessible through the Ambience modules, such as ETL, Datasets and Dashboards modules.

Import
The Import page provides a wizard-like process which allows you to perform the following:
- Import new data into the database
- Append data onto an existing data collection
- Overwrite data of an existing data collection
To import the data, browse to the location of the data file or simply drag and drop the data file to the “Drop Files Here” portion.
The name of the data file will appear next to the “Browse” button. To upload the data file, click on the “Upload” button. 
If the format of the file selected is not supported, an error message will appear. 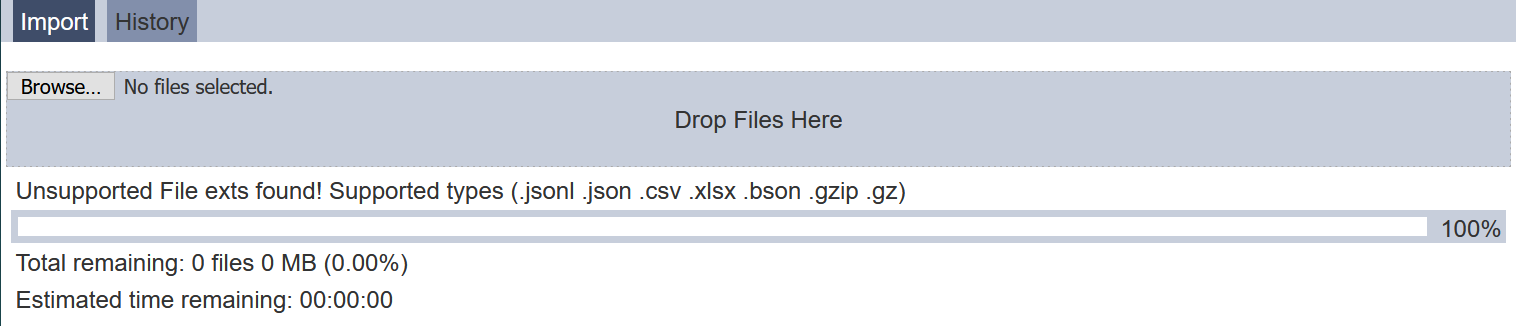
The progress of the upload is displayed in the page. If the size of the data file is too small, the progress page may not noticeable. 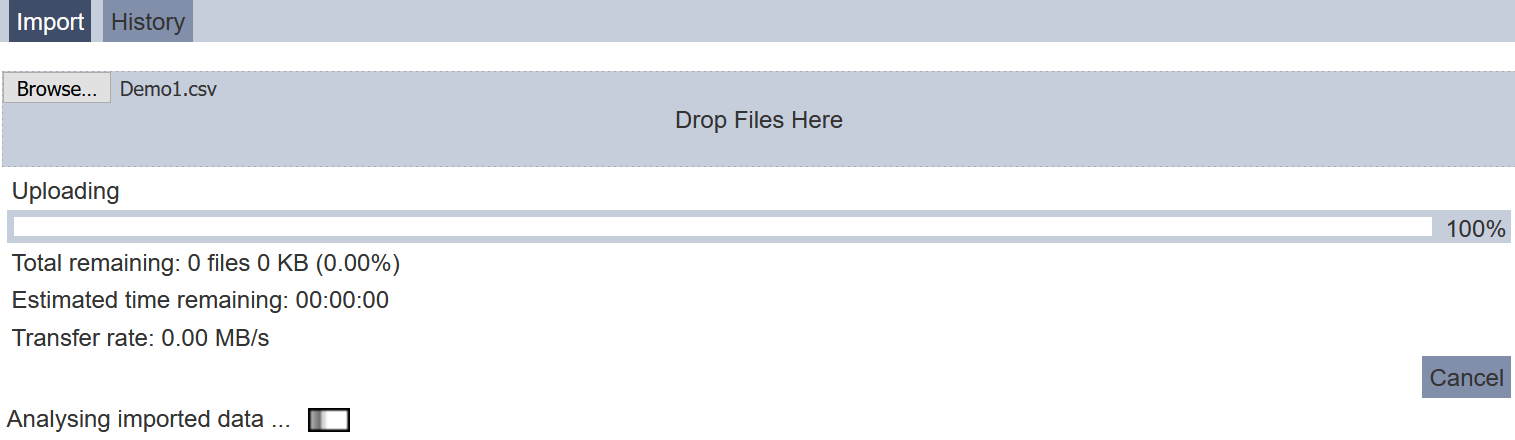
Once the upload is completed, the data file or the list of data files (if a zip file is selected) will be displayed. By default all data files are selected. You can choose which data file to upload by deselecting the unwanted data files under the “Import” column. 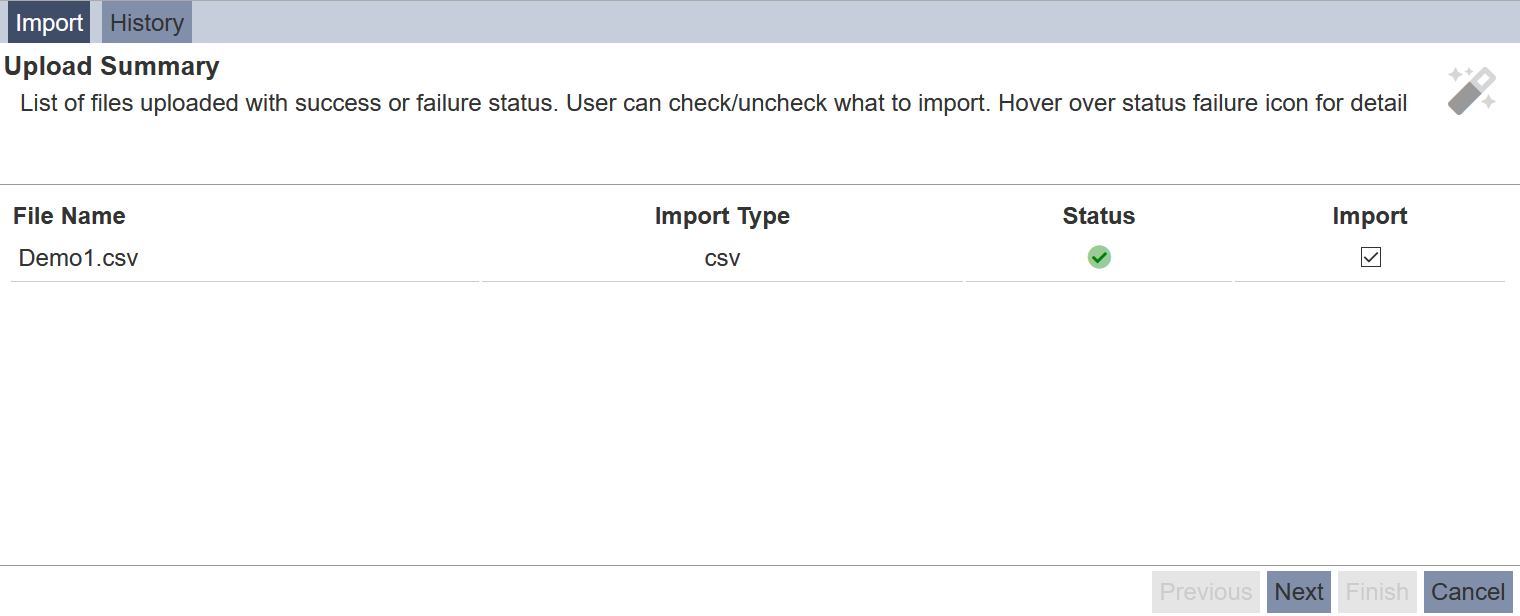
The top portion of the page displays message informing you the purpose of the current page, as well as hint or error message, such as which field has incorrect information. Once the selection is completed, click on the “Next” button at the bottom left of the page.
In the next page, the details for the uploaded file are required to be provided. 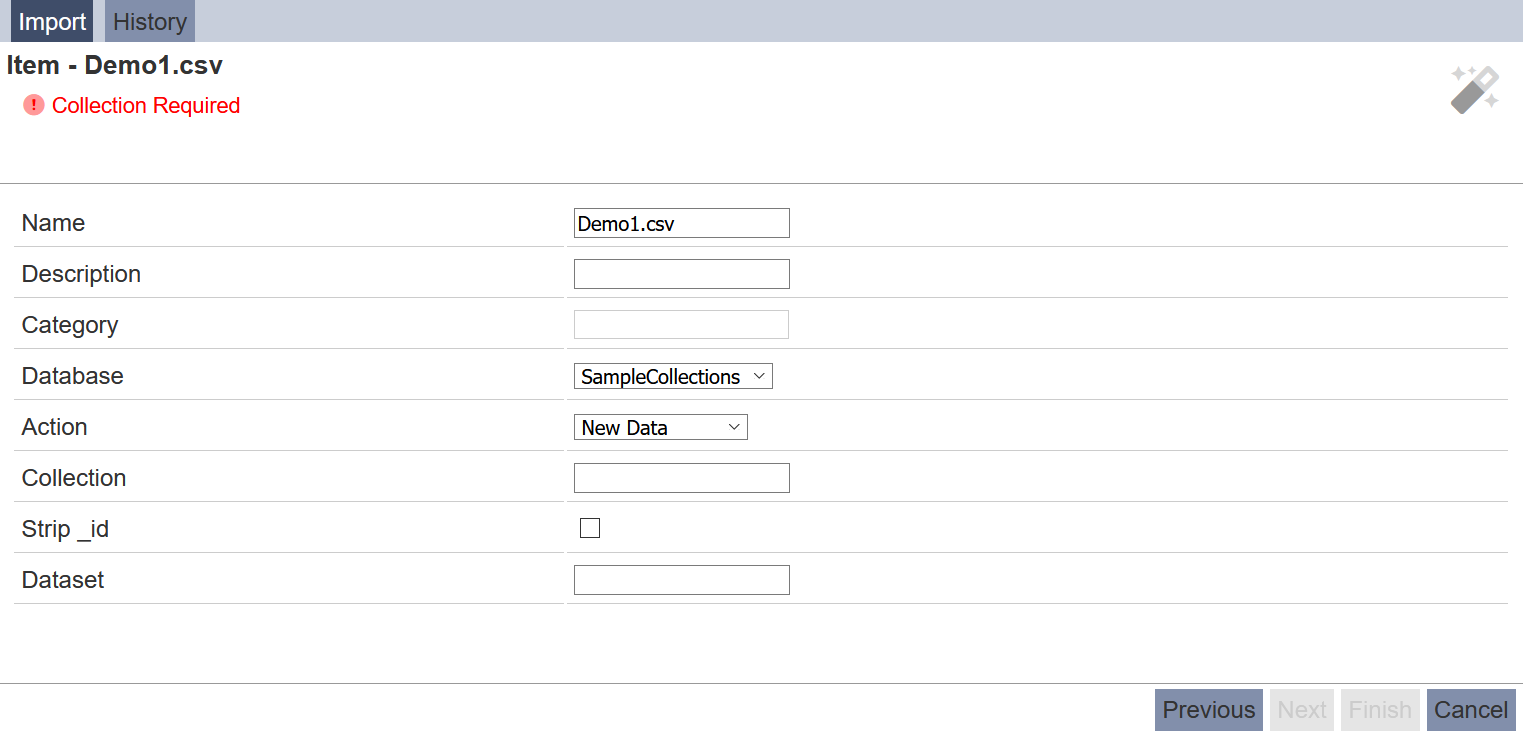 Key in a brief description for the data (optional) in the “Description” field. Select the desired database from the drop-down list for the “Database” field and select if it is a new data, append data or overwrite data in the “Action” field. In the “Collection” field, key in the collection name of the data. If the name already exist, an error message will appear. If “Append Data” or “Overwrite Data” is selected in the “Action” field, select the desired collection from the drop-down list in the “Collection” field. If the "_id“ is not desired to be included in the data, select the ”Strip _id“ field. Key in the name of the dataset in the ”Dataset" field.
Once the required information are selected and keyed in, the “Next” button will appear. Click on the “Next” button to save the changes. Click on the “Previous” button to go back to the previous page.
In this page, you can change the data types of the schema fields by selecting from their respective drop-down list. Click on the “Next” button after all choices are made. 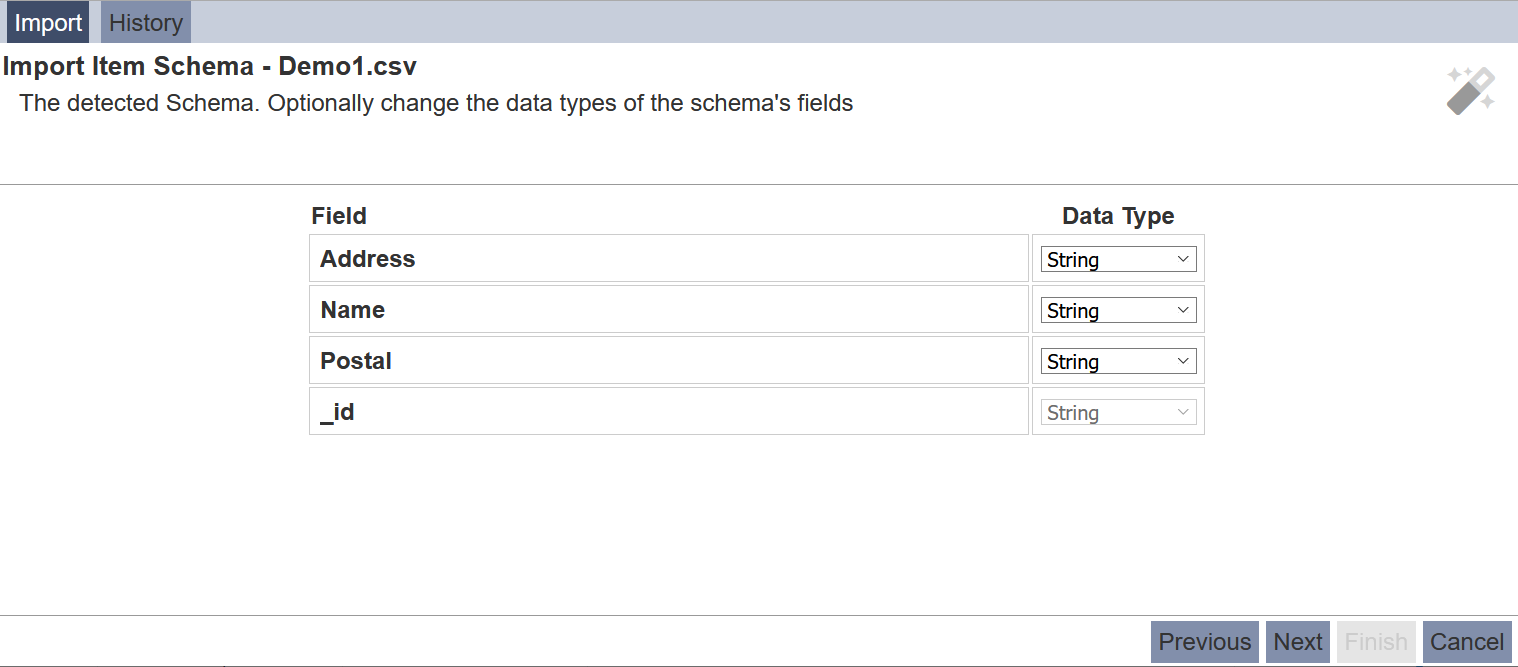
The next page shows you the summary of the import settings. To change the settings, click on the “Previous” button at the bottom of the page. To proceed with the import process, click on the “Import” button at the upper right of the page. 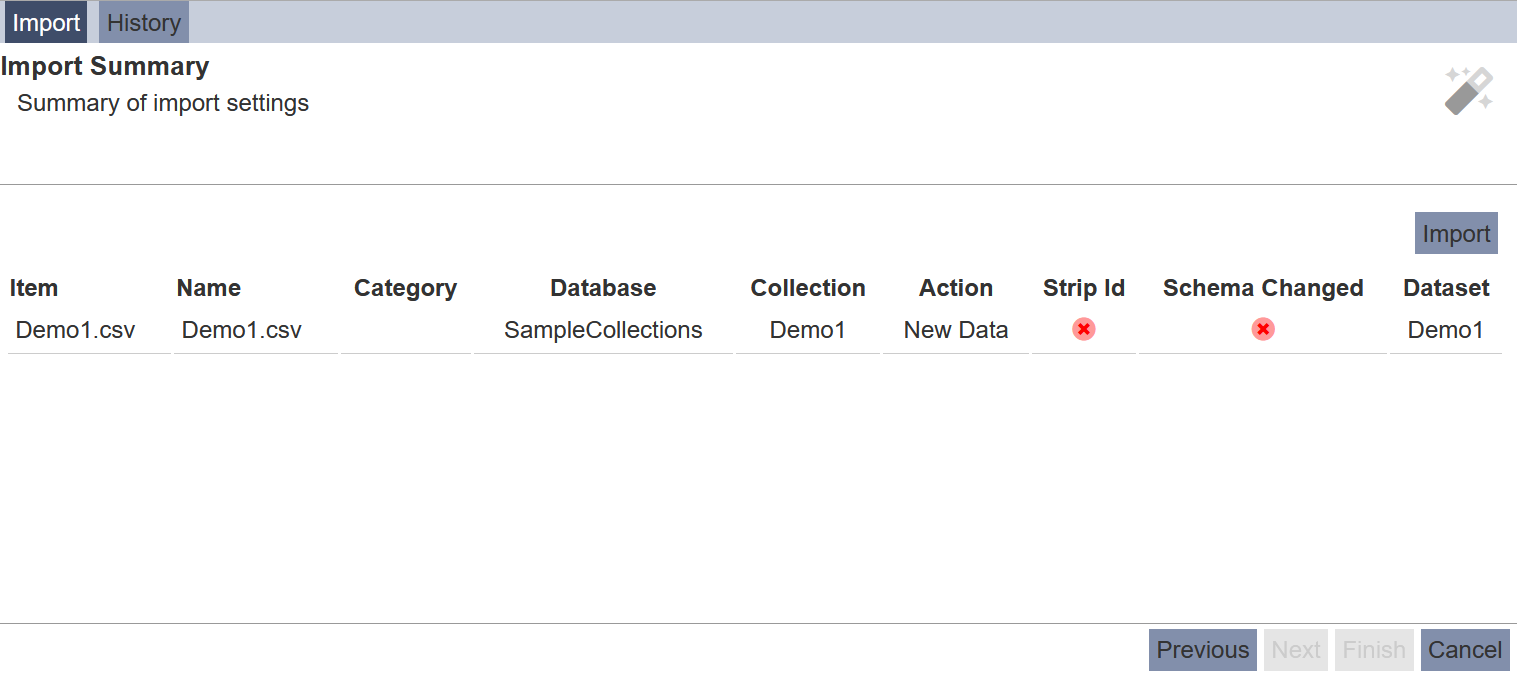
Upon successful import, the “Import Result” will be displayed in the page. A green tick indicates a successful import in the “Status” column, while a red cross indicates unsuccessful import. You can select checkboxes of the unsuccessful items under the “Retry” column and click on the “Next” button to retry the import again. Click on the “Finish” button to exit back to the Import page. 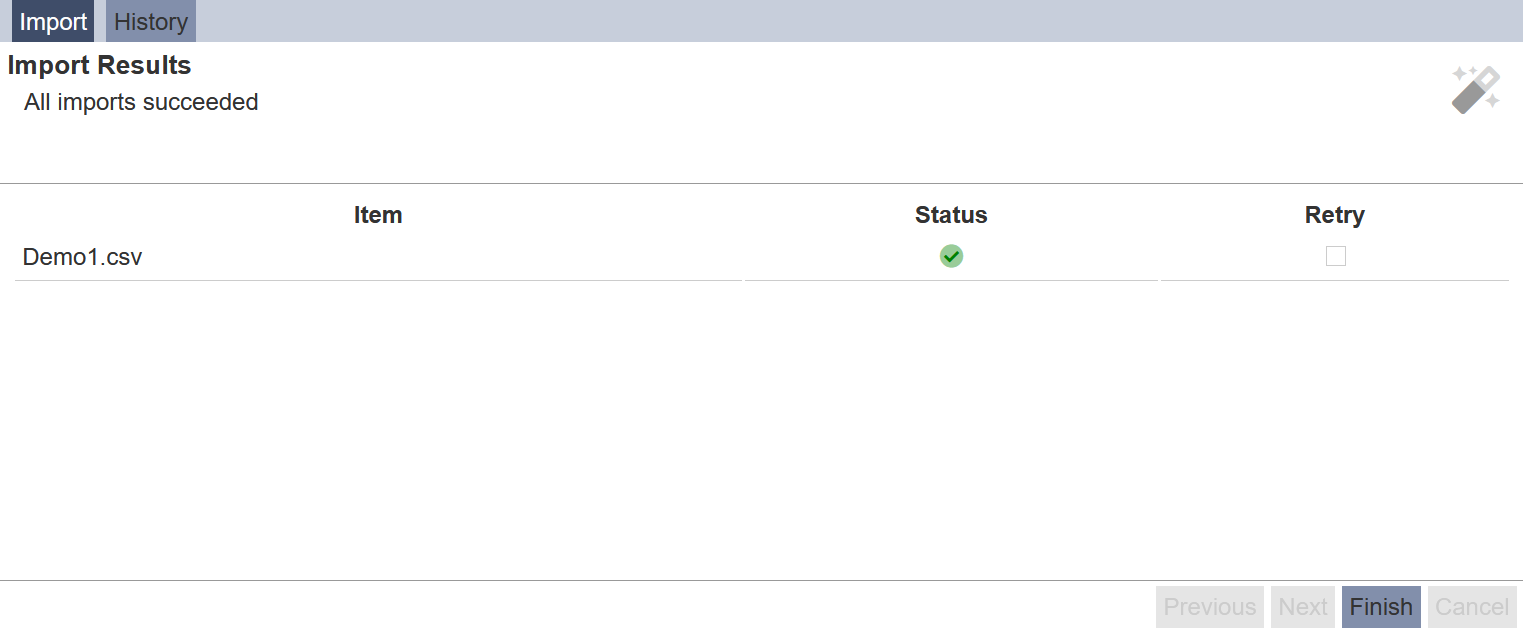
History
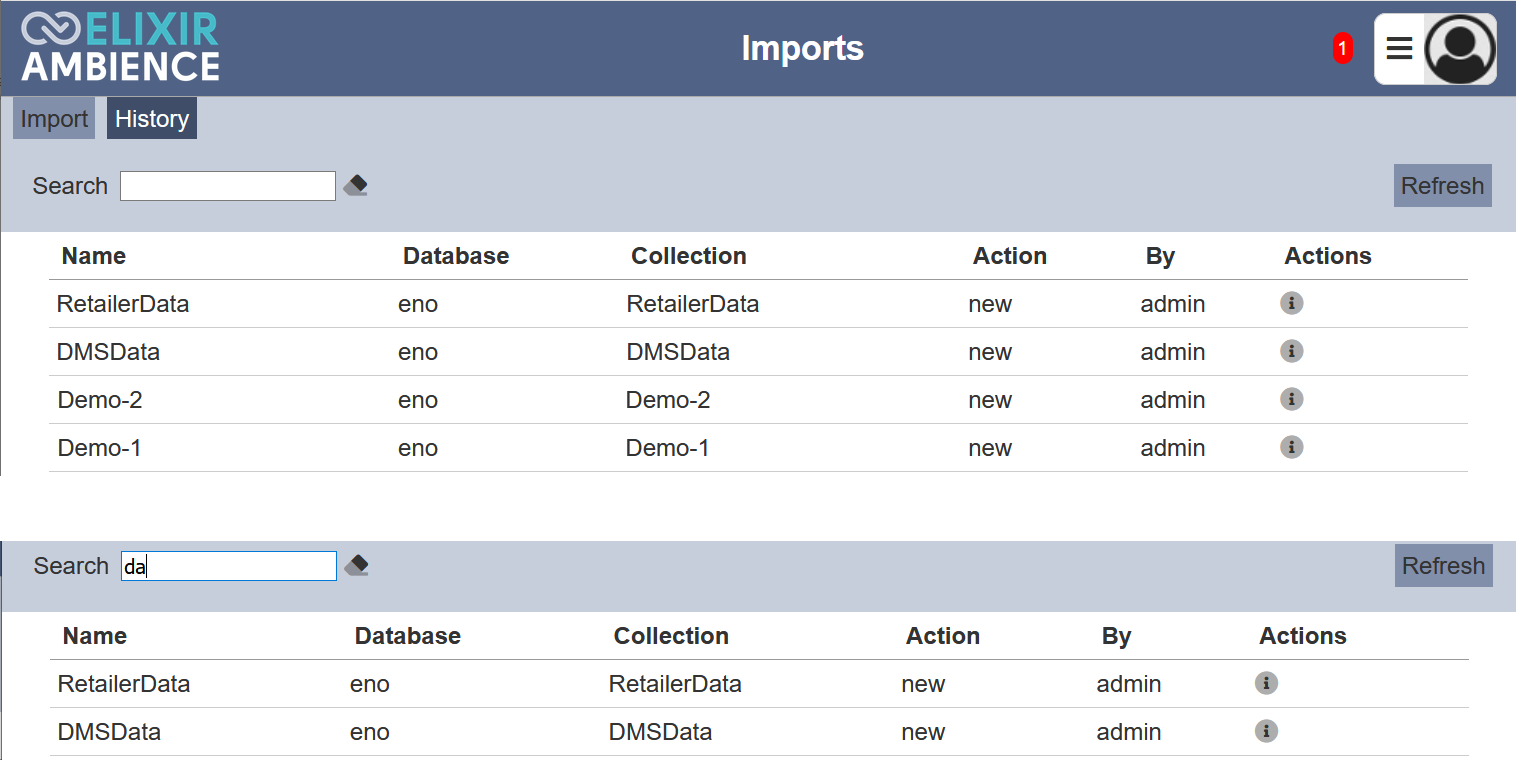
The History page allows you to view all the imported data and their details.
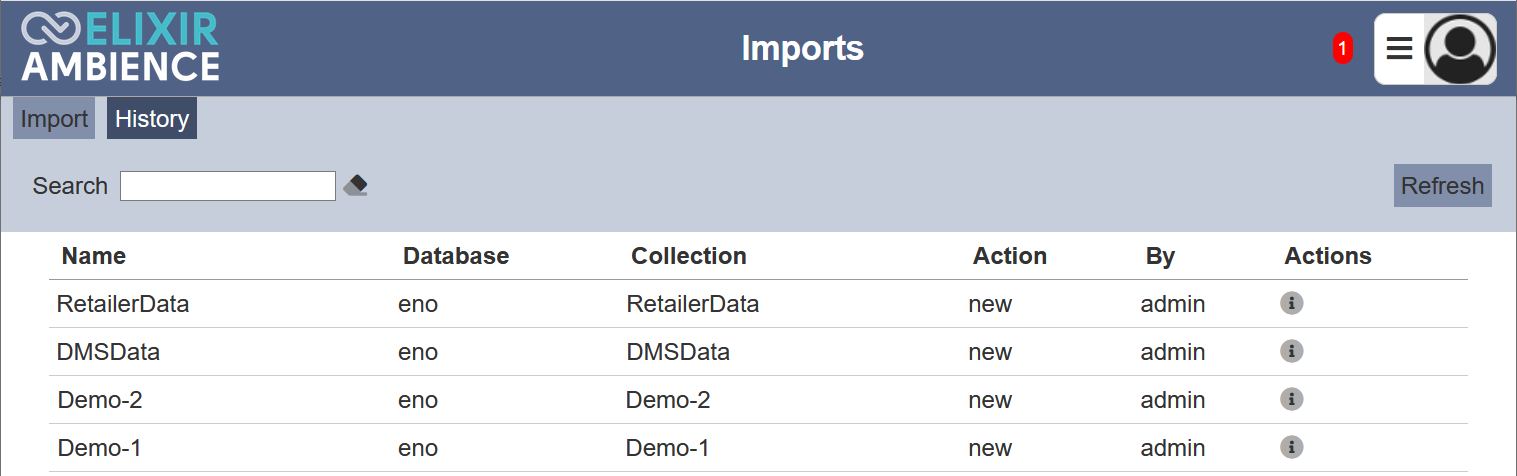
You can arrange/sort the list in ascending or descending order by clicking on the desired field. By default, the list is sorted with the latest import at the top.
Refresh
After performing actions on the browser/tab, the list is reloaded to display the list of imported data. The manual “Refresh” button is available and is particularly useful if there are others making changes on the same page.
The “Refresh” button is found on the upper right corner of the page. Clicking on it reloads the list.

History Detail
You can view the details of the imported data by clicking on the  “History Detail” icon under the “Actions” column corresponding the desired data.

The “History Detail” panel will appear, providing details of the imported data.
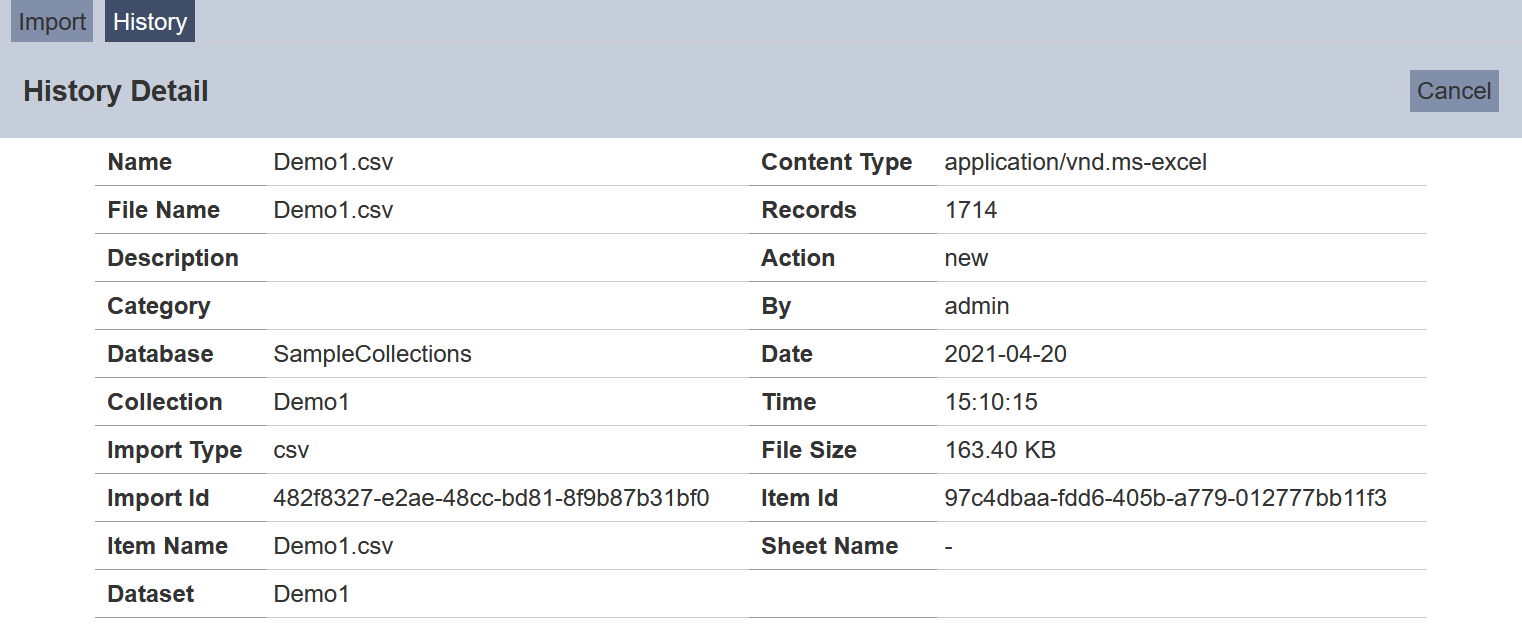
Click on the “Cancel” button to close the panel.
Search
There is a cross-field search function for the list of imported data. It is located at the upper left corner of the page.

This provides an easy way to search through the imported data list. It is case-insensitive and displays files that have the entered search value in any of the values of the fields below:
- Name
- Database
- Collection
- Action
- By