Upload Management
Description
When users generate reports, they often want to share the files with others. They can send emails, or messages from within Ambience, with attachments, but sometimes they want a central repository that makes managing access rights easy. New staff won’t see last month’s email, but with the right permissions they will be able to download the file from Ambience.
The Ambience Upload and Download modules provide a convenient mechanism for sharing any kind of document - anything from sales reports, powerpoint presentations to sample data files.
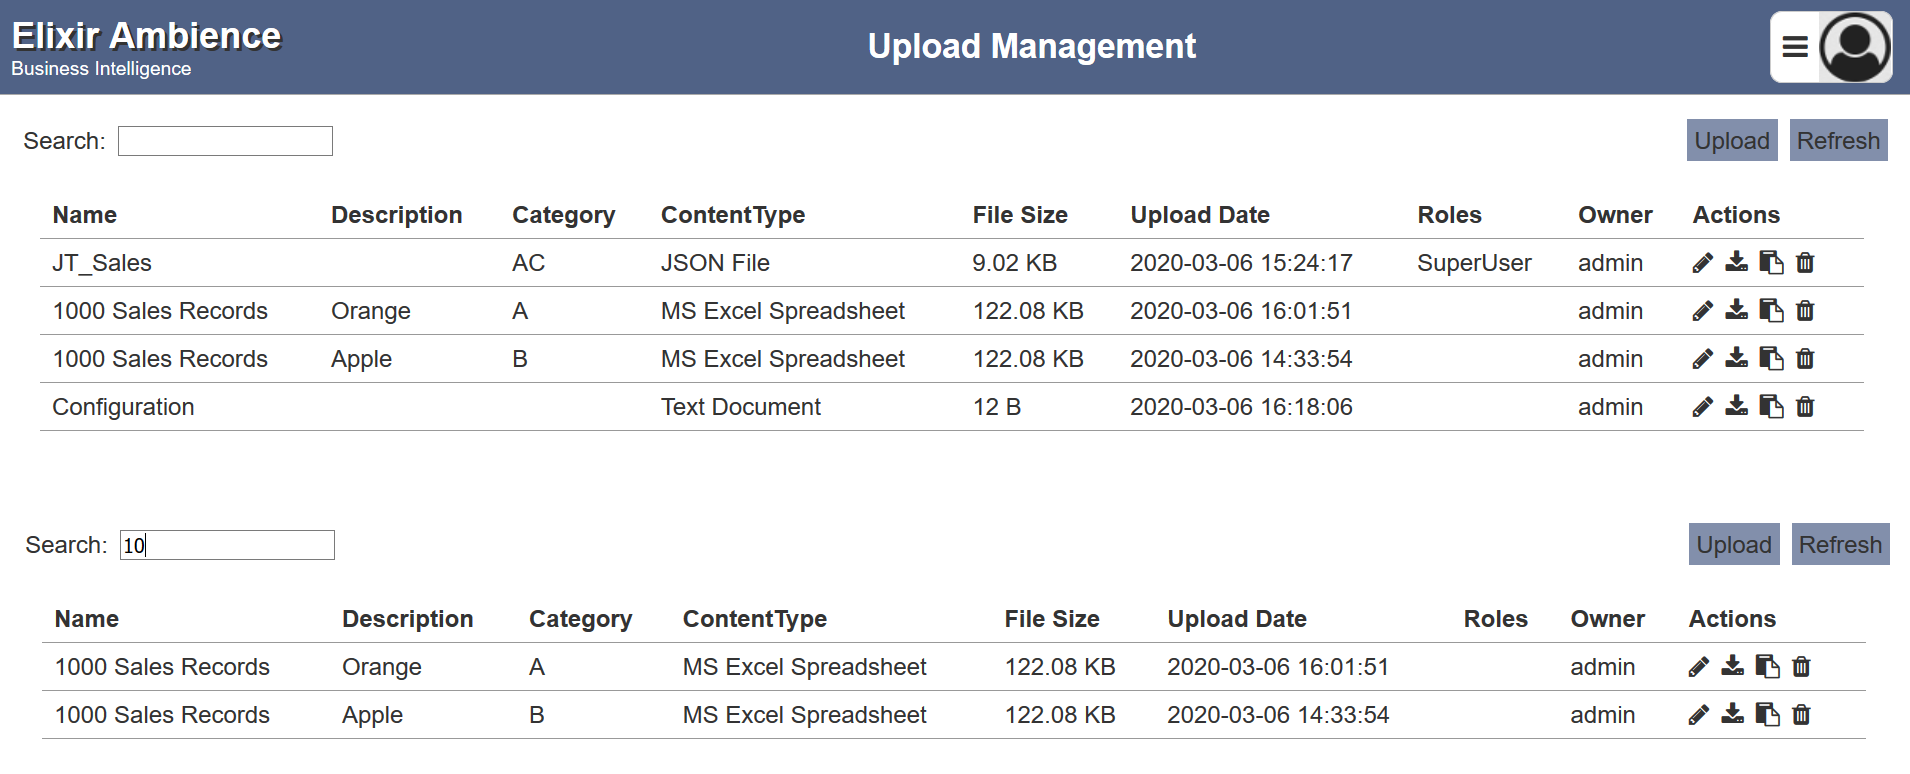
The Upload Management module provides an interface to upload files in various formats. The files are uploaded by specifying the name of the file, with optional category, description and roles. Roles can be set to allow certain users to download the files.

Upload File
To upload a file, start by clicking on the “Upload” button on the upper right corner of the page.

The “Upload” panel appears on the lower part of the page. Browse to the location of the file to be uploaded and set the optional “Name”, “Description” and/or “Category” fields. Select the “Roles” that are allowed to access the file (optional). Do note that the “Name” and “Category” combination must be unique, or an error message will appear.

Input Fields
| Field | Description | Mandatory | Input Type | Constraints | Default Value |
|---|---|---|---|---|---|
| Browse File | Browse to select file to be uploaded. | Y | Text field | Any text. | Empty string |
| Name | Unique name assigned to the file to be uploaded. When a file is specified in the above field, this field will automatically takes in the file name of the specified file. |
Y | Text field | Any text | Empty string |
| Description | A brief description of the file to be uploaded. | N | Text field | Any text. | Empty string |
| Category | Category assigned to the file to be uploaded. | N | Text field | Any text. | Empty string |
| Roles | List of roles that are granted access to the file to be uploaded. Users who have the selected roles would be able to download the file. | N | Checkbox | Multiple values can be selected. All roles are listed as available options. | Not selected |
Click on the “Run” button to upload the selected file. Click on the “Cancel” button to abort the action. A message will appear after the file has been successfully uploaded.

You can arrange/sort the uploaded files in ascending or descending order by clicking on the desired field. By default, the list is sorted by the “Name” field in ascending order.
Refresh File
After performing actions on the browser/tab, the list is reloaded to display the uploaded files. The manual “Refresh” button is available and is particularly useful if there are others making changes on the same page.
The “Refresh” button is found on the upper right corner of the page. Clicking on it reloads the list of uploaded files.

Edit File
To modify an existing file’s attributes, click on the “Edit” icon under the “Actions” column corresponding to the desired file.
![]()
The “Edit” panel displays the selected file’s attributes. The same fields and constraints in Upload File are applied.

Click on the “Save” button to save the changes made to the existing file. Clicking on the “Cancel” button aborts the action.
Open in Browser
This feature allows you to open PDF file in the browser. To open the document, click on the “Open in Browser” icon under the “Actions” column corresponding to the desired PDF file.

Download File
To download the uploaded file, click on the “Download” icon under the “Actions” column corresponding to the desired file.
![]()
Copy Link
Copy link provides a URL of the selected file, which can be used to access it. To get the URL, click on the “Copy Link” icon of the selected file in the “Actions” column.
![]()
A notification will appear for about 5 seconds to inform you that the link has been copied to the clipboard.

Delete File
To delete an existing file, click on the “Delete” icon of the desired file under the “Actions” column corresponding to the desired file.
![]()
There is an option to undo the deletion. A notification with an “Undo” button appears right after clicking on the “Delete” icon.

Upon clicking on the “Undo” button, the deleted file is restored and is added back to the list of files. Do note that the notification will disappear after 5 seconds.
Search
There is a cross-field search function for the list of uploaded files. It is located at the upper left corner of the page.

This provides an easy way to search through the file list. It is case-insensitive and displays files that have the entered search value in any of the values of the fields below:
- Name
- Description
- Category
- Content Type
- File Size
- Upload Date
- Roles
- Owner

