Editor
The Editor page allows you to create and edit the I18N data in the translation. The following privileges are required to access this page:
mod-i18n-editormod-i18n-translator

Interface
The Editor page is divided into four panels.
- Language
- Property
- Master
- Translation
Language / Property Panel
The Language and Property panels each consist of three icons at the title bar.
| Icon | Description |
|---|---|
 “Invert Select” icon “Invert Select” icon |
Allows users to invert the selected languages/property listed in the panel. |
 “Add” icon “Add” icon |
Allows users to add a new language/property. |
 “More Actions” icon “More Actions” icon |
List all other available actions. In the Language panel, only “Delete” icon is available. In the Property panel, “Rename” and Delete" icons are available. |
Master / Translator Panel
The Master panel consists of rows of master text to be translated, while the Translation panel consists of the same number of rows of translated text. The translated text may differ based on the language selected.
Create Translation
After a new translation is created in the management page, a blank Editor will appear. Do note that any action performed in the editor is automatically saved.
Language
In the Language panel, click on the “Add Language” icon to add a new language. The “Add New Language” dialog box will appear. Alternatively, you can use “Alt + L” shortcut key to launch the dialog box.
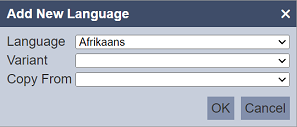
In the “Language” field, select the desired language from the drop-down list. Select the desired variant for the selected language from the drop-down list in the “Variant” field. In the “Copy From” field, you can either copy from an existing translation or create a blank translation by selecting blank option from the drop-down list. Click on the “OK” button to add the new language or click on the “Cancel” button to abort the action. Do note that a language (with a particular variant) can be added only once.
To remove a language, select the checkbox on the left of the desired language and click on the icon that appear. Select the “ Delete” option. The “Confirm Delete” dialog box will appear.
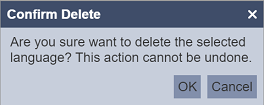
Do note that this action is irreversible, proceed with caution. To confirm the deletion, click on the “OK” button. To abort the action, click on the “Cancel” button.
Property
This panel allows user to add, delete, and rename the property name, as well as the master data (optional).
Add
To add a property, click on the “Add Property” icon. The “Add New Property” dialog box will appear. Alternatively, you can use “Alt + P” shortcut key to launch the dialog box.
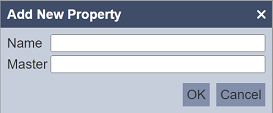
Key in an unique property name in the “Name” field. In the “Master” field, enter the master data (optional). Click on the “OK” button to save the property or click on the “Cancel” button to abort the action.
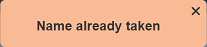
If the property name already exist, an error message will appear.
Once the property is added, the property and the master data will appear in the Property and Master panels respectively.

View
If the text in the Property is too long, it may not to be displayed in full. To view the text in full, hover over the text and the  icon will appear. Click on the icon and the “Property Name” dialog box will appear.
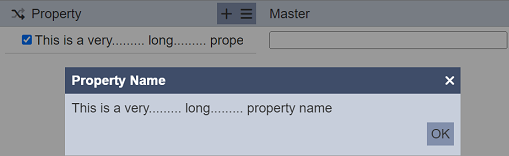
Click on the “OK” button to close the dialog box. Note that the property name is not editable in the dialog box. To edit the property name, use the “Rename” option in the menu from the icon.
Rename
To rename a property, select the checkbox next to the desired property and click on the icon. Select the “Rename” option. The “Rename Property” dialog box will appear.
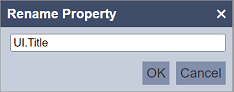
Rename as desired and click on the “OK” button to save the change.
Delete
To delete a property, select the checkbox next to the desired property and click on the icon. User can select more than one property to be deleted at the same time. Select the “ Delete” option. The “Confirm Delete” dialog box will appear.
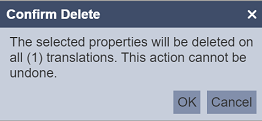
Do note that this action is irreversible, proceed with caution. To confirm the deletion, click on the “OK” button. To abort the action, click on the “Cancel” button.
Master
The Master panel displays the master data entered via the Property panel. With the correct privilege, user can edit the master data in the textbox.
The textbox in the Master panel will be empty if no master data is entered prior. If the text is too long and cannot be displayed entirely, hover over the textbox and the “Expand” icon will appear. Click on the icon to display the “Edit” dialog box.
Edit as desired and click on the “OK” button to save the change. To abort, click on the “Cancel” button.
Translation
The Translation panel displays the translation text. With the correct privilege, user can edit the text in the textbox.
The textbox in the Translation panel will not appear if no language is selected in the Language panel.
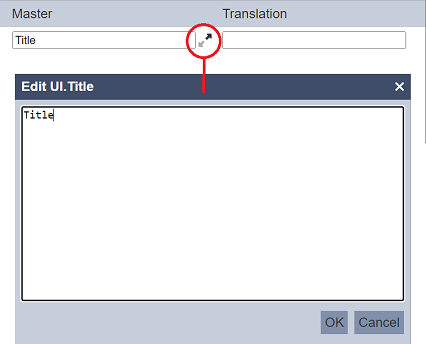
If the text is too long and cannot be displayed entirely, hover over the textbox and the icon will appear. Click on the icon to display the “Edit” dialog box.
![]()
The dialog box displays both the master data and the translation data. Edit as desired and click on the “OK” button to save the change. To abort, click on the “Cancel” button.
Example
The organiser of a seminar needs to gather basic some information of the attendees. The attendees may be from different countries, speaking different languages.
A form is created to capture these information, such as name of company, country they are from and their names. The form need to be in different languages for the attendees to fill in their information.
Below is an example of the Form module using the translations in the Internationalisation module to generate the same form but in different languages.
Create Form
First, create the form with three Text components and a Button Bar component. Change the Ids of the Text components as shown.

Create Translation
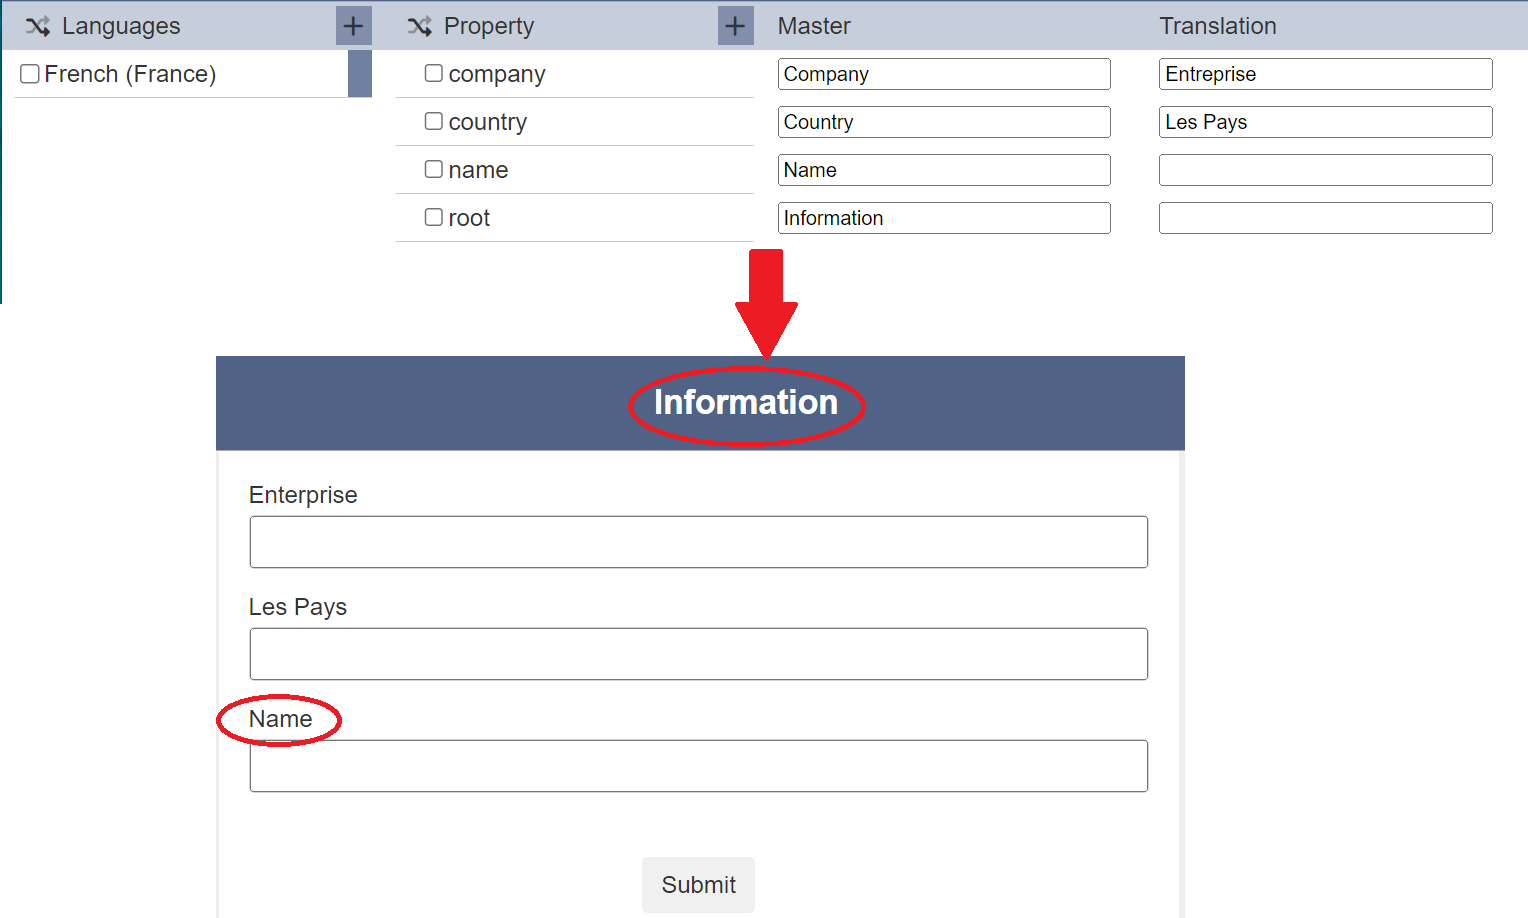
In the Internationalisation module, create a translation for the form. The Property panel list the IDs of the components in the form and the Master panel list the text to be diplayed.
![]()
Fill in the translation text in the Translation panel. If the Translation panel is empty, no translation will occur and the text in the Master panel will be used.
Edit Form
In the Form module, select the root component and scroll to the “Base I18N” field and select the translation created earlier from the drop-down list. Doing this will allow this base settings to be applied to many forms. If just this one form needs translation, select the translation from the drop-down list in the “Custom I18N” field.
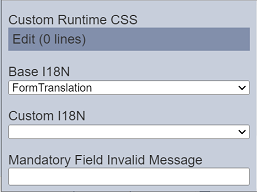
Do note that the settings in “Custom I18N” field will override the settings in the “Base I18N” field. Below is how the lookup works at form runtime:
- Look in “Custom” (if defined) and use a translation as the label if found there, else
- Look in “Base” (if defined) and use a translation as the label if found there, else
- Retain original label as defined in form
Run Form
Run the form, by default, the browser is in English, the text on the form will appear in English.

Switch the browser to French and run the form again, the text will appear in French.
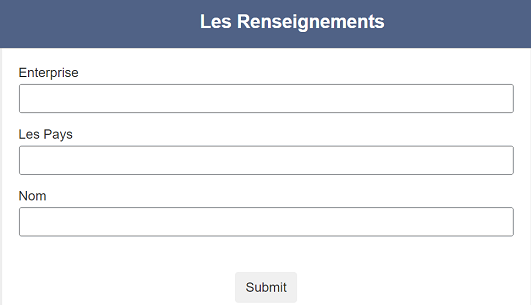
If any of the translation text are left blank, the master data in the Master panel will be used.