
API Editor
The API Editor allows you to add API specification. There are two modes in the Editor:
- View mode (default mode)
- Edit mode
View Mode
The view mode allows you to view the parameters, request body, or responses foreach APIs defined. For each API, a test function is also available which allow users to key in the required parameters and request body, and call the API to view the response of the API test call.
When the API Editor launched, the view mode is displayed by default.

If it is a newly created API, a blank API specification in view mode will appear.
There are two panels in the view mode. The left panel display the description of the API, while the right panel shows the parameters, request body and responses. The right panel also allows user to test the API.
To test the API, click on the “Test API” button in the “GET” section.
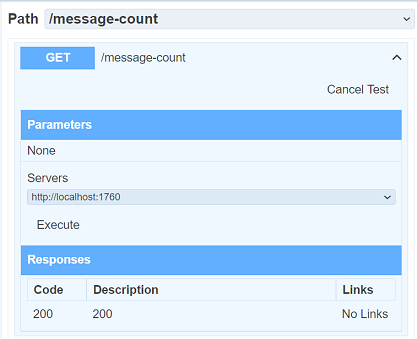
User can abort the test by clicking on the “Cancel Test” button in the “GET” section. Depending on the parameters of the API, select the desired value. In this example, select the desired server. Click on the “Execute” button to execute the API.
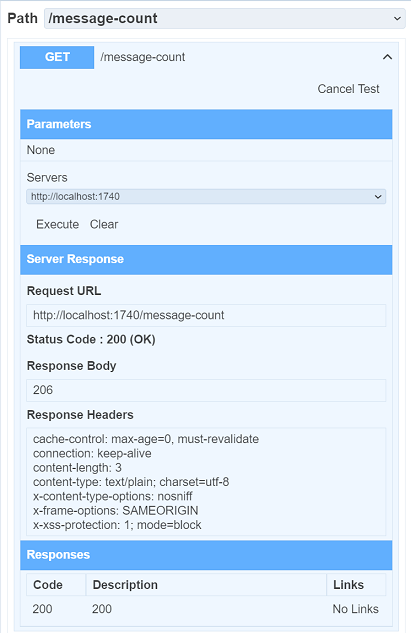
The “Server Response” section display in the results. To clear the results, click on the “Clear” button.
Edit Mode
To edit an API specification, click on the “Edit” button at the upper right corner of the page. If the API is published, the the “Edit” button will not be available. You will need to unpublish the API before you can edit the API.
The API Editor in edit mode allows you to define the API.
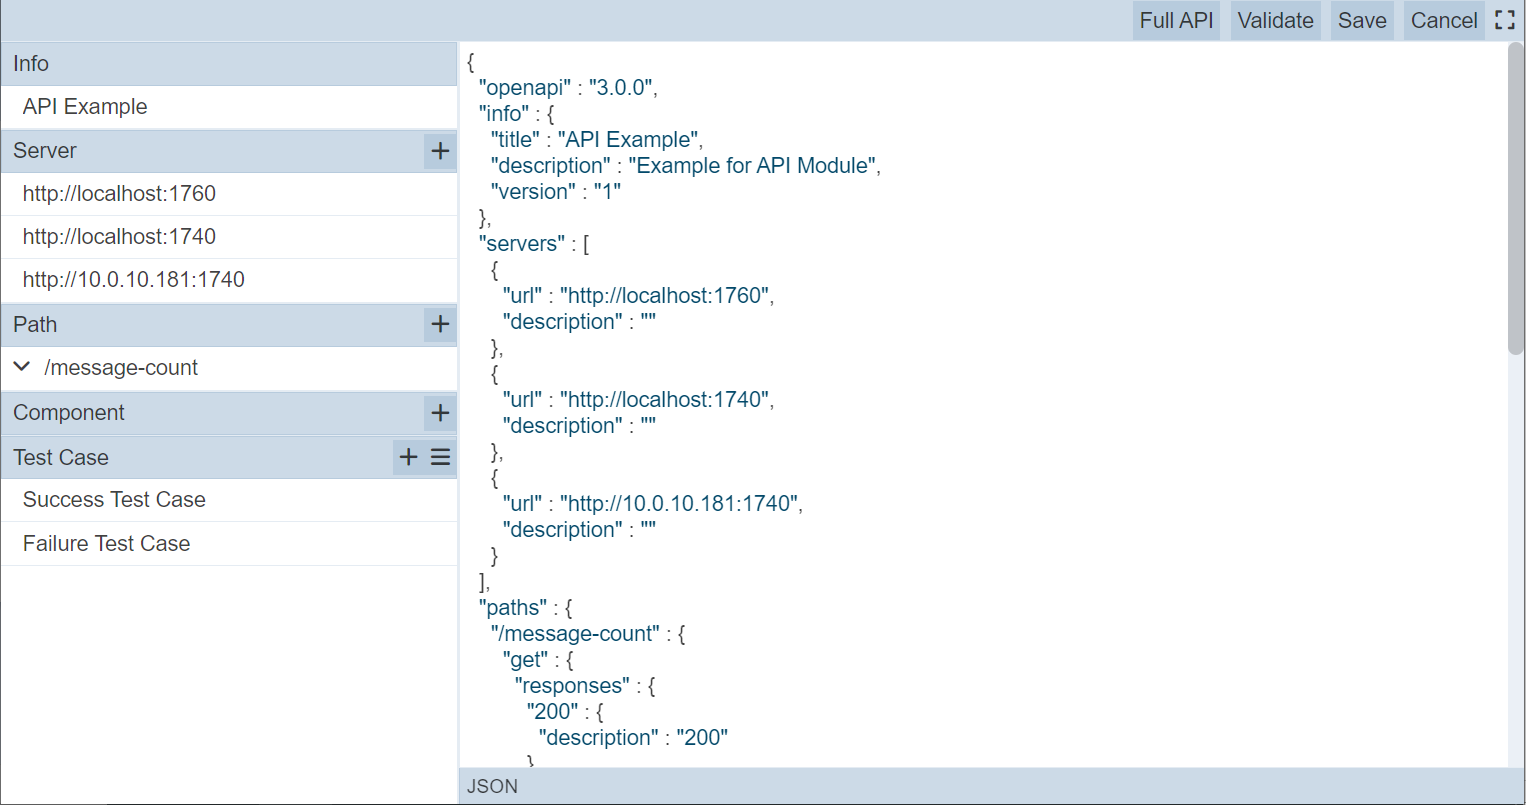
It can be divided into three portions.
- Action bar at the top
- Code Editor panel on the right
- Object Selector Panel on the left
Action Bar
The Action Bar at the top of the page consists of several action buttons on the right.

| Options | Description |
|---|---|
| Full API | Shows the full API spec code. |
| Validate | Validate the API spec with OpenAPI 3.0 Specification. |
| Save | Saves any changes done on the API and returns to view mode. |
| Cancel | Aborts any actions done on the API and returns to view mode. |
| Maximize | Maximize the Code Editor section to fit the entire screen. Once in the full screen, click on the  “Restore” icon to revert back. “Restore” icon to revert back. |
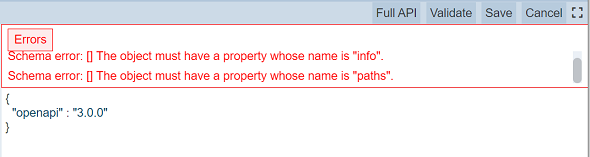
When the “Validate” button is clicked, an error message will appear in the Code Editor if there is any error in the code.
Code Editor
The Code Editor allows user to add/edit the code of the API.
The code in the Code Editor can be displayed either:
- In full when displayed initially or by clicking on the “Full API” button
- Partially or zoomed in to the desired object by selecting the object in the Object Selection Panel
In either way, the code can be edited as desired. The first line of code (default) in the API is always "openapi" : "3.0.0, the version currently supported.
Object Selector Panel
The Object Selector panel on the left helps users to navigate through the different objects inside the API specification. When an object is selected, the code for that object will be displayed in the Code Editor (zoomed in). These objects can be added or removed from this panel. It consists of several objects:
| Options | Description |
|---|---|
| Info | Defines the information of the API. |
| Server | Defines the server(s) used by the API. |
| Path | Defines the path to the source for the API. |
| Component | Defines the components required in the API. |
| Test Case | Defines the test cases for the API. |
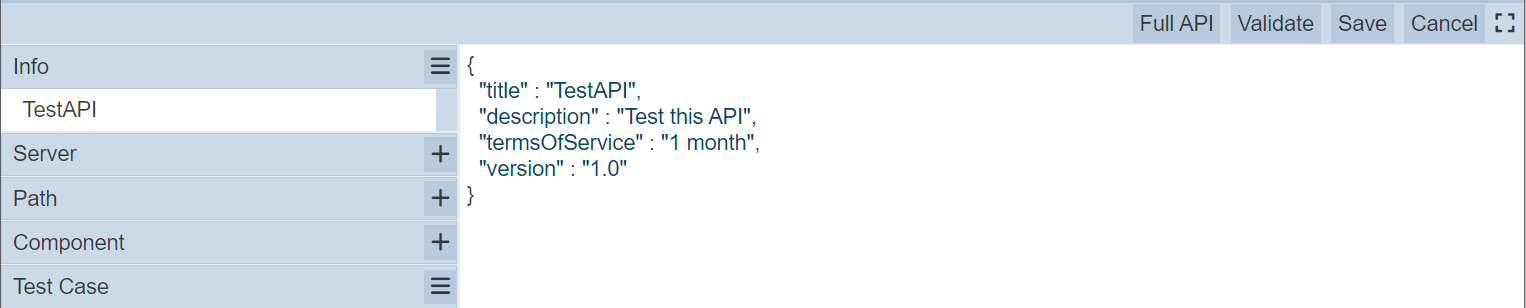
Each object when initially selected will launch a dialog box, which allows user to key in the required information, parameters or values. Key in the desired values and click on the “Save” button in the dialog box. The values entered will appear in the Code Editor.
Add Object
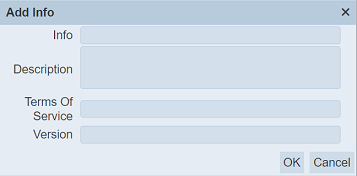
To add an object, click on the “+” icon next to desired object. The dialog box will appear. In this example, the “Info” object is selected.
| Field | Description | Input Type | Default Value |
|---|---|---|---|
| Info | Defines the API. | Text field | “blank” |
| Description | Brief description of the API. | Text field | “Blank” |
| Terms of Service | Specify the terms of the service of API. | Text field | “blank” |
| Version | Specify the version of the API. | Text field | “blank” |
Key in the appropriate information in the fields and click on the “OK” button to save the information. Click on the “Cancel” button to abort.
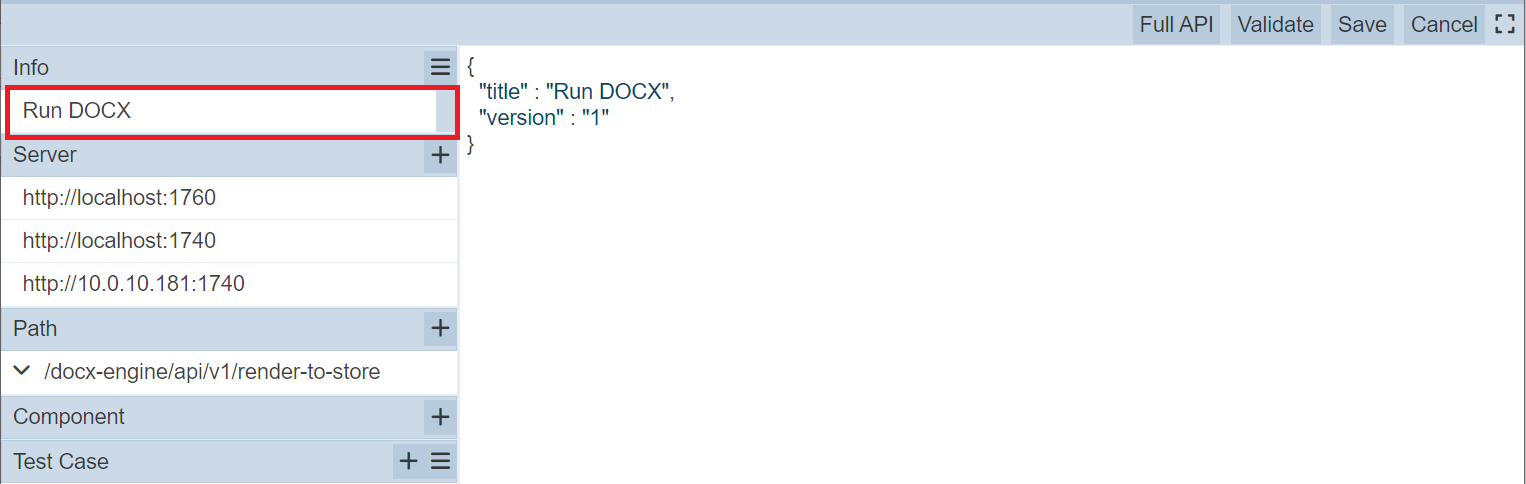
Upon successful adding the information, the details will be displayed in the right panel. The title of the API will be shown below the “Info” option and the “+” icon now changes to  “More Actions” icon.
Some objects allow multiple entries. For example, “Server”, “Path” and “Component” objects. For more information on OpenAPI Specification 3.0, visit https://spec.openapis.org/oas/v3.0.3.
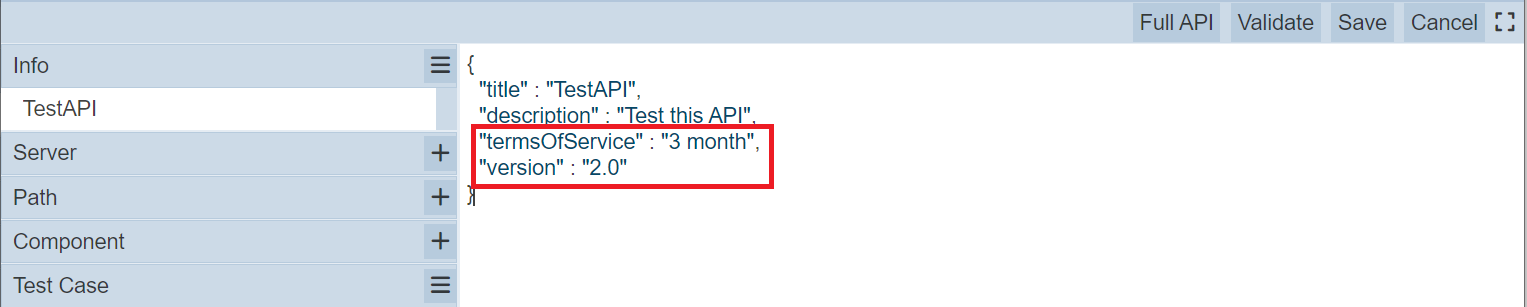
Edit Object
Any changes on the information can be made directly in the right panel. To save the changes, click on the “Save” button at the upper right corner of the page.
Delete Object
The information can be deleted by clicking on the icon next to the “Info” option.
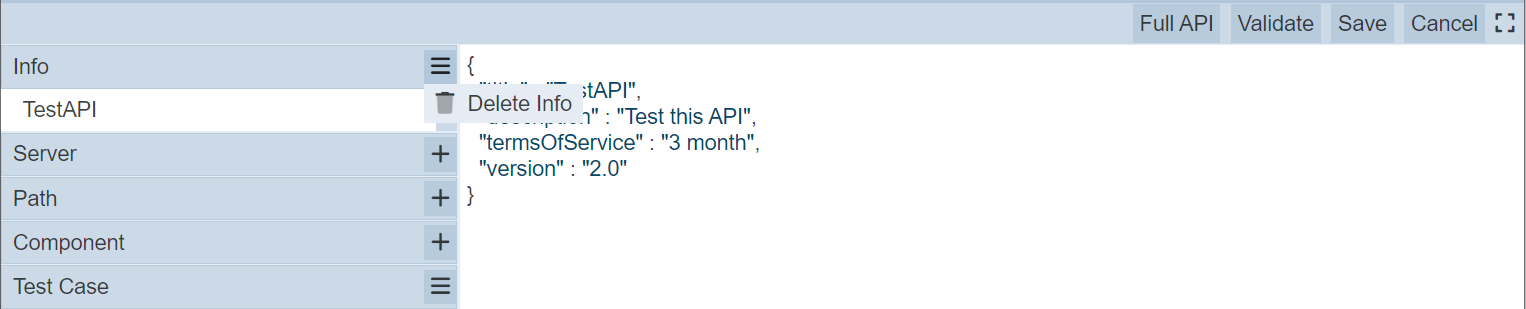
In the drop-down list that appears, select “Delete Info”. Upon successful deletion, the right panel displays the default code.