Audit Logs
Description
A software suite that has good detailed audit logs can assist a company monitor data and keep track of potential security breaches or internal misuses of information.
The Audit Logs allows you to view the actions that was carried out in Ambience. It has filters that allow you to select the desired start and end dates and filter the desired data to view. The log displays a limit of 500 records. You can also download the log in CSV or JSON format.

Module Interface
| Interface | Description | Required Privilege |
|---|---|---|
| Audit Logs | Allows access to Audit Logs page. | mod-audit-log-viewer |
Log Parameters
There are three panels in the Audit Logs.
The left panel allows you to select the desired start and end dates, and filter for the log. The right panel allows you to select the desired column fields to be displayed and it consists of two pages; namely “Audit” and “When”.
The results panel at the lower half of the page will display only the header during initial launch. The results will appear below the header when a search is conducted.
Left Panel
The left panel allows you to select the start and end dates, as well as setting up the filters.

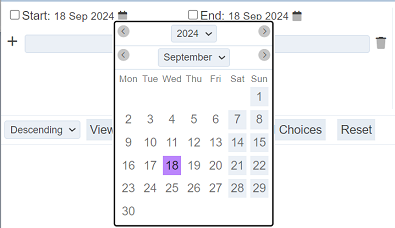
To select the start date, select the checkbox on the left of the “Start” field. By default, the current date is used. To choose another date, click in the  “Calendar” icon and choose the desired date. Do the same for the end date.
There are three components to form a criteria filter; namely the column field, operator and expression/value. The column field selects the column to filter. The expression defines the information to filter. The operator selects how the filter behaves along with the column field and expression.
When no column field and expression is defined, the entire log is displayed when the “View” button is clicked.
To create a criteria filter, select the desired column field from the drop-down list. Select the appropriate operator in the centre textbox. In the third textbox, key in the desired expression or value. To clear or delete a filter, click on the  icon. To add more filters, click on the “+” icon.
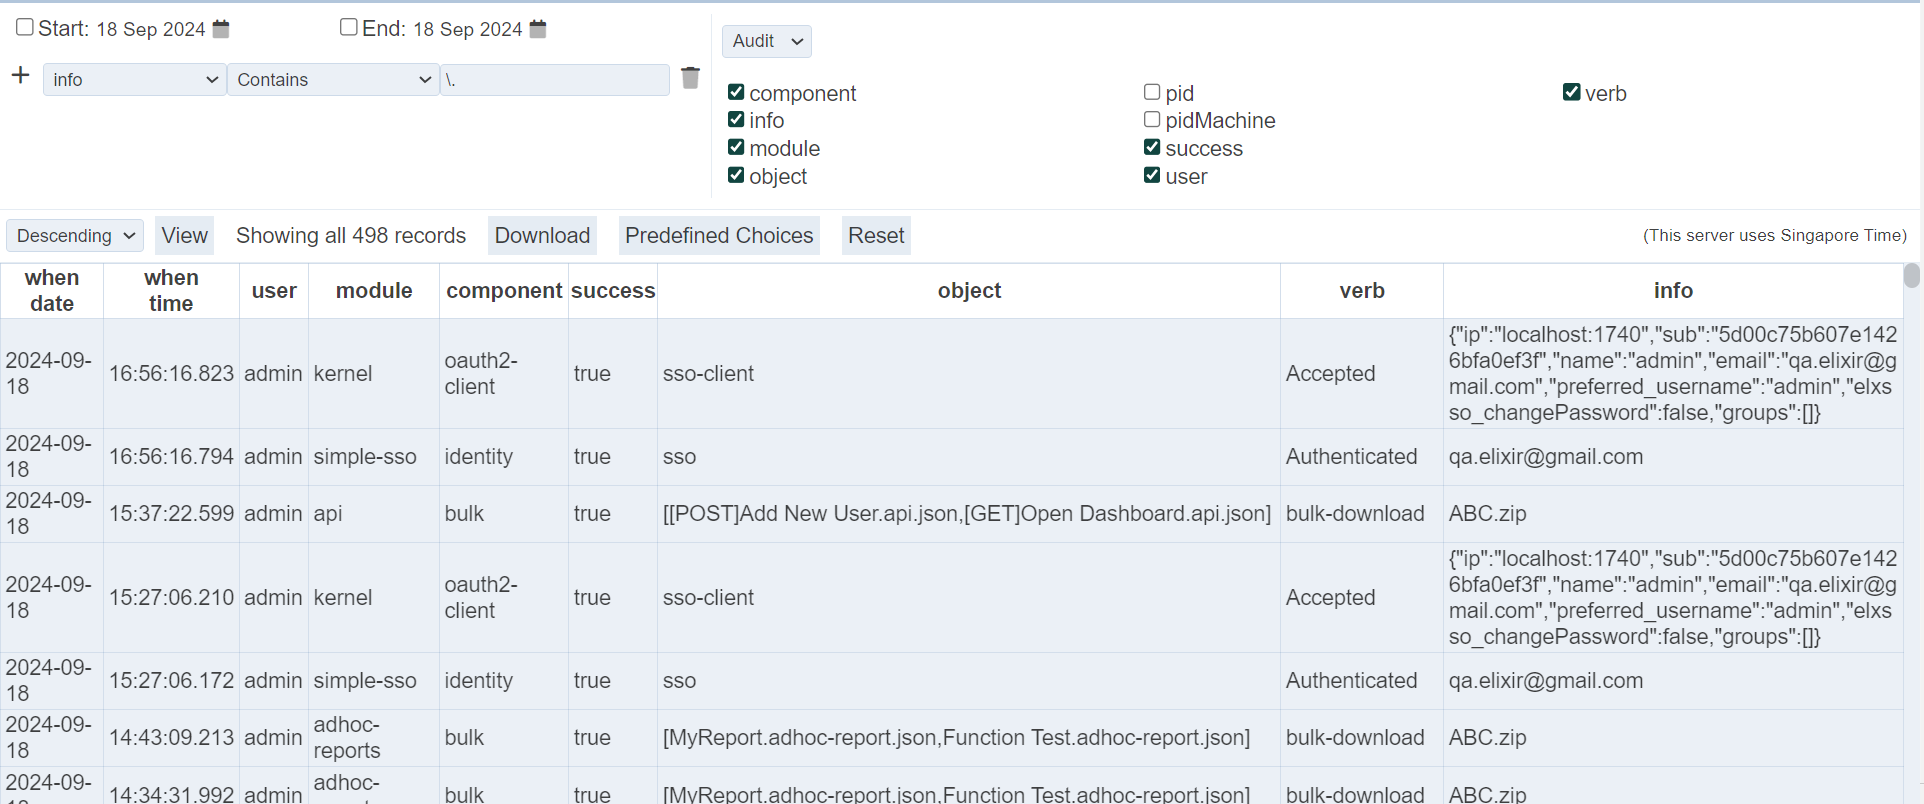
When using Contains or Starts with for string comparison, regular expressions are used. The [ and ] characters are reserved to indicate a range of characters. For example,
[Ff]orm
will find “Form” and “form”.

Since the [ character is reserved, using it by itself will result in an error message. There are other quantifiers that can be used along with the regular expressions, such as ().*?^.

To use the reserved characters, place a \ character in front of them. In the below example, to find messages that contains with the ‘.’ character, a \ is placed in front it.
Right Panel
The right panel allows you to select the column fields to be displayed in the viewer. It consists of two pages:
- Audit - allows you to select the modules, user, etc.
- When - defines when the action occurs
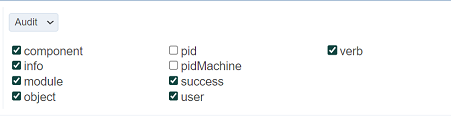
By default, the “Audit” page is displayed with default fields. You can change the setting by selecting or unselecting the fields in the panel.
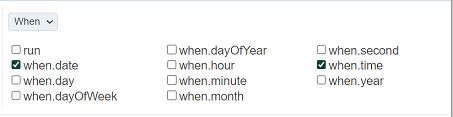
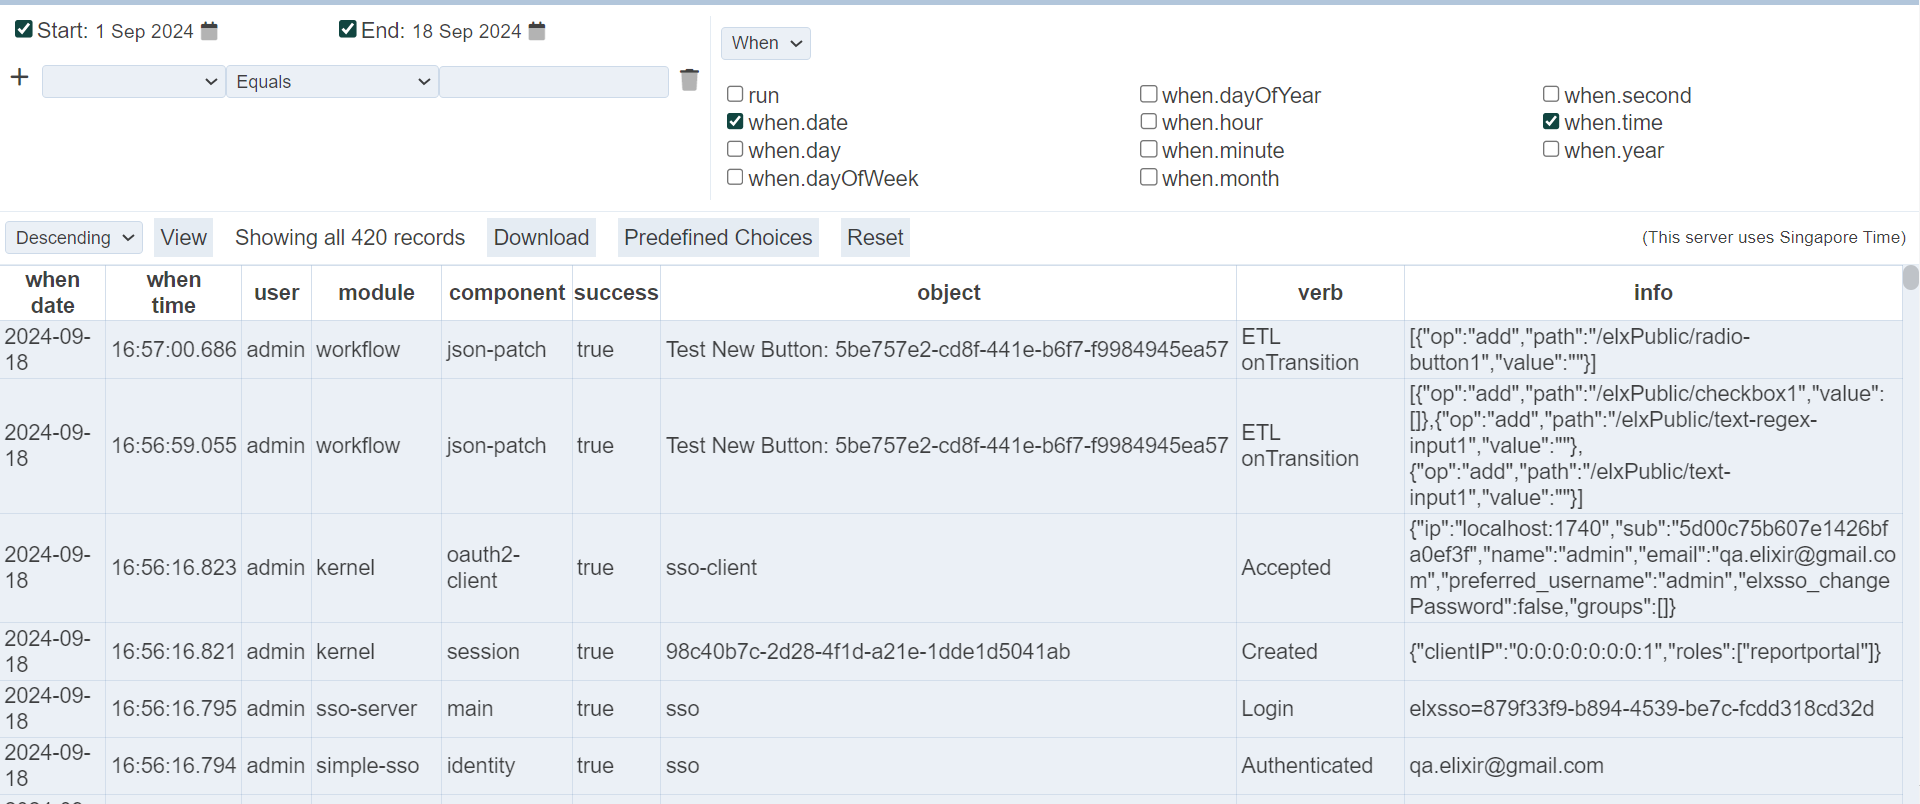
To go to the “When” page, click on “Audit” and select “When”. The fields available for “When” will appear. Select or unselect the fields according.
Note the “When” option “run” is the unique value for which server session. If you are only interested in things that happened this time you ran the server, then look at the system information:
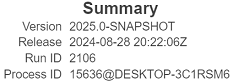
The Run ID is the number of times you have started Ambience. You can filter by run = 461 to only see events from the current server session. If you stop and restart, Run ID will be 462.
Results Panel
The results panel at the lower half of the page will display only the header during initial launch. The results will appear below the header after a search is conducted using the parameters from the left and right panels.
The top row consists of several buttons.

View
This function allows you to view the logs with the parameters set in the left and right panels.
Set the desired parameters in the left and right panel and click on the “View” button.
By default, it is in descending order (most recent items at the top). To view the logs in ascending (chronological) order, select “Ascending” from the drop-down list on the left of the “View” button.
Download
This function allows you to download the log in the results panel.
Click on the “Download” button and select the desired output format from the list.
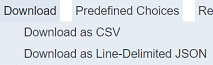
The downloaded file has the file name Audit-Records.<ext>.
Predefined Choices
This function allows you to store, apply and delete predefined parameters for the audit log. This will ease selecting the same set of criteria settings each time the same log is required.
The parameters settings of the predefined choices are local and per user only.
Add
To add the current criteria settings as a predefined choice, click on the “Predefined Choices” button from the top row.
The “Local Predefined Choices” dialog box will appear.
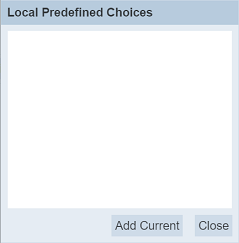
Click on the “Add Current” button in the dialog box. The “Add Current” dialog box will appear.
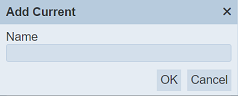
Key an unique name for the current parameters and click on the “OK” button. If the name already exist or no name is entered, error message will appear.
Upon successfully adding the criteria settings, the predefined choice will be added into the “Local Predefined Choices” dialog box.
Apply
To apply the criteria settings of a predefined choice, click on the “Predefined Choices” button from the top row.
The “Local Predefined Choices” dialog box will appear.
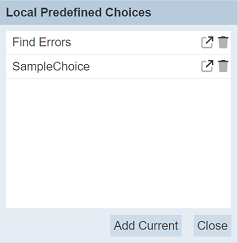
Click on the  “Apply” icon on the right of the desired choice. The “Local Predefined Choices” dialog box will close and the settings will be applied to the left and right panels.
Delete
To delete a predefined choice, click on the “Predefined Choices” button from the top row.
The “Local Predefined Choices” dialog box will appear.
Click on the “Delete” icon on the right of the desired choice. The predefined choice will be removed from the list. Click on the “Close” button to close the dialog box.
Reset
The “Reset” button allows you to reset the Audit Logs page to its initial settings. It is useful to remove previous settings and start afresh.
Viewer Usage
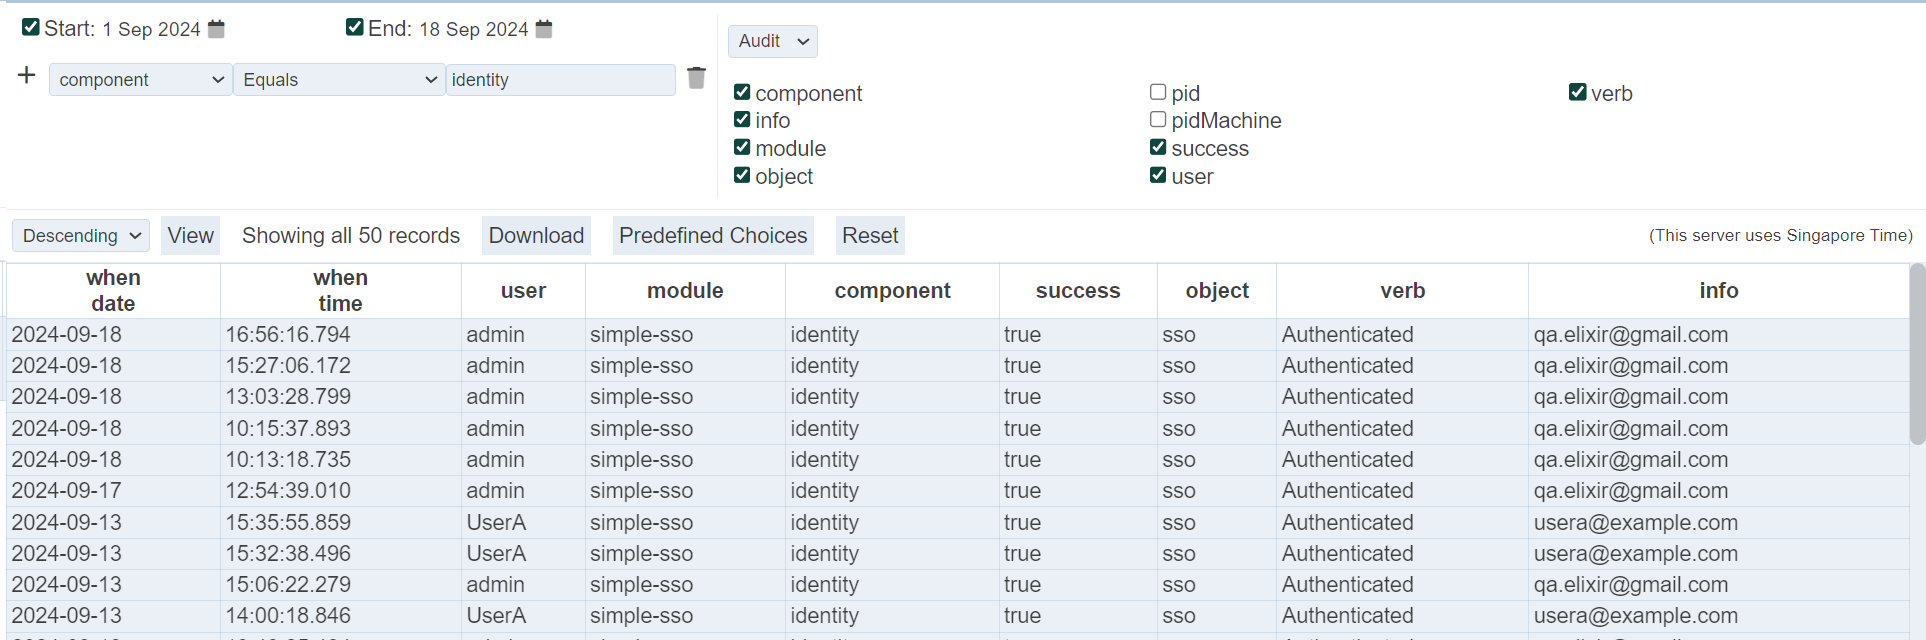
To generate the audit log, select the desired date range and set up the filters in the left panel. In the right panel, select the desired column fields in the “Audit” and “When” panels.
Click on the “View” button and the audit log will appear in the panel below.
By default the log is in descending order. You can re-sort the log in ascending order by clicking on the “Descending” field and select “Ascending” from the drop-down list.
If the generated log does not have the column fields you desire, you can add the columns by selecting the column field checkboxes in the right panel and vice versa.
You can add filters by clicking on the desired cell field, for example, identity in the “component” column. The filter will automatically fills up. By default, the “Equal” operator is selected. If it is not the desired operator, click on the “Equals” operator and select the desired operator from the drop-down list.
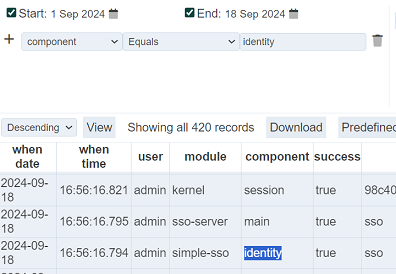
Click on the “View” button to re-generate the log. Now the records with “main” are removed.
The log can be downloaded by clicking on the “Download” button that appear in the page and select a format option from the drop-down list.
The log can be downloaded either in CSV or JSON format.
More filters can be added to further query the log. Click on the “+” icon on the left of the filter and a new filter wil lbe added below the current one.
When the same field is used on the filters, their operations are ANDed if the options include “Greater than”, “Greater than or equal”, “Less than”, “Less than or equal”, “Not equal” or “Contains”. If different fields are used, they are ORed.
For example, A>1, A<9 and A=20 are set as filters, they are ANDed and will have no results. But A=10 and A=20 will have results as they are ORed. To elaborate further, A=1 AND A=2 does not make sense. A starts with “ABC” AND A starts with “DEF” does not make sense as well. But A contains “X” AND A contains “Y” is possible.
The Audit Log record changes done in Ambience. For changes done to users (e.g., adding users, deleting user or editing settings of users), they are also recorded in the audit log.
To view the logs for the user changes, select the desired date range and add the desired criteria.
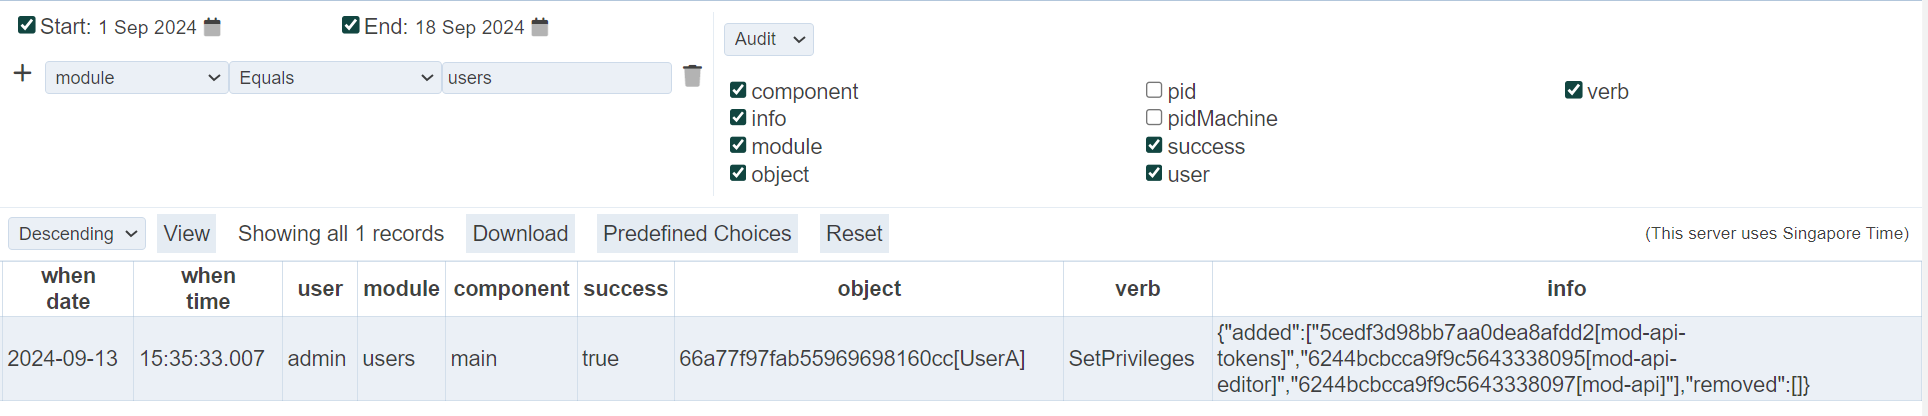
Click on the search button and the logs related to Users module will appear. The logs shows the following:
- “when time” column shows the time this record is added to the audit log
- “object” column shows the original name of the user concerned
- “verb” column shows the type of action carried out on the user, such as “Add”, “Deleted”, “SetEnabled”, etc.
- “Info” column shows the details of the action
Add Audit Log Entry
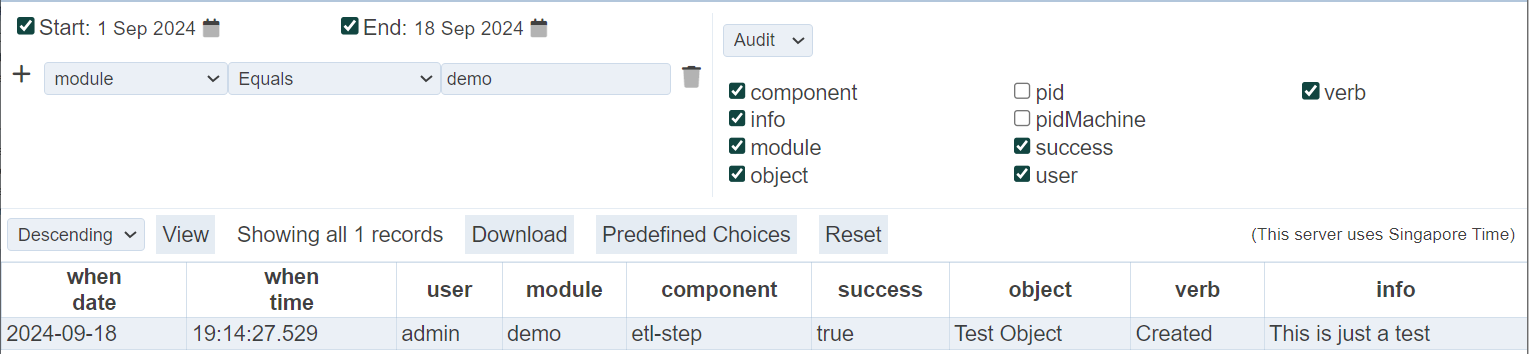
The audit logs are logged from activities from various modules within Ambience. You can add additional log using an ETL step Add Audit Log Entry from the Ambience category.
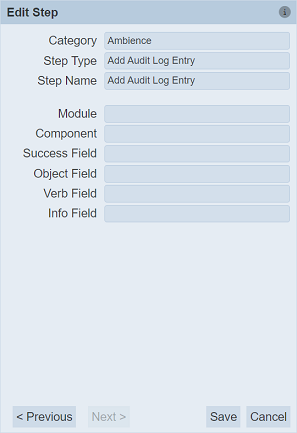
In the example below, the ETL chainset consists of two ETL steps.
JSON RecordETL step defines the information to logAdd Audit Log EntryETL step adds the information in the JSON record into the audit log
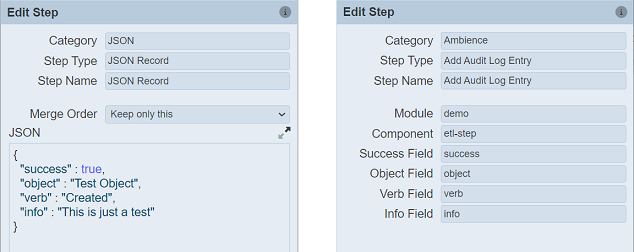
Run the ETL chainset to log the information into the audit log. In the Audit Log viewer, search for the module demo and you can view the log added.