
Banners
Introduction
There are times where you need to broadcast news or announce events to users. For example, you might need to warn everyone about an upcoming system maintenance window, or want to notify the sales team that a new sales forecasting dashboard is available.
The Banners module allows you to manage, edit and create banners that appear across Ambience modules. These banners contain messages intended for all users, or specific user roles to see.

Users can dismiss the banner (if enabled by the creator) by clicking on the  “Dismiss” icon, or snooze the banner for 24 hours by clicking on the
  “Snooze” icon at the upper right corner of the banner.
The banners will appear based on the start and end date/time specified. The background and colour of the text can be defined as well.
You can enable/disable a banner using the management page.
Unlike most other Elixir Ambience artifacts, banners are not owned by a particular user. Any user with access to this module can add/edit/delete any banner.
This module is available for both Ambience and Repertoire software suite.
Module Interface
| Interface | Description | Required Privilege |
|---|---|---|
| Banners | Allows Banners module access | mod-banner |
Add
To add a banner, click on the “Add” button at the upper right corner of the page.

The “Add” dialog box will appear.
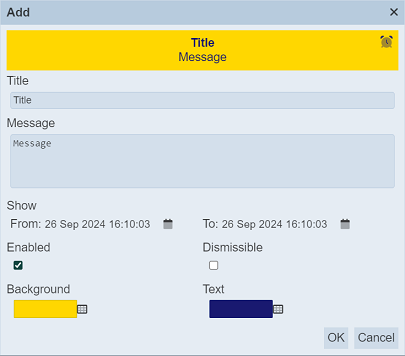
| Field | Description | Input Type | Default Value |
|---|---|---|---|
| Title | Title of the banner. | Textbox | “Title” |
| Message | Message of the banner. | Textbox | “Message” |
| Show | When the banner is to be displayed, in terms of date time (24-hour format). - From sub-field defines the start date time. - To sub-field defines the end date time. |
Calendar | Current date and time |
| Enabled | If selected, enables the banner. | Checkbox | Selected |
| Dismissible | If selected, allows users to dismiss the banner. | Checkbox | Not selected |
| Background | Background colour of the banner. | Colour palette | “Gold” |
| Text | Text colour of the banner. | Colour palette | “Midnightblue” |
Key in a title for the new banner in the “Title” field.
In the “Message” field, key in the desired message.
The “Show” field consists of two parts; the “From” and “To” sub-fields. Together, they defines the start-end date time of the banner. By default, the current date time is selected for both sub-fields. To change the date time, click on the  icon on the right of the desired sub-field.
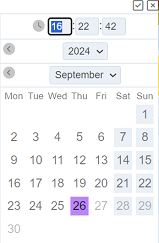
The “Calendar Selector” will appear. Key in the desired time in the HH:MM:SS in 24-hour format. Select the date by choosing the year, month and day.
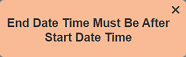
Do note that the end data time must be after the start date time, otherwise an error message will appear when attempt to save the banner.
Click on the “Tick” icon at the upper right corner of the “Calendar Selector” to save the date and time. To abort the action, click on the “Cross” icon.
The “Enabled” field is selected by default. You can disable the banner by deselecting it.
The “Dismissible” field if selected, places a “Cross” at the upper right corner of the banner to allows users to dismiss the banner.
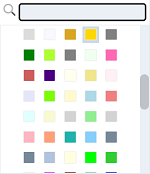
The “Background” and “Text” fields allow you to select the desired colour for the background and text. To select a colour, click on the  “Colour Palette” icon next to the current colour. In Colour Picker that appears, select the desired colour or use the search function to search for the colour.
To save the changes, click on the “OK” button on the upper right corner of the panel. To abort the action, click on the “Cancel” button. After adding the new banner, a notification will appear.
All users with mod-banner privilege will be able to access all banners. Users without mod-banner privilege, but with the selected role are able to access the banners.
Edit
To edit an existing banner, click on the name of the desired banner under the “Title” column.
The “Edit” dialog box will appear.
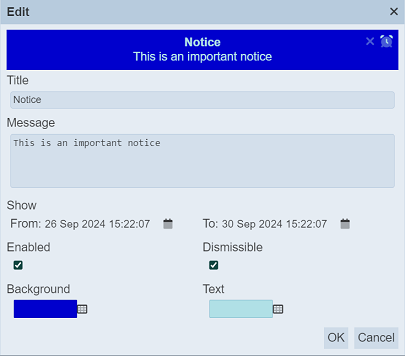
If the start date time is currently not due yet, an error icon  will appear next to it. Once the date time is due, the icon will disappear.

Edit the banner as required. Click on the “OK” button to save the changes. Click on the “Cancel” button to abort the action.
A notification will appear after the banner is saved.
More Actions
This feature allows user to perform actions on multiple banners at the same time.
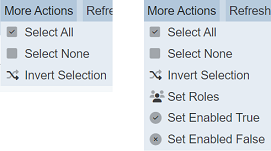
When the “More Actions” button located at the upper right corner of the page is clicked, a list of available actions are displayed.
If no report is selected prior clicking the button, there will be fewer actions available. To select a report, select the checkbox next to the name of the report.
| Option | Description |
|---|---|
| Select All | Selects all reports in the list. |
| Select None | Unselects all reports. |
| Invert Selection | Inverts the current selection. That is, any reports selected will be unselected and vice versa. |
| Set Roles | Selects the roles to be assigned to the reports. |
| Set Enabled True | When selected, sets the selected reports to enable. |
| Set Enabled False | When selected, sets the selected reports to disable. |
Set Roles
Setting roles allows you to “grant” or “remove” access to the banners to the “roles” selected.
To set the roles for the selected banners, click on the “More Actions” button and select the “Set Roles” option. The “Set Roles” dialog box will appear.
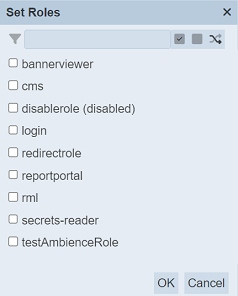
Select the roles to have access to the banners by selecting the checkboxes.
Alternatively, you can search for the desired role by keying in the keyword in the search function at the top of the dialog box. You can also choose to select all, select none or invert selection by clicking on their respective icons on the right of the search function.
Click on the “OK” button to save the changes or click on the “Cancel” button to abort the action.
Set Enable True / False
These options allows you to enable or disable a banner respectively. By default, a banner is enabled.
To enable a banner, select the “Set Enabled True” option. An enabled banner has a “Green Tick” under the “Enabled” column, while a disabled banner has a “Red Cross”.
To disable a banner, select the “Set Enabled False” option. Once the icon is clicked, the “Green Tick” will change to a “Red Cross” and vice versa.
Delete
To delete a banner, simply click on the  icon under the “Actions” column of the corresponding banner.

A notification will appear.
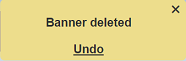
There is an “Undo” button to undo the deletion. Upon clicking on the “Undo” button, the deleted banner is restored and are added back to the list of banners. Do note that the notification will disappear after some time.
Refresh
After performing actions on the browser/tab, the list is reloaded to display the list of banners. The manual “Refresh” button is available and is particularly useful if there are others making changes on the same page.
The “Refresh” button is found on the upper right corner of the page. Clicking on it reloads the list of banners.
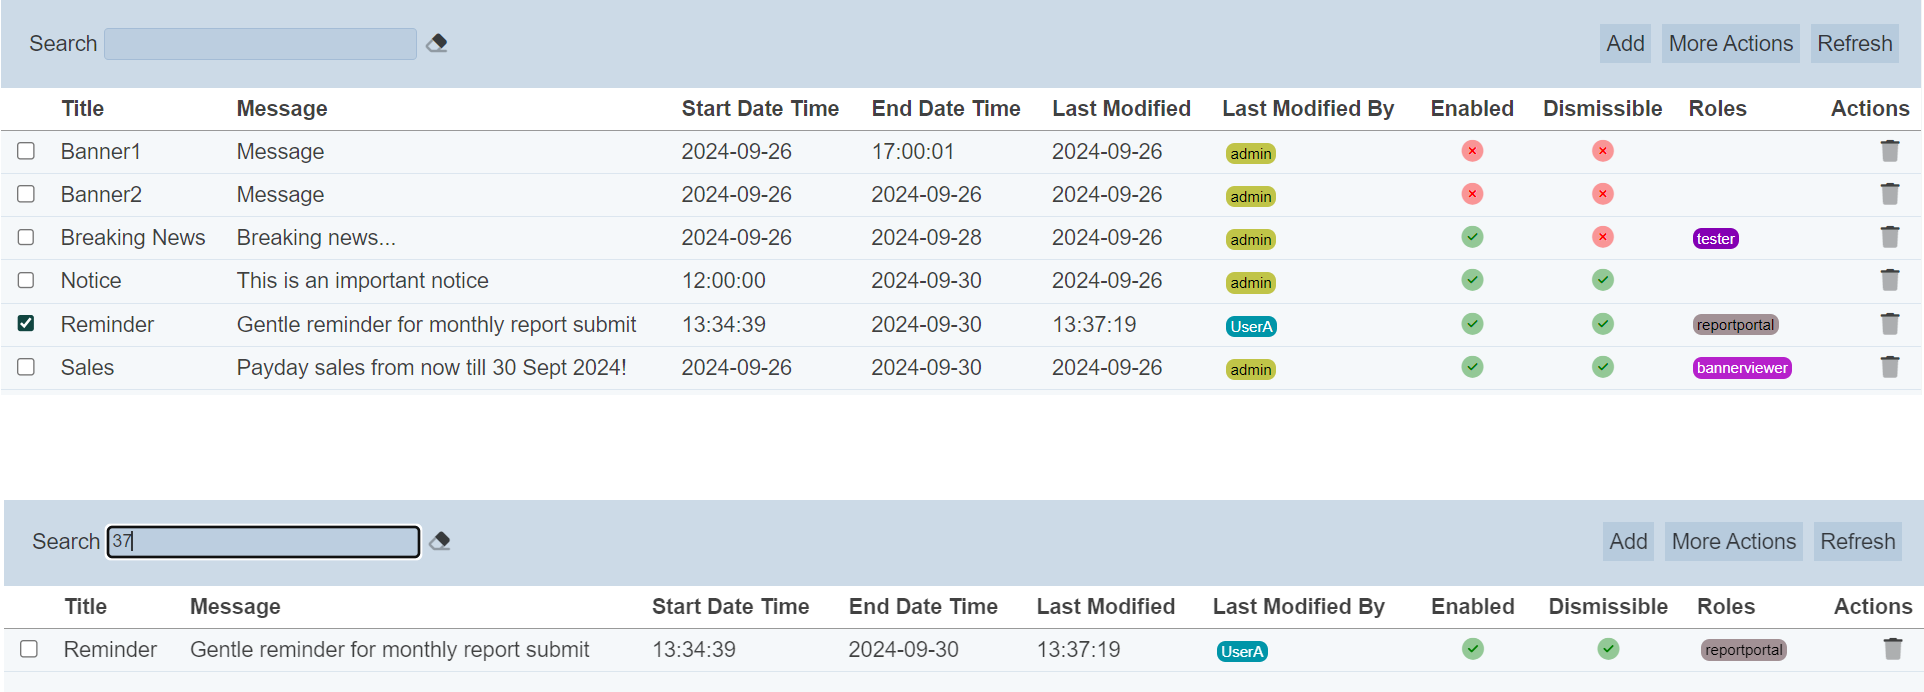
Search
There is a cross-field search function for the list of banners. It is located at the upper left corner of the page.

This provides an easy way to search through the list of banners. It is case-insensitive and displays banners that have the entered search value in any of the values of the fields below:
- Title
- Message
- Start Date Time
- End Date Time
- Last Modified
- Last Modified By
- Roles
Alternatively, you can click on the any role or user under the “Roles” or “Last Modified By” columns respectively to aid the search for the banners in the page.
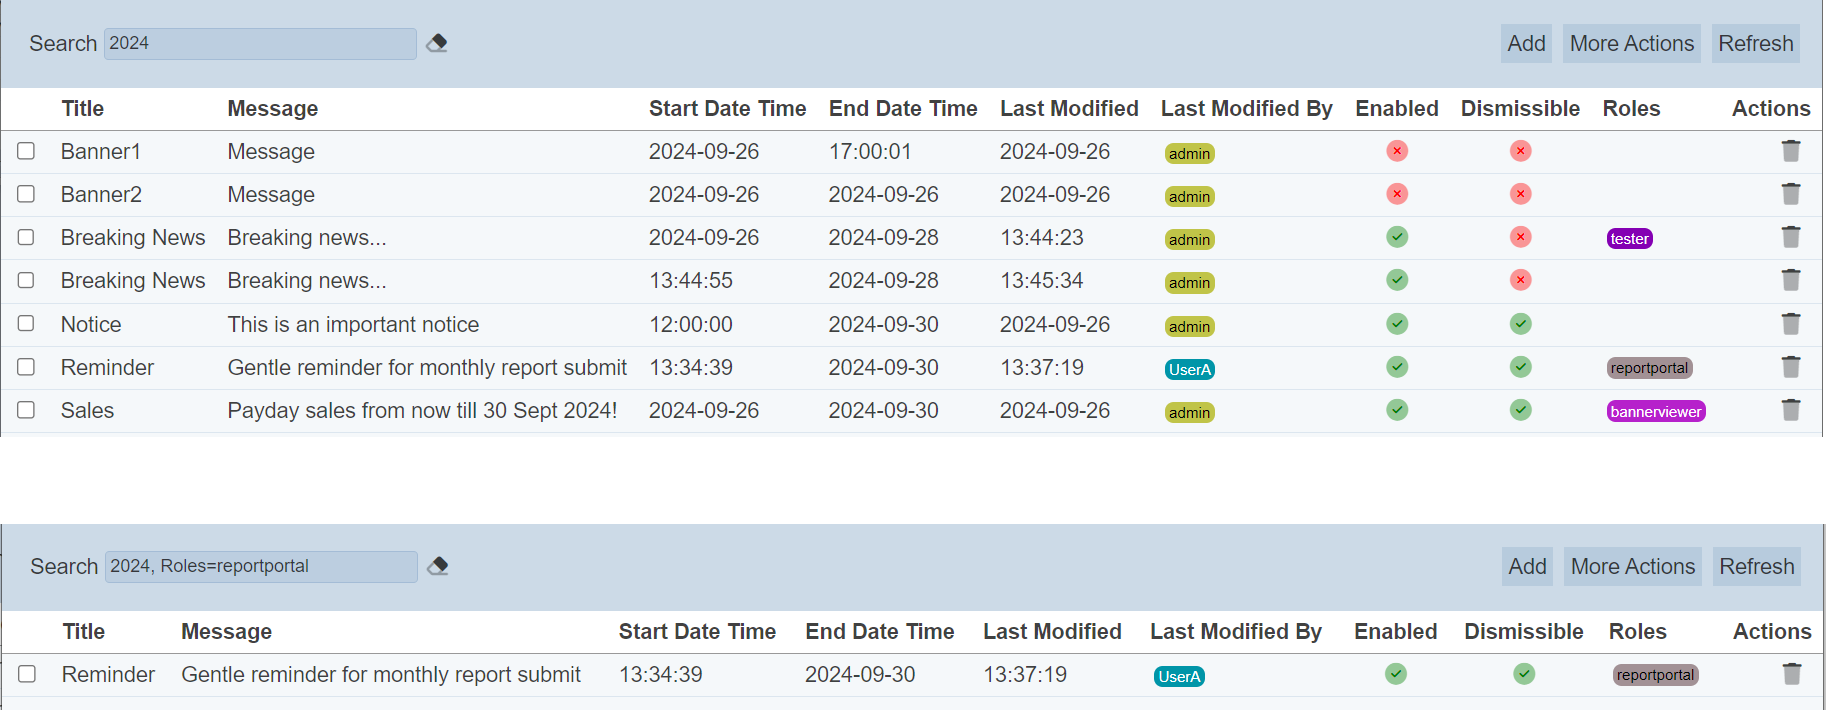
In the example above, banner that are assigned the role “reportportal” and “2024” is shown, with each search criteria is separated by a comma.