
Config Editor
Description
Configuration of a system need to change from time to time as requirements change. The configuration is usually set up in configuration files in the servers. To change the configuration of the system, you will need to edit the configuration file of each server and restart the servers for the new changes to take effect. A manual approach like this may cause errors and long down time.
The Config Editor module in the Ambience software suite allows you to manage and edit the configuration and save the change onto MongoDB.
The benefit of storing the config in MongoDB is that multiple servers can all share a single set, without the need to duplicate the .conf file across various servers. Do note that the config changes are not live, the server only loads the config next time it starts.
If there is a conflict, configuration stored in each application.conf takes precedence over shared config loaded from MongoDB.
To allow the Config Editor to load the configuration, the application.conf file need to add a line:
ambience.config-loader.mongdb.enabled = true
Module Interface
| Interface | Description | Required Privilege |
|---|---|---|
| Config Editor | Allows Config Editor module access | mod-config-editor |
Users with the mod-config-editor privilege will be able to see any changes to the Config Editor.
Add
To add a new config, click on the “Add” button at the upper right corner of the page.

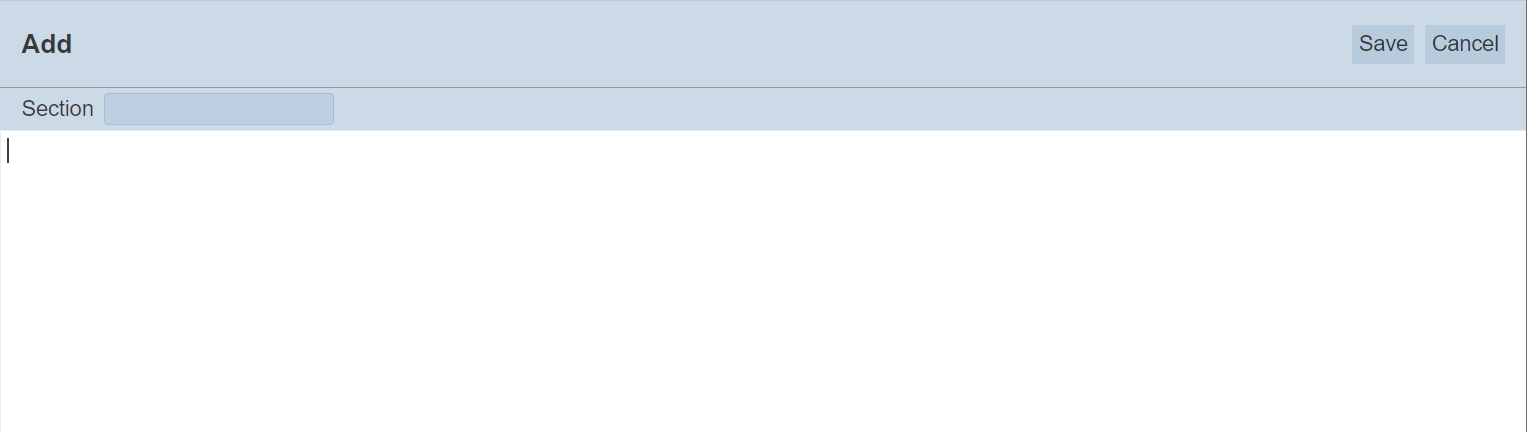
The “Add” page will appear.
If the Config Editor is not enabled in the application.conf file, an error message will appear.

Key in an appropriate name for the new configuration in the “Section” field. In the textbox below, key in the configuration code.
Click on the “Save” button to save the new configuration or click on the “Cancel” button to abort. Upon successful save, a notification will appear and the new configuration will appear in the management page.

If the “Section” field is left empty, an error message will appear.

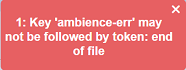
If there is any error in the config code, the relevant error message will appear. Below is an example.
Upload
To upload a config, click on the “Upload” button at the upper right corner of the page.
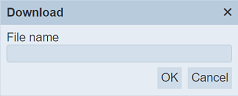
The “Upload” dialog box will appear.
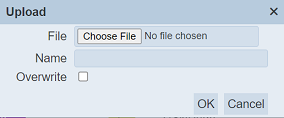
Browse to the location of the new config file to upload. The “Name” field will by default use the name of the file selected. Change the name of the config file if the filename is not desired. Click on the “OK” button to upload the config file. Click on the “Cancel” button to abort the action.
If the name of the config already exist, an error message will appear.
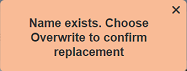
To overwrite the existing config, check the “Overwrite” field before clicking on the “OK” button.
Upon successful uploading, the relevant notification will appear.
Edit
To edit a configuration, click on the name of the configuration under the “Name” column.
The “Edit” page will appear.
Edit Page Interface
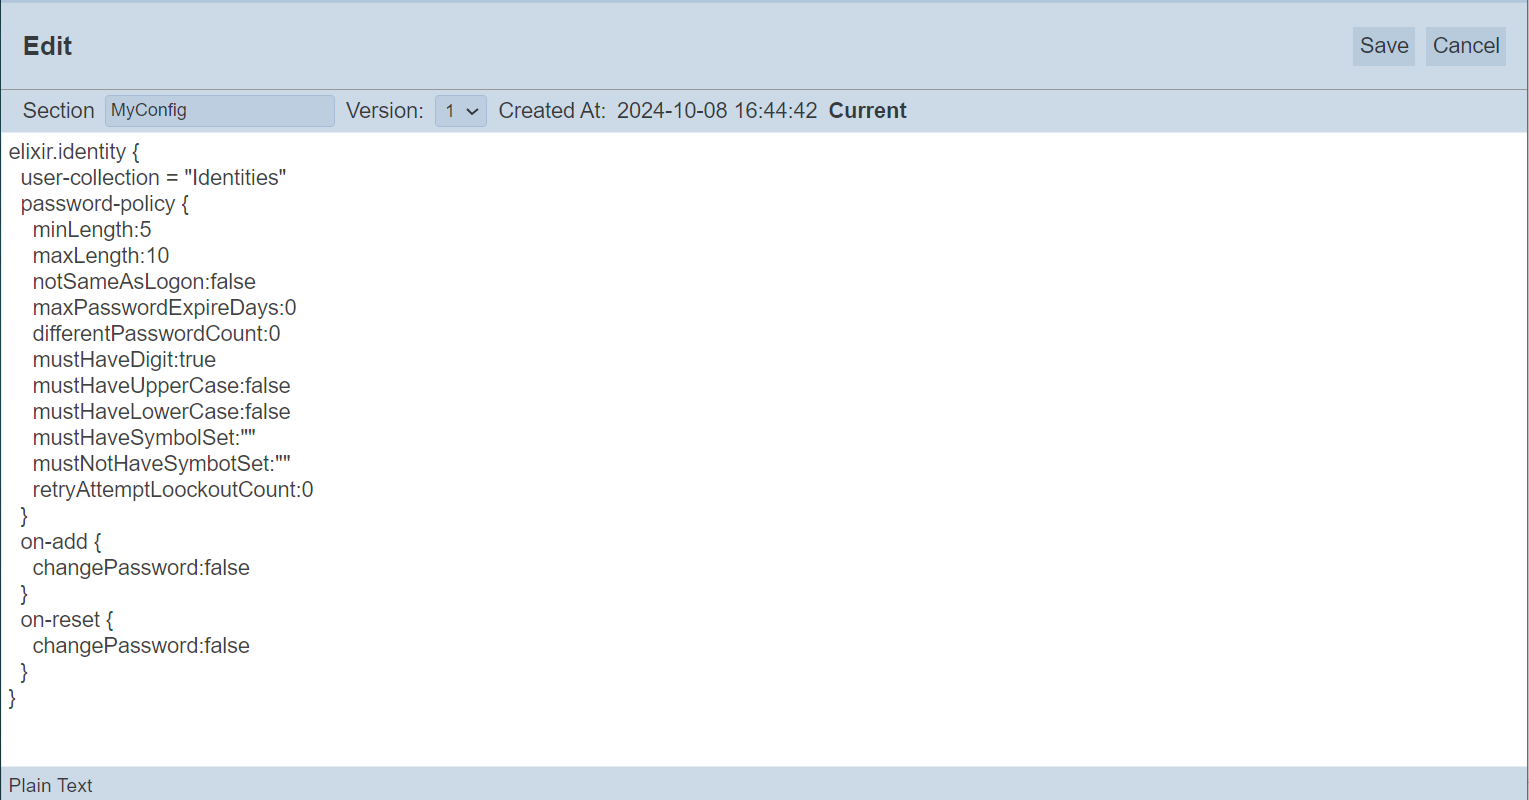
The page can be divided into three parts.
At the top of the page (grey), the “Section” and “Version” fields show the name and current version of the configuration respectively. On the left of these two fields shows the timestamp of the configuration.
When the configuration is newly created, the version always start with “1”. The version will be incremented by 1 with each subsequent save. You can switch between
The middle part is the code area (white), shows the code for the configuration.
The bottom part shows which line you are currently at.
Making Changes
The example below sets the password policy to allow passwords to have at least five characters but not more than ten.

The new password policy now requires users to have both upper and lower case characters in their passwords. In the code, change both mustHaveUpperCase:false and mustHaveLowerCase:false to true.
Click on the “Save” button to save the code. Once the code is saved successfully, a message will appear and you will be returned to the management page.
If no changes are made, an error message will appear.
Re-start the server (or servers) for the configuration change to take effect. Try to change your password, it should only allow a password that is between five to ten characters. Other users will be affected by this change as well.
In the above example, the version is incremented from “1” to “2”. To view the version change, click on the name of the configuration under the “Name” column.
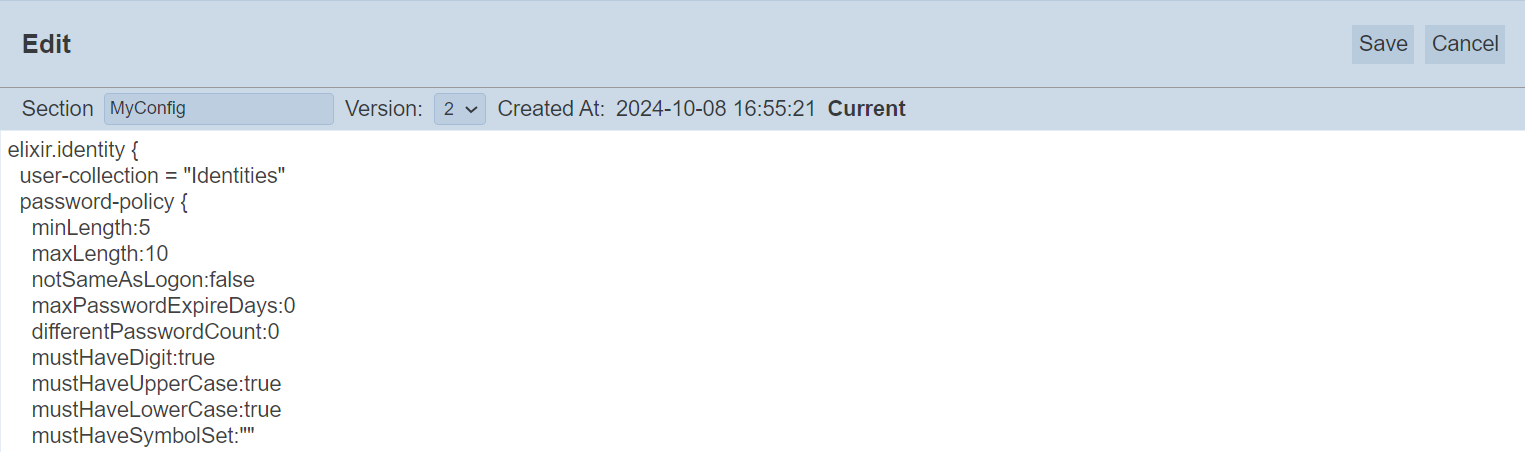
The “Edit” page now shows the current version (which is “2”) and the timestamp when this version is saved.
View Previous Pages
All version of the configuration are kept in the Config Editor. You can view the previous version by clicking on the drop-down list. The previous version will be greyed-out.
Make Previous Config Current
You can make the previous version as the current version. Using the above example, this allows you to revert the password policy.
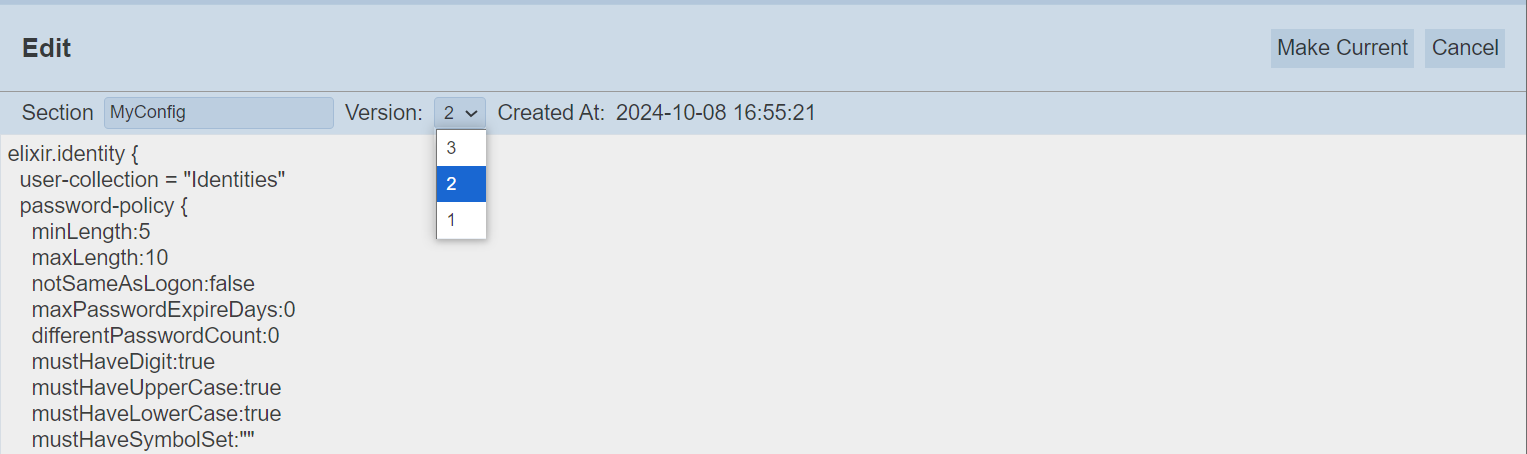
To do so, select the desired version from the drop-down list from the “Version” field. In this case, “2” is selected.
Click on the “Make Current” button at the upper right corner of the page.

The code of the selected version now replaces the code of the current version. Click on the “Save” button to save the change.
To verify, click on the name of the configuration under the “Names” column.

The “Edit” page now shows the current version, which is “4” and the code of the configuration is copied from the selected version “2”.
More Actions
This feature allows user to perform actions on multiple configurations at the same time.
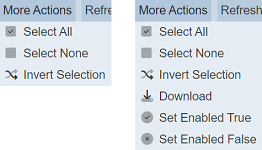
When the “More Actions” button located at the upper right corner of the page is clicked, a list of available actions are displayed.
If no configuration is selected prior clicking the button, there will be fewer actions available. To select a configuration, select the checkbox next to the name of the configuration.
| Option | Description |
|---|---|
| Select All | Selects all configurations in the list. |
| Select None | Unselects all configurations. |
| Invert Selection | Inverts the current selection. That is, any configurations selected will be unselected and vice versa. |
| Download | Downloads multiple configurations as a zip file. If only one configuration is selected, the selected report will be downloaded as a JSON file. |
| Set Enabled True | When selected, sets the selected configurations to enable. |
| Set Enabled False | When selected, sets the selected configurations to disable. |
Download
This function allows you to download existing configurations.
To download the selected configurations, click on the “More Actions” button and select the “Download” option.
If only one report is selected, the downloaded configuration has the following filename format <filename.configeditor.json>.
If more than one configuration are selected prior, the “Download” dialog box will appear.
Key in the desired name for the zip file and click on the “OK” button. The selected configurations will be downloaded as a zip file with the filename provided earlier. The individual configuration in the zip file will have the filename format as mentioned above.
Set Enabled True / False
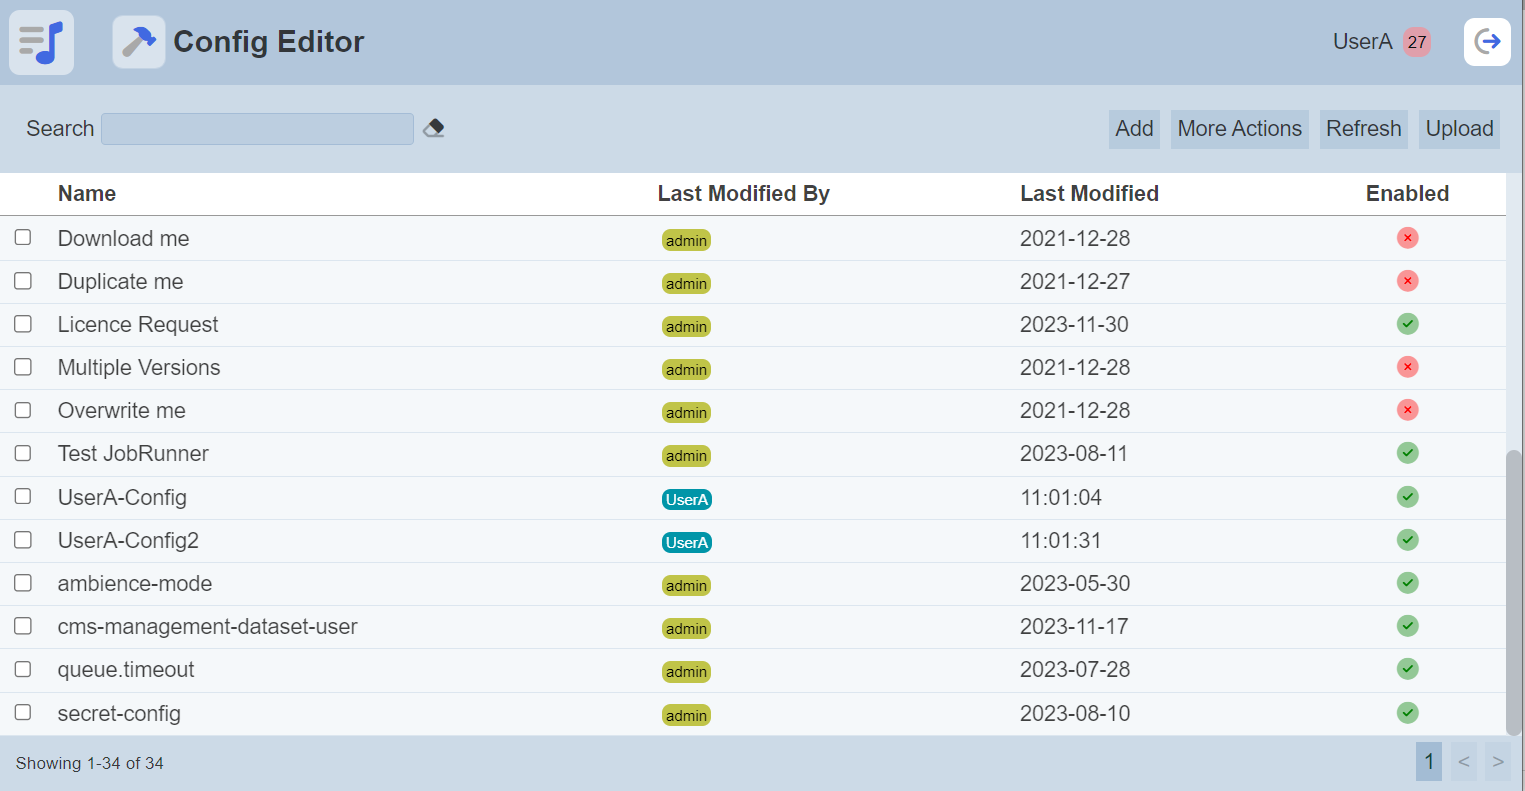
A configuration when created is enabled by default. An enabled configuration is indicated with a green tick under the “Enabled” column corresponding the configuration. A disabled configuration is indicated with a red cross.
To enable or disable the configurations, click on the “More Actions” button and select the “Set Enabled True” or “Set Enabled False” option respectively.
The selected configurations will be enabled or disabled as selected.
Refresh
After performing actions on the browser/tab, the list is reloaded to display the list of configs. The manual “Refresh” button is available and is particularly useful if there are others making changes on the same page.
The “Refresh” button is found on the upper right corner of the page. Clicking on it reloads the list.
Search
The search bar appears on the upper left corner of the page.

This provides an easy way to search through the list. It is case-insensitive and displays configs that have the entered search value in any of the values of the fields below:
- Name
- Last Modified By
- Last Modified
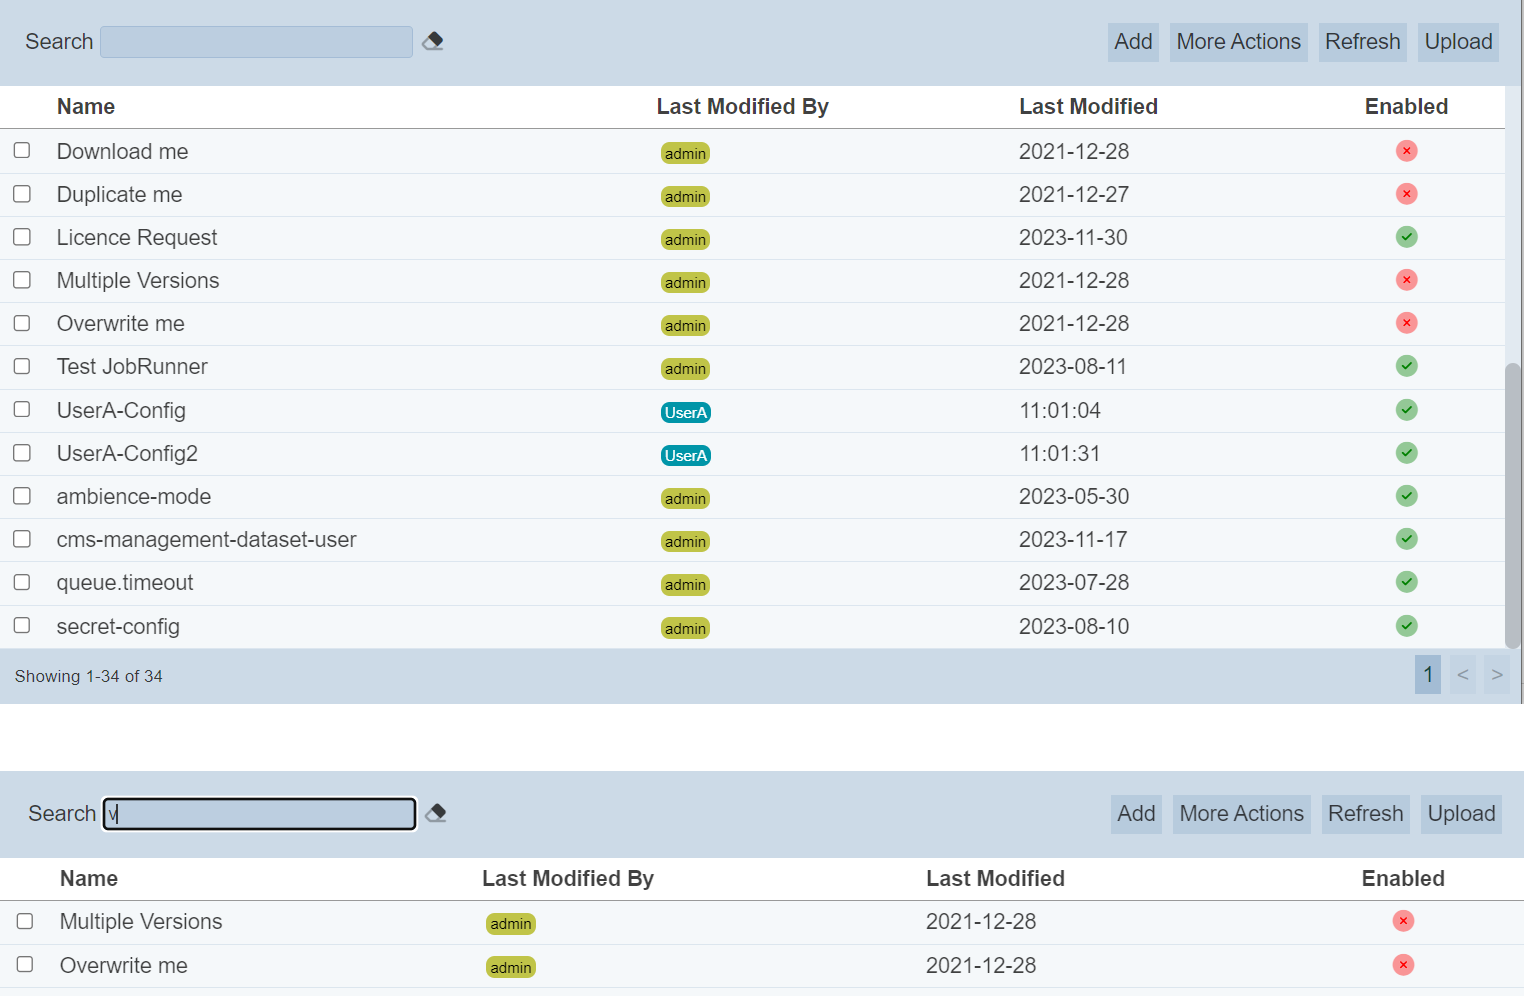
Alternatively, you can click on the any user under the “LAst Modified By” column to aid the search for the configurations in the page.

In the example above, configurations that are last modified by the user “UserA” are shown.
These two search methods can be combined together, with each criteria separated by a comma.