
Datasets
Introduction
The Ambience Datasets module is responsible for providing data to other modules, for example Dashboard. A dataset is a named collection of records where each record consists of named values which may be not only text strings, numbers and booleans, but also arrays, binary data and even nested records. The data can be derived from three sources:
- MongoDB dataset where it reads data from MongoDB databases.
- ETL dataset where it reads data from ETL chainsets.
- Cached dataset where it reads data from other dataset or any ETL or MongoDB
- Dataset itself where it reads data from other existing datasets.
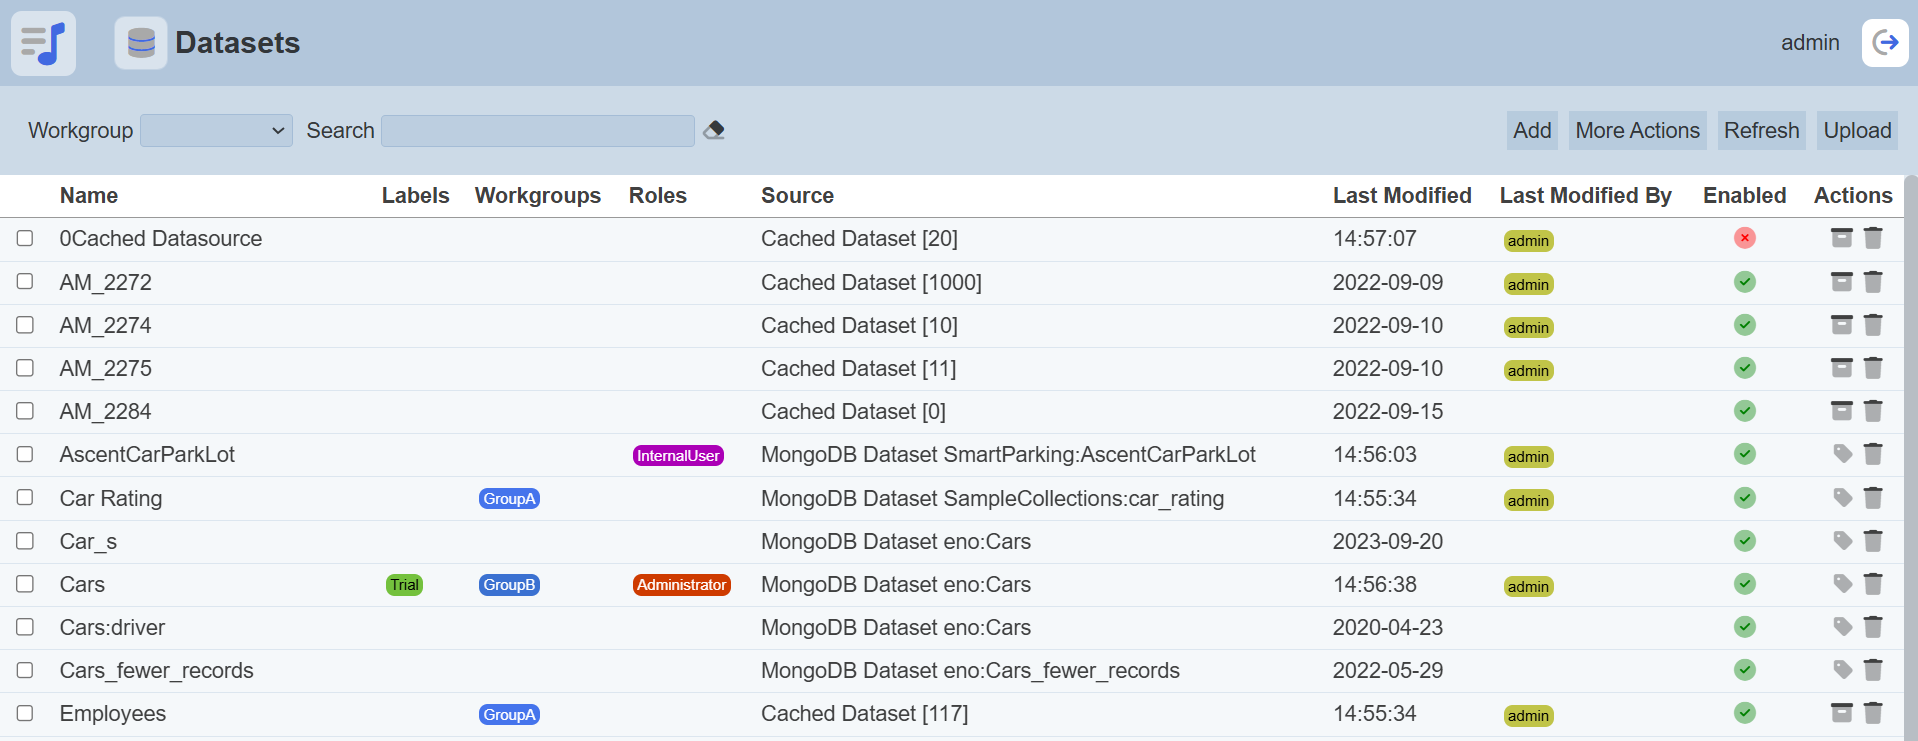
Module Interface
The interface of the Datasets module.
Add Dataset
To create a new dataset, click the “Add” button located at the upper right corner of the page.

The “Add Dataset” dialog box will appear.
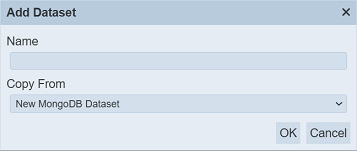
In the “Copy From” field, select which dataset’s source to be used from the drop-down list.
To copy from existing dataset, select from the drop-down list. For new dataset, select one of the first three options in the list. Screenshots below shows the Properties setting for the MongoDB dataset, ETL dataset and cached dataset respectively.
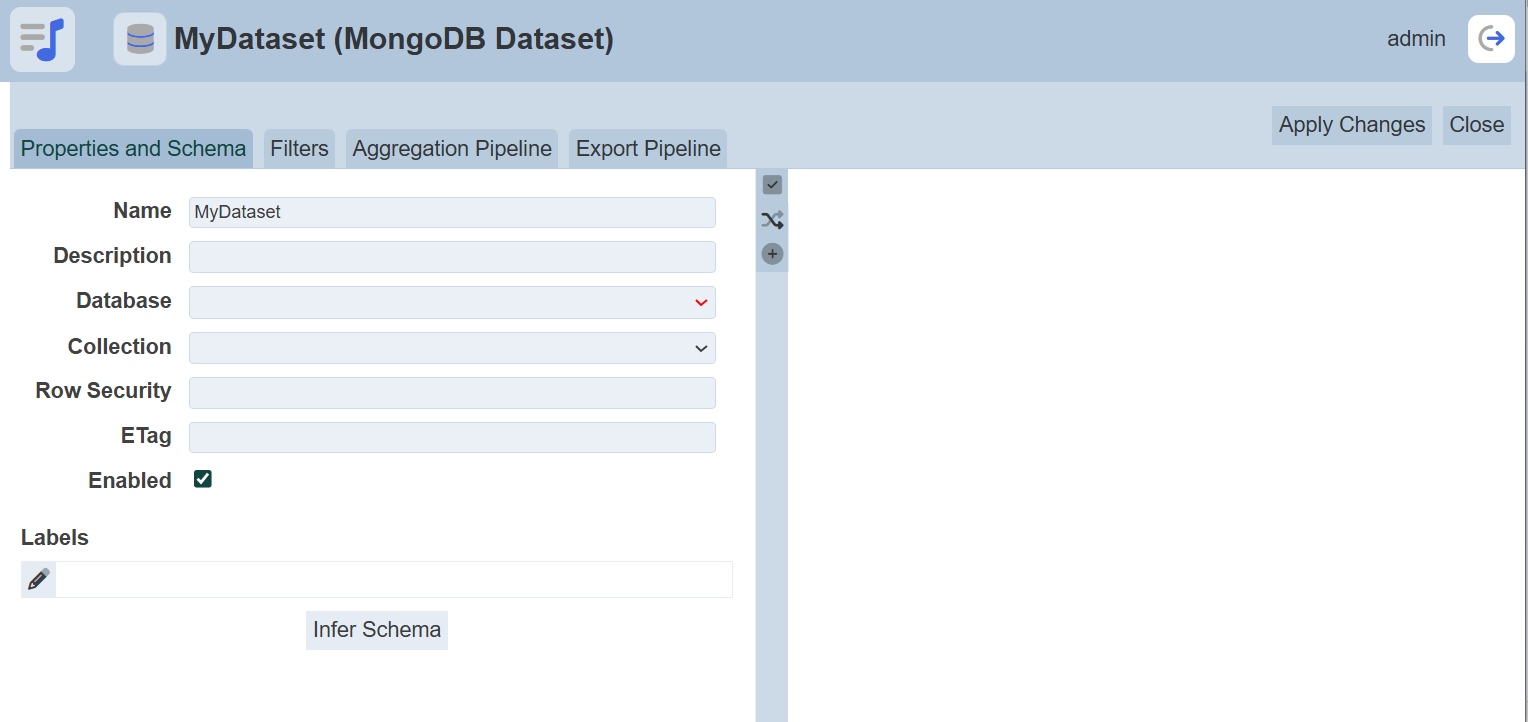
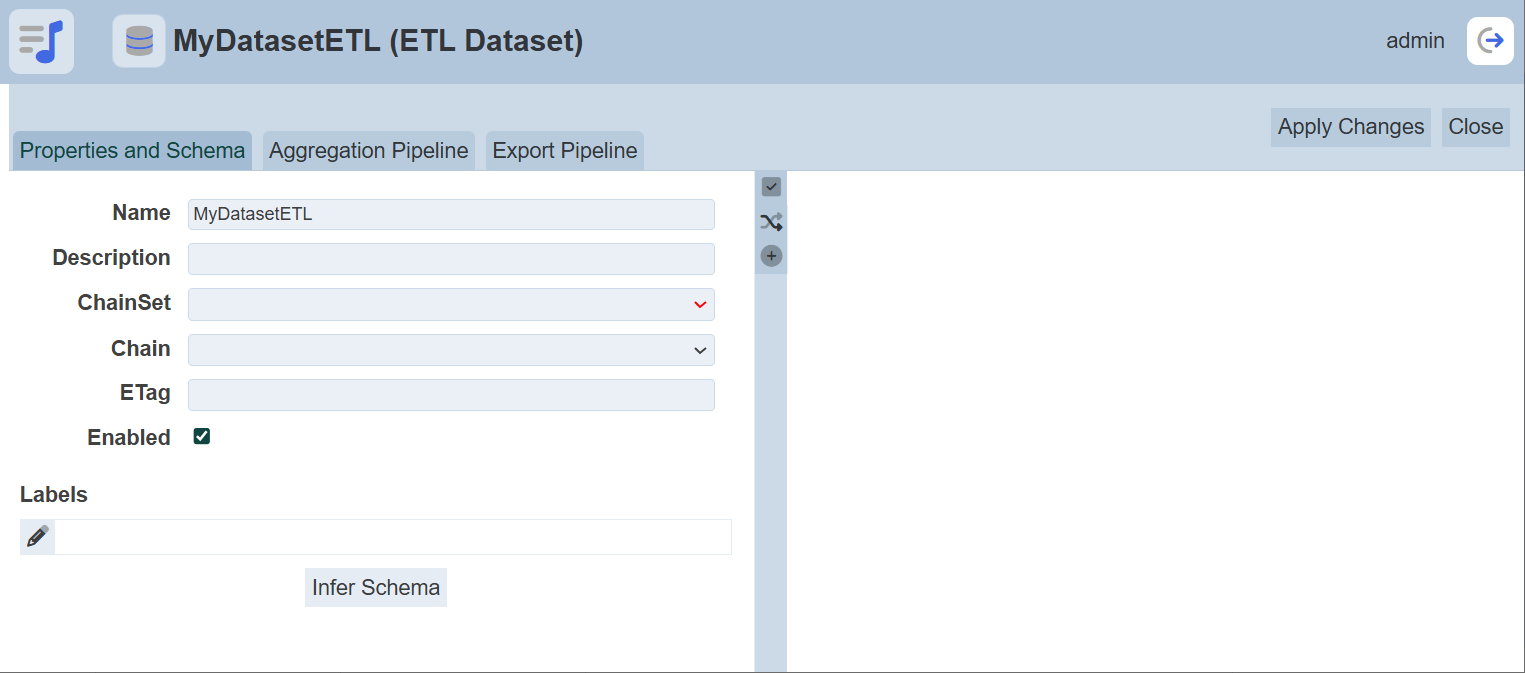
Refer to Properties on the different tabs for the dataset.
ETag
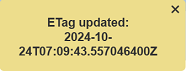
The Etag reflects when the dataset has changed by checking the last modified datetime. Etag works with the ETL Bump Etag step which updates new datetime in the Datasets module’s Etag column. Alternatively, Etag can be manually updated by clicking the  “Update Etag” icon under the “Actions” column corresponding the desired dataset.

A message will appear.
Do note that if an option is selected from the drop-down list for the “Workgroup” field at the top of the page, any dataset added to the management page will have the selected workgroup added to it. For example, if “Workgroup A” is selected, a new Dataset “New-dataset” is added. Dataset “New-dataset” will have “Workgroup A” added to its properties.
Upload Dataset
Upload allows importing the DayTest.dataset.json file into Datasets module in another machine and provides the option to create a new dataset or overwrite an existing one. To upload a dataset, click on the “Upload” button located at the upper right corner of the page.
The “Upload” dialog box will appear.
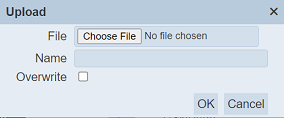
| Field | Description |
|---|---|
| File | Browse to the location of the file. (Required) |
| Name | A unique dataset name. (Required) |
| Overwrite | Selected to overwrite existing dataset. By default, this field is deselected. |
Browse to the location of the file to be uploaded in the “File” field. In the “Name” field, key in a unique name for the dataset if it is a new dataset. If the file to be uploaded is to overwrite an existing dataset, ensure to select the “Overwrite” field and key in a name that matches the dataset to be overwritten. Click on the “OK” button to upload the dataset or click on the “Cancel” button to abort the action.
Single File
Browse to the location of the data mixer JSON (.json) file to be uploaded and key in an unique name in the “Name” field. If no file is selected or the name already exist, the relevant error message will appear.


If the data mixer to be uploaded is to replace an existing data mixer, select the “Overwrite” field. Click on the “OK” button to upload the data mixer. Click on the “Cancel” button to aborts the action.
Upon successful uploading, the relevant message will appear.
Zip File
Browse to the location of the zip file to be uploaded. The name of the data mixers will be extracted from the zip file. Click on the “OK” button to upload the data mixers. The “Upload Results” dialog box will display the results of the uploading.
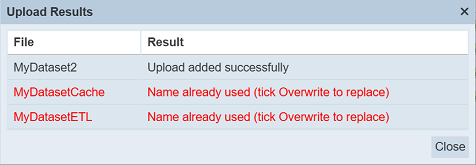
Those results in black are uploaded successfully while those in red indicates upload failures with their relevant messages. Click on the “Close” button to close the dialog box.
More Actions
This function allows you to perform an action on several datasets at the same time.
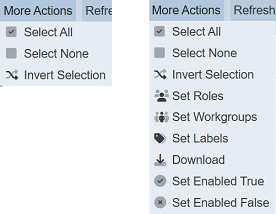
When the “More Actions” button located at the upper right corner of the page is clicked, a list of available actions is displayed. If no datasets are selected prior to clicking the button, there will be fewer actions available. To select a dataset, select the checkbox next to the name of the dataset.
| Option | Description |
|---|---|
| Select All | Selects all datasets in the list. |
| Select None | Unselect all datasets. |
| Invert Selection | Inverts the current selection. That is, any datasets selected will be unselect and vice versa. |
| Set Roles | Select roles for the dataset. |
| Set Workgroups | Select workgroups for the dataset. |
| Set Labels | Select/set labels for the dataset. |
| Download | Downloads multiple datasets as a zip file. If only one dataset is selected, the selected dataset will be downloaded as a JSON file. |
| Set Enabled True | Enable the datasets selected. Enabled dataset is represented by a green tick under the “Enabled” column. |
| Set Enabled False | Disable the datasets selected. Disabled dataset is represented by a red cross under the “Enabled” column. |
Set Roles / Workgroups
When the “Set Roles” or “Set Workgroups” option is selected, their respective dialog box will appear.
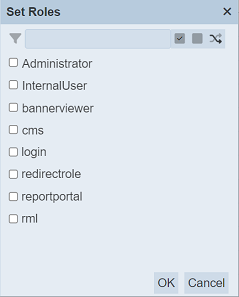
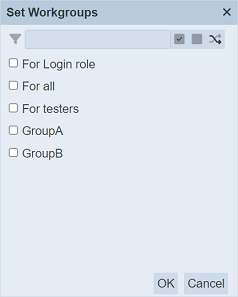
Select the desired roles/workgroups for the datasets by checking the checkboxes next to the options. Alternatively, you can use the search function at the top of the dialog box to search for the desired role by keying in the keyword. You can also choose to select all, select none or invert selection by clicking on their respective icons on the right of the search function.
Set Labels
To set the labels for the selected datasets, click on the “More Actions” button and select the “Set Labels” option. The “Edit Labels” dialog box will appear.
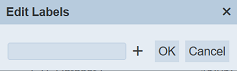
To use exisiting label, select from the drop-down list. To create a new label, enter the desired label in the textbox. Click on the “OK” button to save the change. To abort the action, click on the “Cancel” button.
Download Dataset
To download the selected datasets, click on the “More Actions” button and select the “Download” option.
If only one dataset is selected, the downloaded dataset has a filename of <filename>.dataset.json.
If more than one dataset are selected prior, the “Download” dialog box will appear.
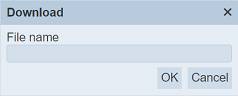
Key in the desired name for the zip file and click on the “OK” button. The selected datasets will be downloaded as a zip file with the filename provided earlier. The individual dataset in the zip file will have the filename format as mentioned above.
Set Enabled True / False
To enable or disable the datasets, click on the “More Actions” button and select the “Set Enabled True” or “Set Enabled False” option respectively.
The selected datasets will be enabled or disabled as selected.
An enabled dataset is represented with a green tick under the “Enabled” column, while a disabled dataset is represented with a red cross.
Edit Dataset
In edit mode, you can perform,
- enable or disable the dataset.
- edit properties, filter, aggregation pipeline and schema.
To edit a dataset, click on the name of the dataset under the “Name” column.
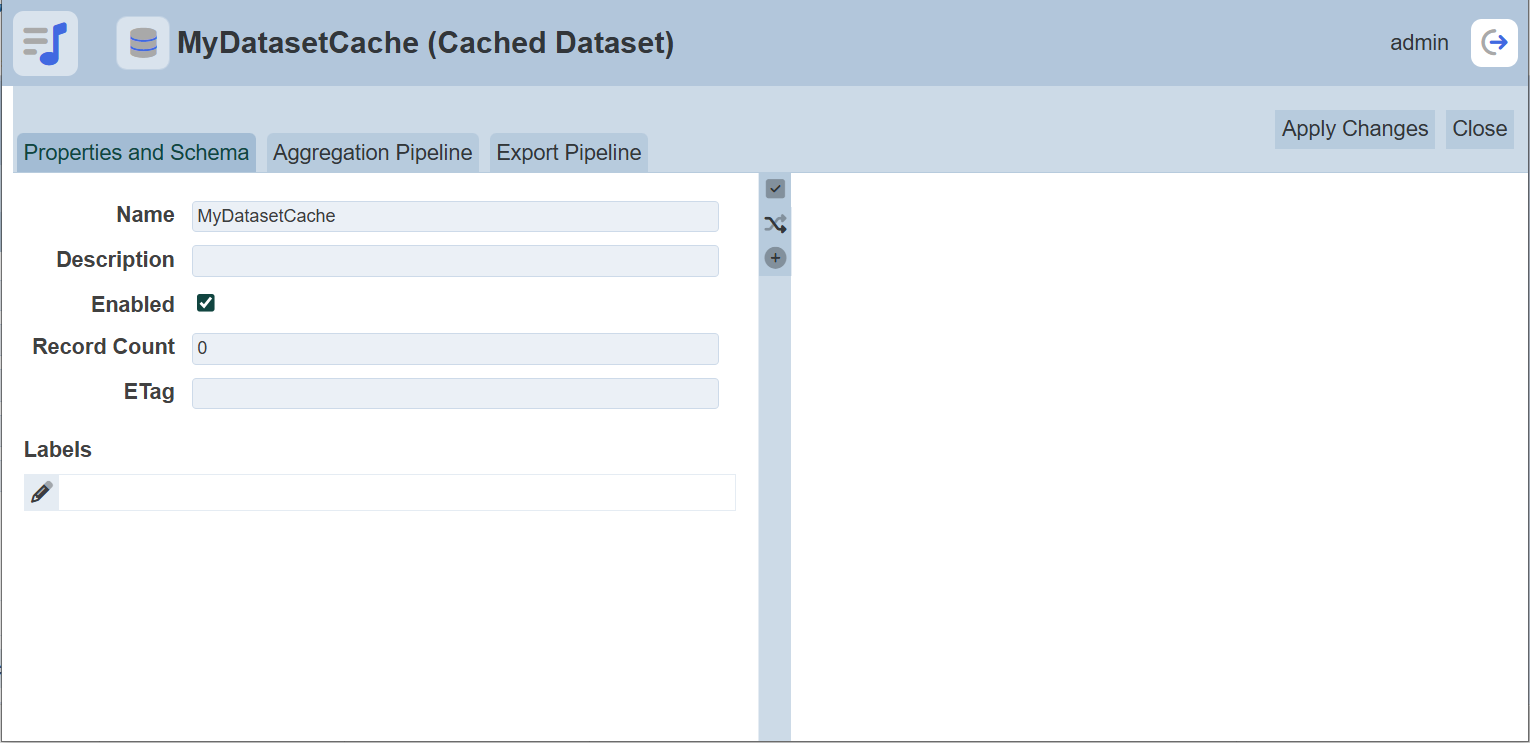
The “Edit” panel will appear.
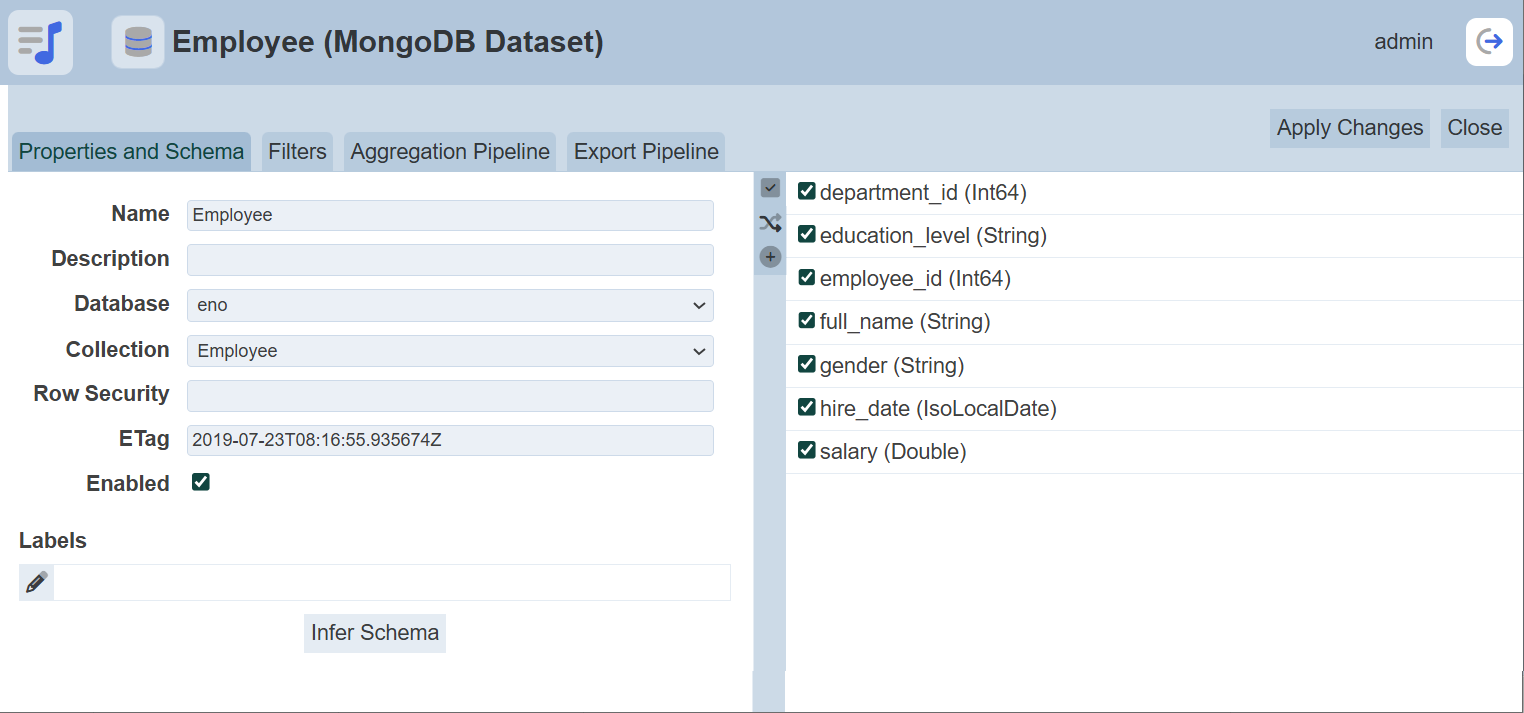
Edit as required and click on the “Save” button to save the changes. Click on the “Cancel” button to abort the action.
Delete Dataset
Delete function deletes a selected dataset in Datasets module, not delete the data.
To delete a dataset, click on the  “Delete” icon under the “Actions” column corresponding the desired dataset.
There is an option to undo the deletion. A notification with an “Undo” button appears right after clicking on the “Delete” icon.
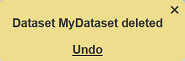
Upon clicking on the “Undo” button, the deleted dataset is restored and is added back to the list of dataset.
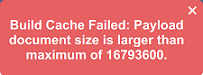
Build Cache
This function allows you to cache any datasets in the Dataset Management Page. The output of the chosen dataset will be stored within the Cached Dataset, the schema wil be set accordingly and the ETag will be bumped.
To cache data, click on the  “Build Cache” icon under the “Actions” column corresponding the desired dataset.
The “Build Cache” dialog box will appear.
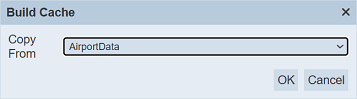
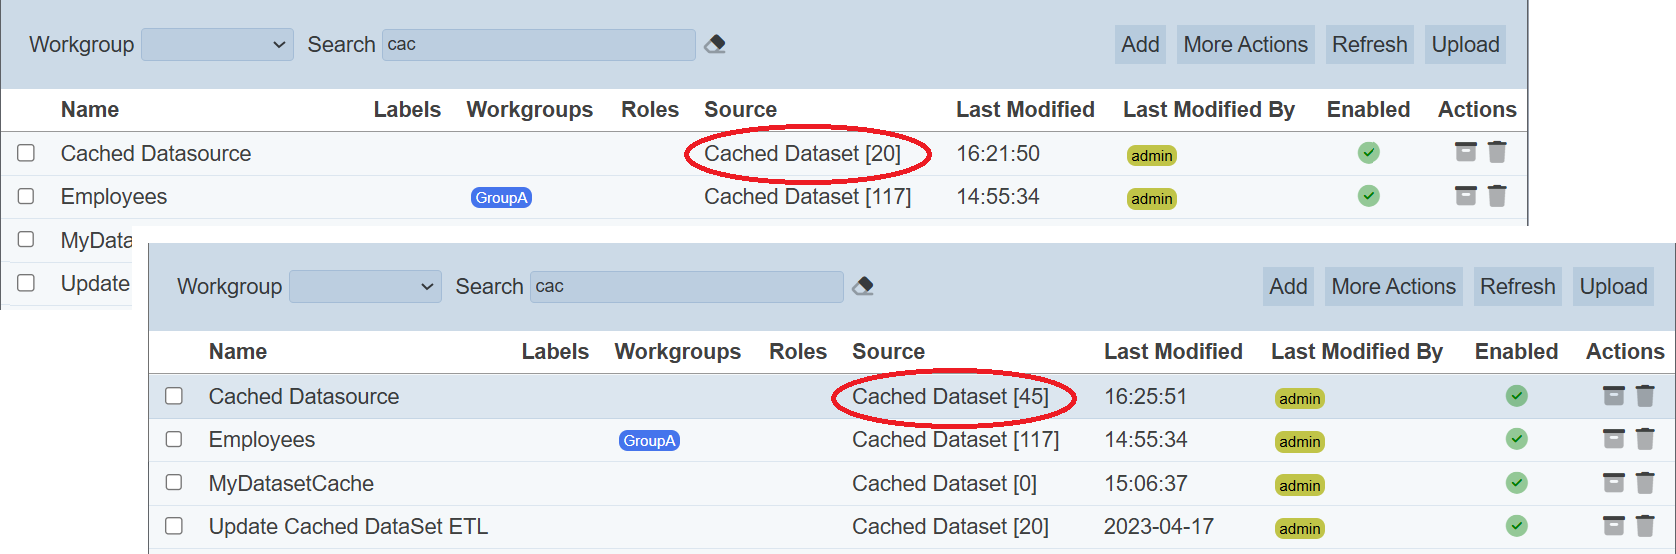
Select the desired dataset to build the cache from the drop-down list and click on the “OK” button to build the cache. Upon successful caching the data, the number of records cached will be displayed in the management panel under the “Source” column.
As the cached records are stored within one dataset record (as a nested array), they are limited by the MongoDB record size. One record can only contain 16 MB of data (currently).
All modules which use datasets can use the Cached Datasets, except Record Editor module.
Refresh
After performing actions on the browser/tab, the list is reloaded to display the list of datasets in the page. The manual “Refresh” button is available and is particularly useful if you or others have opened multiple pages and making changes.
The “Refresh” button is found at the upper right corner of the page. Clicking on it reloads the list.
Workgroup
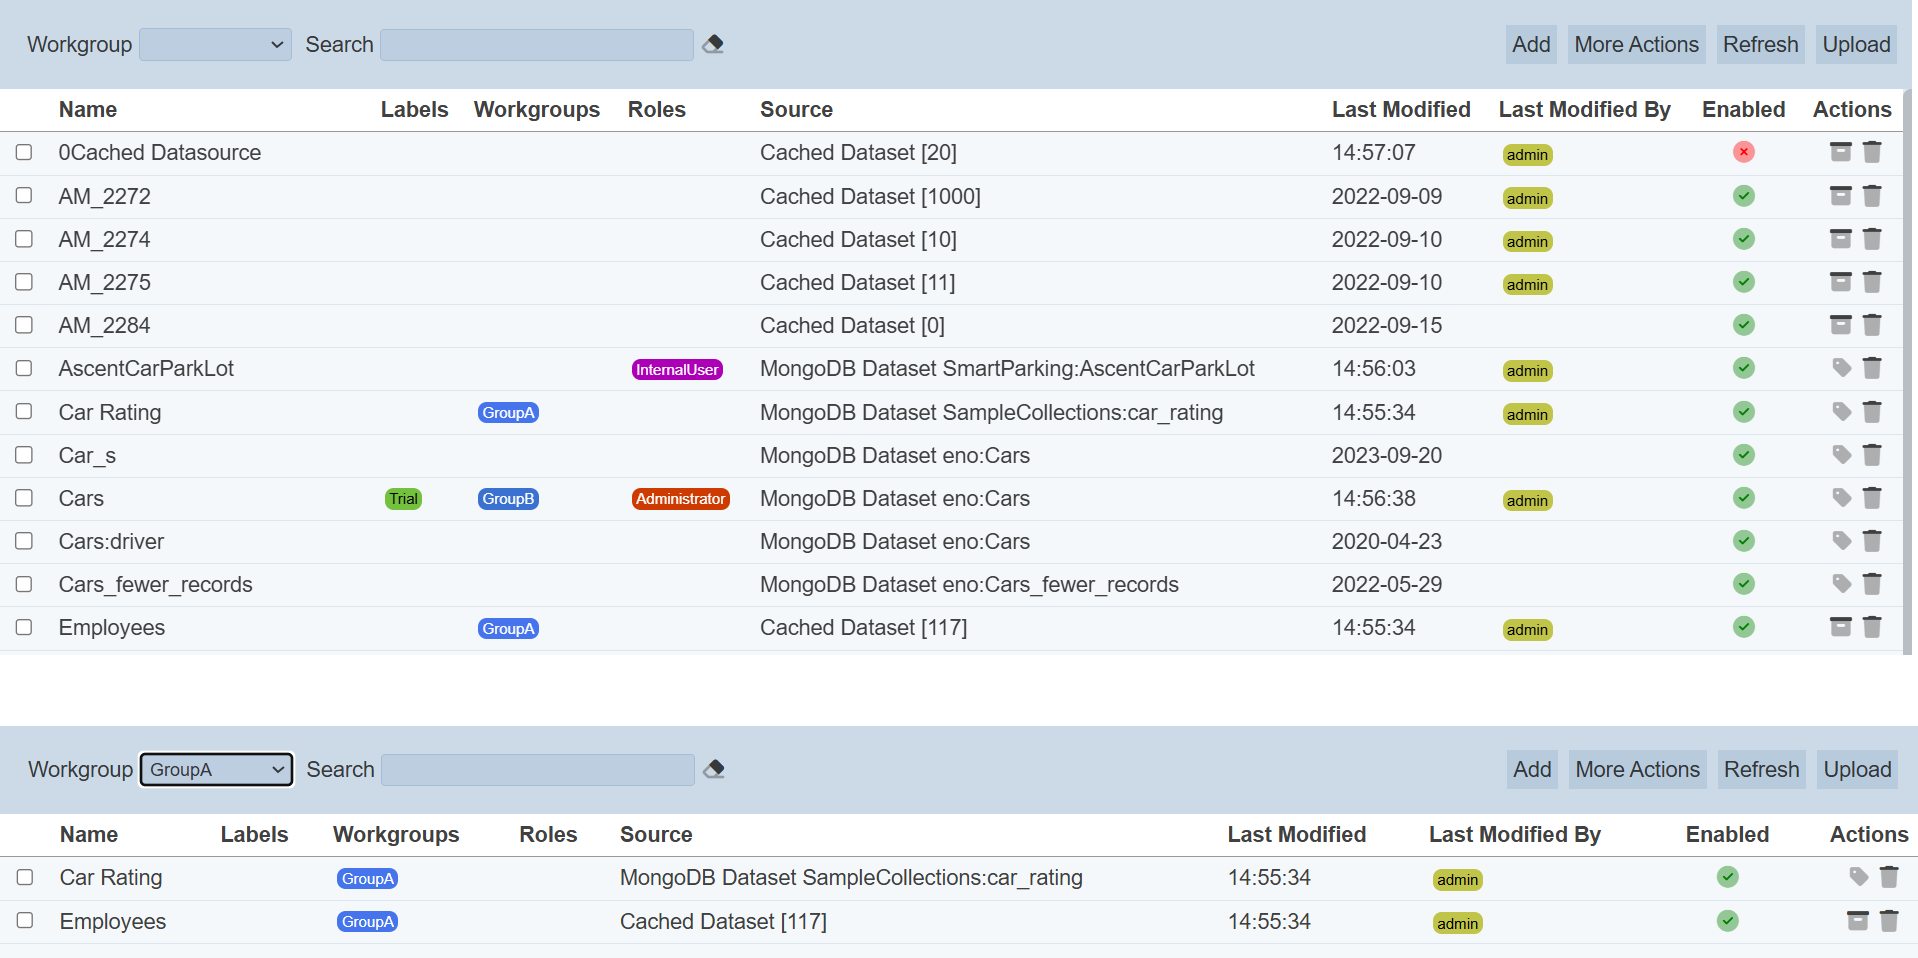
The “Workgroup” field at the top left corner of the page allows you to filter the datasets associated with the selected workgroup.
Simply select the desired workgroup from the drop-down list and the datasets associated with the selected workgroup will appear.
Do note that if no workgroup is created in the Workgroups module, the “Workgroup” field at the top left of the page will not appear.
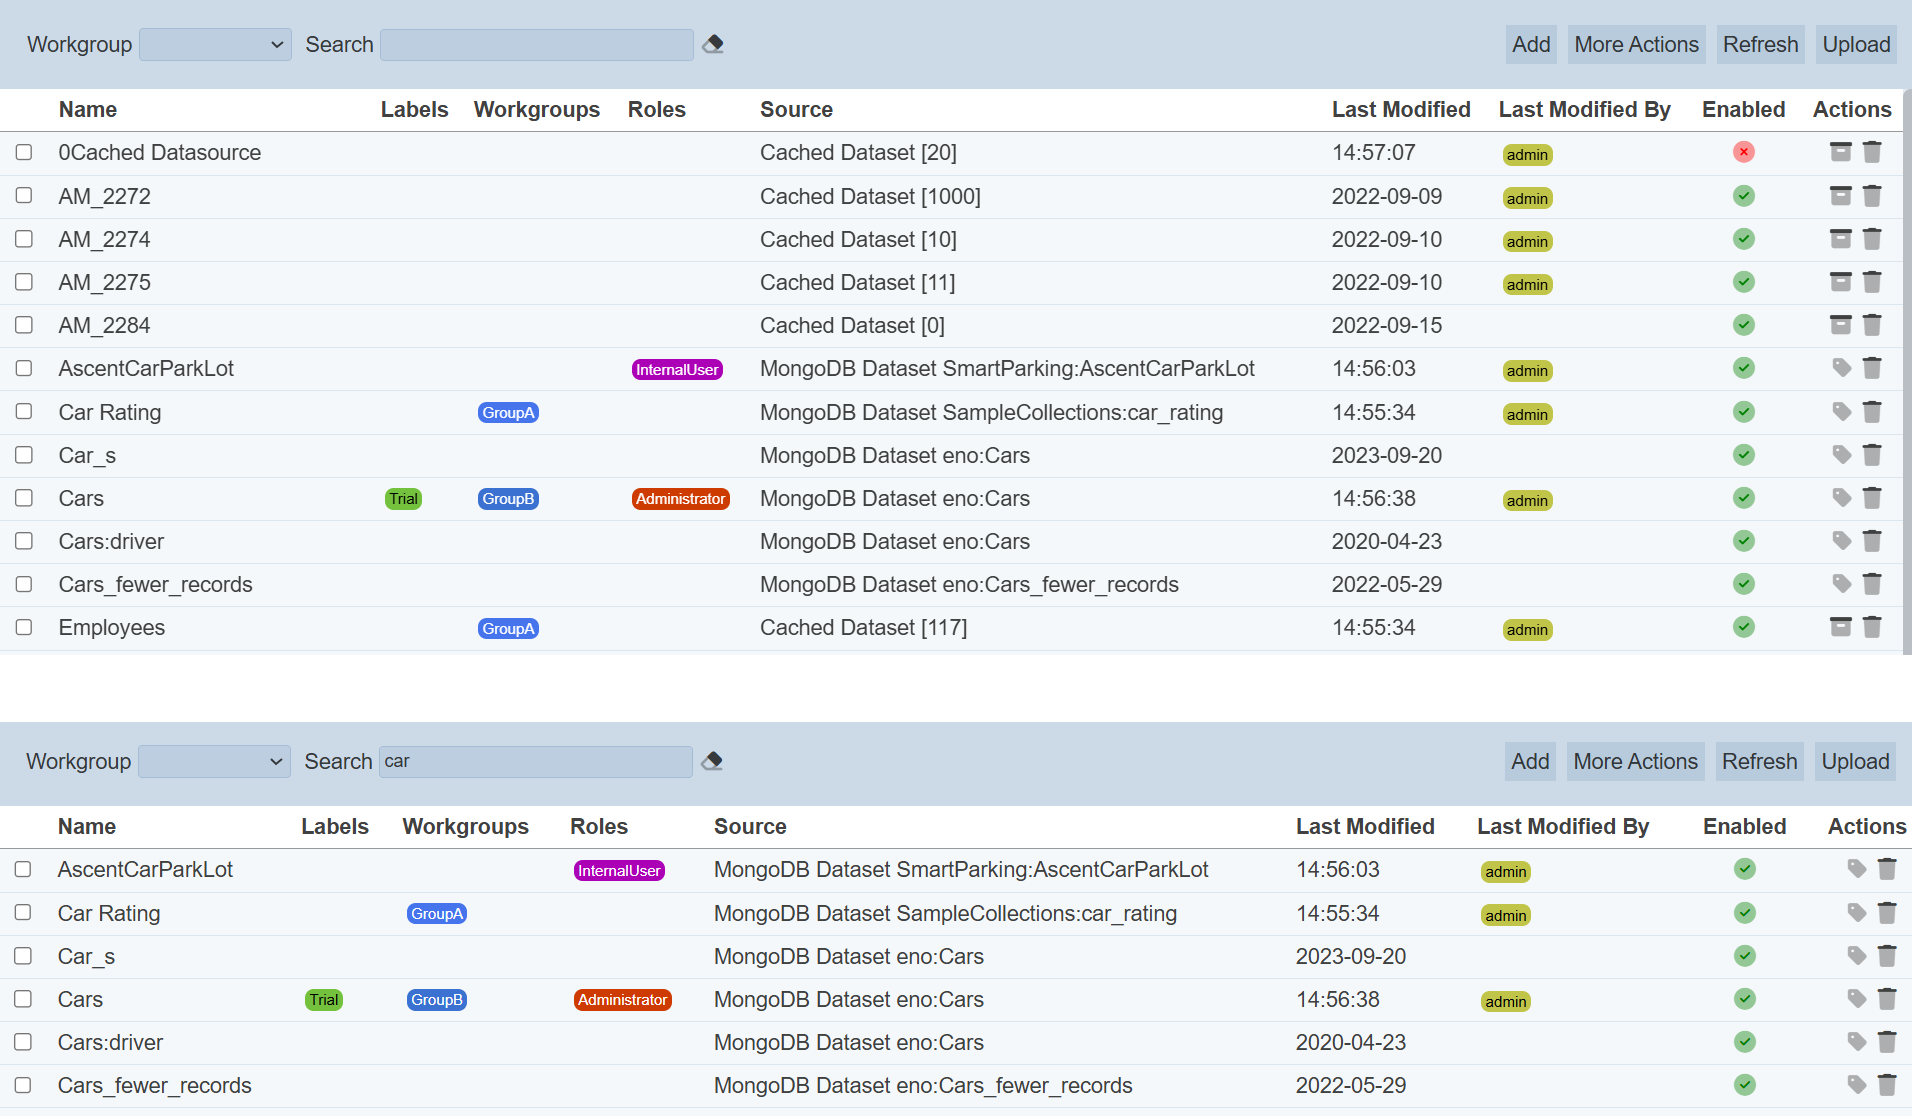
Search
The search function at the top left of Datasets module page, filters the dataset list retaining those with matching text.

This provides an easy way to search through the list of dataset. It is case-insensitive and displays the datasets that have the entered search value in any of the values of the fields below:
- Name
- Workgroups
- Roles
- Source
- Last Modified
- Last Modified By
Alternatively, you can click on the any items under the following columns to aid the search for the datasets in the page.
- Labels
- Workgroups
- Roles
- Last Modified By
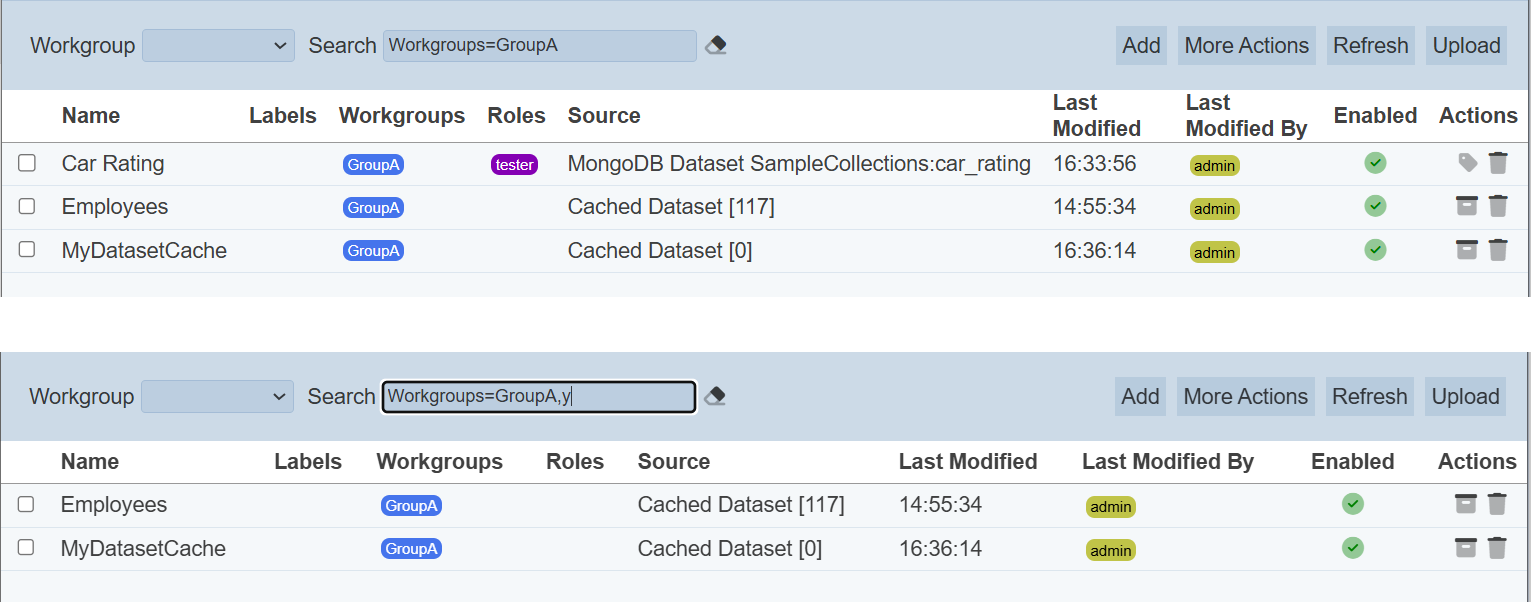
In the example above, datasets that are associated the workgroup “GroupA” and search criteria “y” are shown.
These two search methods can be combined together, with each criteria separated by a comma.
Dataset Data
When adding or uploading a dataset, the dataset does not include the data, only the dataset “Definition”, including the schema. The data need to be imported into the dataset. There are two methods to import the data.
- Import module - import the data , as well as creating the dataset (see Import module)
- Repository module - generate data using ETL chainset with datasource already deposited in the module
Below is a simple method to use ETL chainset to generate and load the data into the dataset.
Create a ETL chainset with Generate DataSource and MongoDB Writer ETL steps.
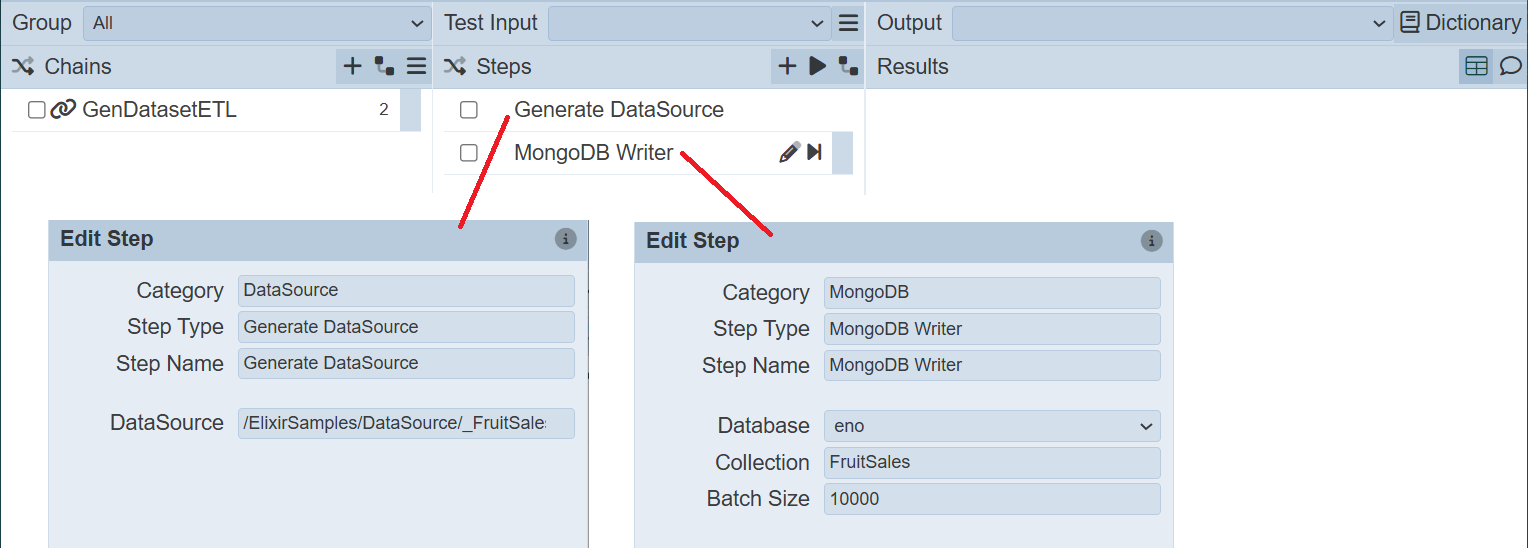
In the first ETL step, key in the location of the datasource in the Repository module.
In the second step, key in the dataset to add the data into.
Click on the “Run Steps” icon at the upper right corner of the Steps column.

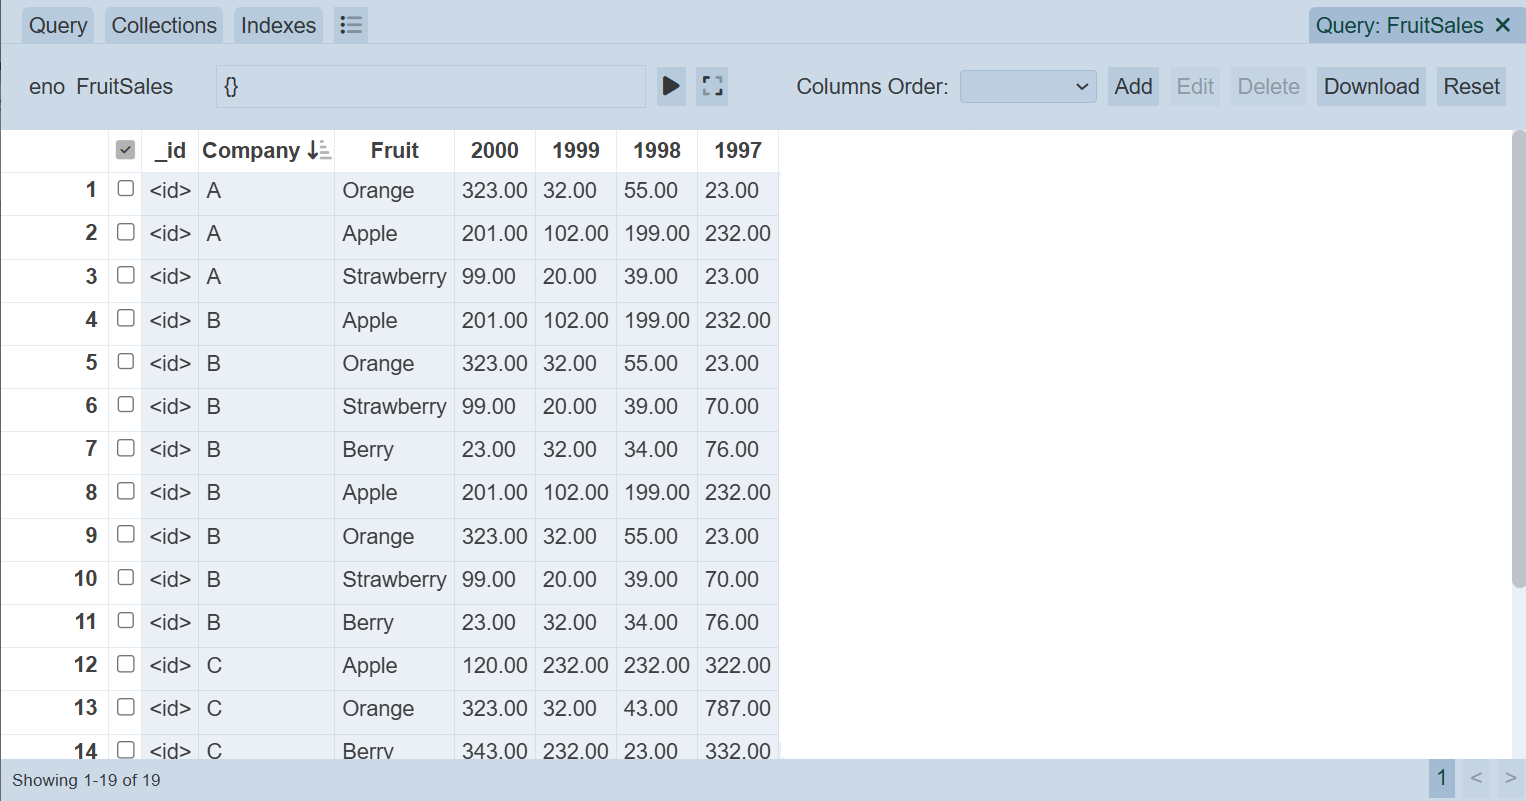
Check the data in the dataset using the Developer module.
You can combine Generate DataSource with a Dataset Endpoint ETL step if you want to wrap a datasource as a dataset. Hence you can se the datasource as a dataset as well.
Composite DS
Composite datasource (DS) can be read from datasets instead of just from the Repository DS.
You can integrate the composites at any point using ETL, reading from datasets and producing records for further ETL steps to process.
Some composites have multiple flows inside, usually each one writing to a different DataStore. These flows can be intercepted using ETL.
For example, a Composite has a DataStore (called DataStore2) and a derivate InComposite2. To intercept the datastore and to obtain the records, create a ETL with the ETL step Intercept DataStore.
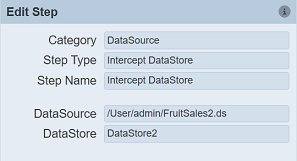
This step will run the flow that leads up to the named DataStore. It will however, will not perform the data store step and will return the records at that point to the ETL for subsequent processing.
The output of this step will be as shown below.
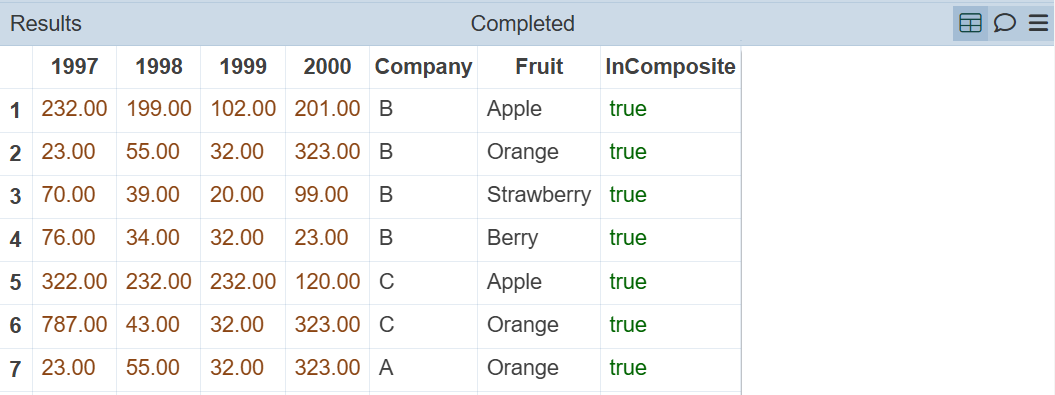
Showing the second flow has run, but the data store did not occur. The results are returned to the ETL instead.