Redirect
Description
The redirect module provides a way to provide short and/or memorable URLs to replace the long URLs often used to access deeply nested paths. For example, form instances are identified by a
By specifying short names, under the redirect/ prefix, it is possible to share and/or script shorter URLs and centralise management of those URLs.
For example, a company usually needs to conduct survey from users. This is to receive comments and gauge the feedback on their staff or the quality of their products. A link is usually send to the users for this purpose. Using the Redirect mechanism, this URL can be short may also redirect to different target locations based on when it is clicked.
This module is available for both Ambience and Repertoire software suite.
Features
The Redirect module has two modes of use:
- Fixed - a static default location
- Dynamic - ETL chain
Incorporating ETL steps, the same redirect can be used to redirect users to different surveys based on their roles, such as sales and developers.
The other features such as:
- HTTP Code
- Expiry
The HTTP Code is a HTTP response status code issued by a server in response to a client’s request made to the server. Currently the available options are:
| Code | Description |
|---|---|
| 303 See Other | The response to the request can be found under another URI using the GET method. |
| 307 Temporary Redirect | The request should be repeated with another URI. However, future requests should still use the original URI. |
| 308 Permanent Redirect | This and all future requests should be directed to the given URI. |
The expiry allows you to define when the URL expires.
An example use case for Redirect module is forms, a short URL can be given which redirects to the form. In addition, the form being redirected to can easily be changed at the Redirect level, meaning the same link can be used later for further forms, say for example, a monthly feedback form.
Module Interfaces
| Interface | Description | Required Privilege |
|---|---|---|
| Redirect | Allows adding, modifying and deleting redirects. | mod-redirect-edit |
Add Redirect
To add a redirect, start by clicking on the “Add” button on the upper right corner of the page.

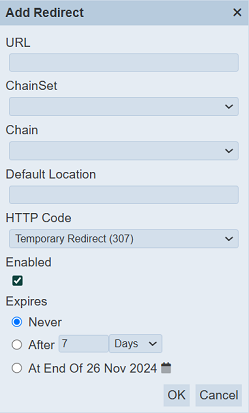
On the “Add Redirect” dialog box, set the new redirect’s parameters.
Input Fields
| Field | Description | Mandatory | Input Type | Constraints | Default Value |
|---|---|---|---|---|---|
| Properties | |||||
| URL | Defines the unique URL to redirect to. | Y | Text field | Any text. The value must not exist in the current list of URL names, regardless of status (enabled or disabled). The value is case-sensitive. | Empty string |
| ChainSet | Selects the ETL chainset. | N | Drop-down list | One value can be selected. | None |
| Chain | Selects the ETL chain. | N | Drop-down list | One value can be selected. | None |
| Default Location | Defines the default location. | N | Text field | Any text. | Empty string |
| HTTP Code | Selects the HTTP response status code. | Y | Text field | One value can be selected. Options are: - See Other (303) - Temporary Redirect (307) - Permanent Redirect (308) |
“Temporary Redirect (307)” |
| Enabled | If selected, enables the redirect. | Y | Checkbox | True (selected) or false (unselected) | Selected |
| Expiry | |||||
| Expires | Defines when the redirect expires. | Y | Radio buttons | One value can be selected. Options are: - Never - After “current period” - At End Of “current date” |
“Never” |
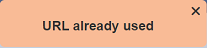
The “Properties” section allows you to setup either a fixed or dynamic redirect. The value in the “URL” field is mandatory and must be unique. An error message will appear when you try to save the redirect using an URL that already exist or no URL is entered.

To created a fixed redirect, the “Default Location” must be filled. The “Chainset” and “Chain” fields are left blank.
If a dynamic location is desired, setup an ETL chainset and select that ETL chainset in the “Chainset” and “Chain” fields. Doing so allows you to create a dynamic redirect that loads for the desired redirect as setup in the ETL chainset. However, it is a good practice to fill the “Default Location” field for dynamic redirect. This can help prevent hogging the server if the dynamic redirect does not work.
For the ETL chainsets to appear in the drop-down list in the “Chainset” and “Chain” in the properties, these ETL chainsets/chains must have either:
- The
Redirect EndpointETL step - Or imported chainset that has the
Redirect EndpointETL step
The Redirect Endpoint ETL step is from the Result category and must be part of the chainset/chain. This ETL step serves as a marker step that filters the chains/chainsets to be shown in the other modules.
The “Enabled” field is selected by default. If this field is not selected, an error message will appear when you try to use this redirect.
redirect /<redirect URL> not found
The “Expires” section allows you to define when the redirect expires or will not expire. There are three options:
| Value | Description |
|---|---|
| Never | As the name implies, if this option is selected, the redirect will not expire. This is the default option. |
| After | The redirect will expires after the defined days or hours. There are two sub-fields. 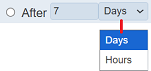 The text field allows you to key in the desired numeric value. The drop-down list allows you to select the unit. By default, the value is “7 Days”. |
| At End Of | The redirect will expires at the end of a pre-defined date. The default date is the current date. This date can be changed by clicking on the  “Calendar” icon. “Calendar” icon. 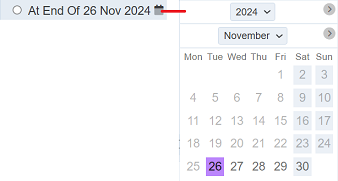 |
Click on the “Save” button located on the upper right corner of the “Add” panel to proceed with adding the new redirect. Clicking on the “Cancel” button aborts the action.
If an expiry date/time is selected for the redirect, the expiry date/time will be displayed under the “Expires At” column corresponding the redirect in the management page. Once a redirect expires, it will be removed from the management page.
See Examples on how to create redirects.
Edit Redirect
To modify an existing redirect’s parameters, click on the URL of the desired redirect under the “URL” column.

The “Edit Redirect” dialog box displays the selected redirect’s parameters.
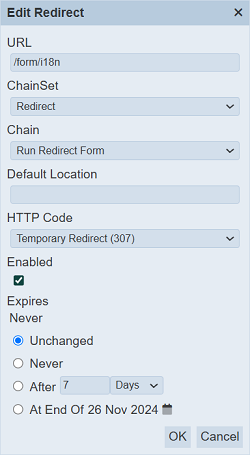
The same fields and constraints in Add Redirect are applied. Noticed that the “Expires” section look a little different from the “Add” panel. There is a new option “Unchanged”, which is selected and a value is displayed above these options. The value indicates the current expiry status of the redirect.
To leave the remaining time unchanged, ensure the “Unchanged” option is selected. To change the expiry time, select the “After” option and set the desired value in the text field and the desired unit from the drop-down list.
Click on the “Save” button located on the upper right corner of the “Edit” panel to proceed with saving the changes made to the redirect. Clicking on the “Cancel” button aborts the action and retains the redirect’s parameters prior to opening the “Edit” panel.
Open URL
To test the redirect that was created, click on the  “Open URL” icon under the Actions column corresponding the desired redirect. The redirect will open a new tab window, displaying the redirected URL.
Error messages will appear in the new tab window if the redirect fails or if the redirect is disabled.
Do note that if ETL steps are used for the redirect, add the following code in the application.conf file in the Ambience software under the “bin” folder.
ambience.modules.redirect-edit.etl-user = "<user name>"
Redirect functionality is available to all users of Ambience, but not all users have the privilege to run ETL chains. Therefore, this configuration defines which user profile is used to run the chain for all dynamic redirects (regardless of who calls it). You need to ensure that this user has both etl privileges and also the access rights (Role) to be able to see the chainset being used for redirect logic.
Copy Absolute/Relative
You can copy the absolute path or the relative path of the redirect URL onto clipboard to be used for other purposes.
To do so, click on the  “Copy Absolute” icon or
  “Copy Relative” icon under the Actions column corresponding redirect.
A message will appear after the path has been copied (for absolute and relative path respectively).

More Actions
This feature allows user to perform actions on multiple record editors at the same time.
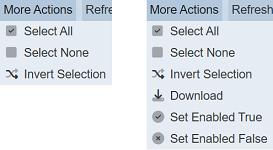
When the “More Actions” button located at the upper right corner of the page is clicked, a list of available actions are displayed.
If no record editor is selected prior clicking the button, there will be fewer actions available. To select a record editor, select the checkbox next to the name of the record editor.
| Option | Description |
|---|---|
| Select All | Selects all record editors in the list. |
| Select None | Unselects all record editors. |
| Invert Selection | Inverts the current selection. That is, any record editors selected will be unselected and vice versa. |
| Download | Downloads multiple record editors as a zip file. If only one record editor is selected, the selected record editor will be downloaded as a JSON file. |
| Set Enabled True | When selected, sets the selected record editors to enable. |
| Set Enabled False | When selected, sets the selected record editors to disable. |
Download
The download function allows you to export the redirect to a JSON file.
To do so, click on the “More Actions” button and select the “Download” option.
If only one redirect is selected, the downloaded redirect has a filename of <url name>.redirect.json.
If more than one redirect are selected prior, the “Download” dialog box will appear.
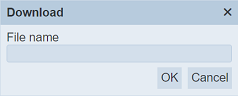
Key in the desired name for the zip file and click on the “OK” button. The selected redirects will be downloaded as a zip file with the filename provided earlier. The individual redirect in the zip file will have the filename format as mentioned above.
Set Enabled True / False
To enable or disable the redirects, click on the “More Actions” button and select the “Set Enabled True” or “Set Enabled False” option respectively.
The selected redirects will be enabled or disabled as selected.
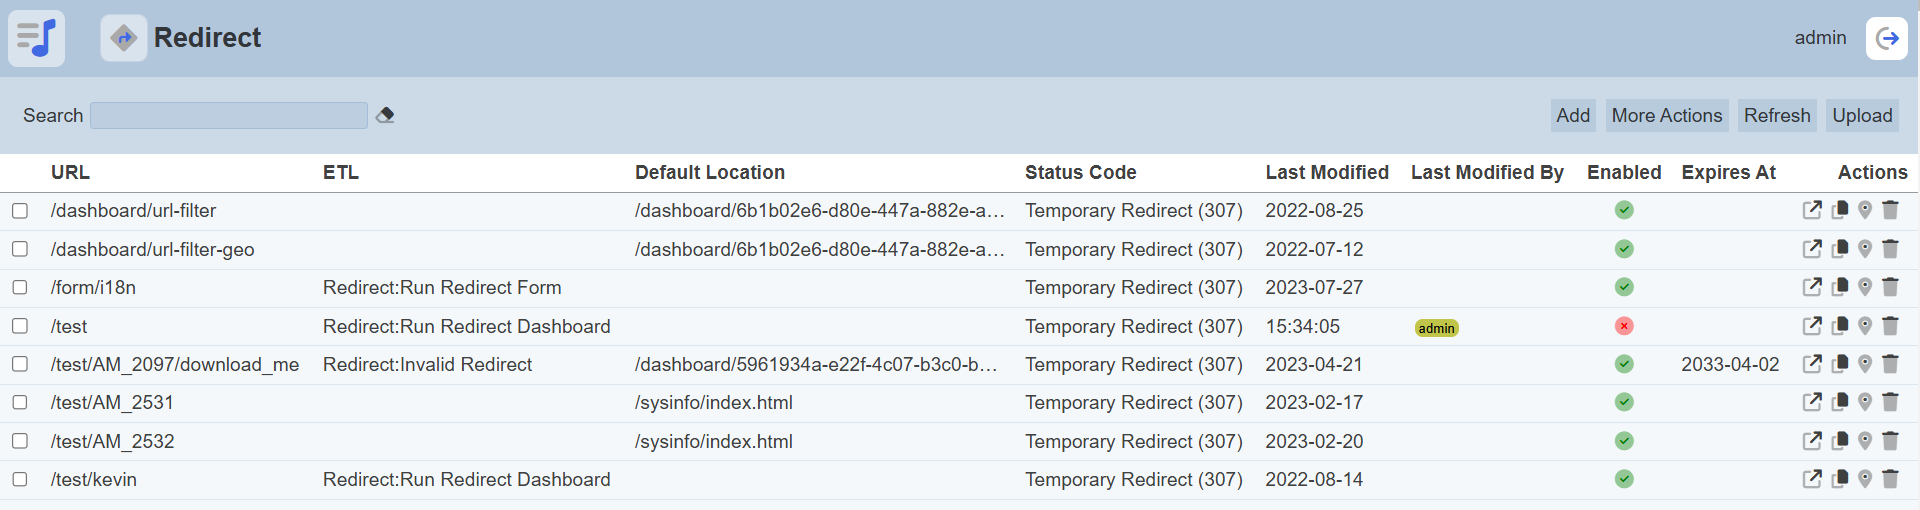
An enabled redirect is represented with a green tick under the “Enabled” column, while a disabled redirect is represented with a red cross.
Upload Redirect
The upload function allows you to upload a JSON file onto the management page.
To do so, click on the “Upload” button at the upper right corner of the page.
The “Upload” dialog box will appear.
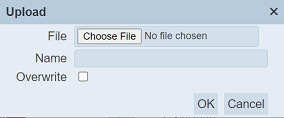
Single File
Browse to the location of the desired JSON file and click on the “OK” button to upload the file. If the parameters in the file already exist, an error message will appear.
To overwrite the existing file, ensure to select the “Overwrite” checkbox before clicking on the “OK” button to upload the file. Upon adding the file, a message will appear.
Zip File
Browse to the location of the zip file to be uploaded. The URL of the redirect will be extracted from the zip file. Click on the “OK” button to upload the redirects. The “Upload Results” dialog box will display the results of the uploading.

Those results in black are uploaded successfully while those in red indicates upload failures with their relevant messages. Click on the “Close” button to close the dialog box.
You can arrange/sort the list of redirects in ascending or descending order by clicking on the name of the desired field. By default, the list is sorted by the “URL” field in ascending order.
Delete Redirect
Deleting a redirect removes it from the records.
To delete an existing redirect from Ambience, click on the  “Delete” icon under the “Actions” column corresponding the desired redirect.
There is an option to undo the deletion. A notification with an “Undo” button appears right after clicking on the icon.
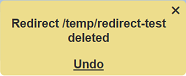
Upon clicking on the “Undo” button, the deleted redirect is restored and is added back to the list of redirects.
Refresh List
After performing actions (e.g. add redirect, delete redirect) on the browser window/tab, the list is reloaded to display the updated data. The manual “Refresh” button is available and is particularly useful if there are others making changes on the same page.
The “Refresh” button is available on the upper right corner of the page. Clicking on it reloads the list of redirects.
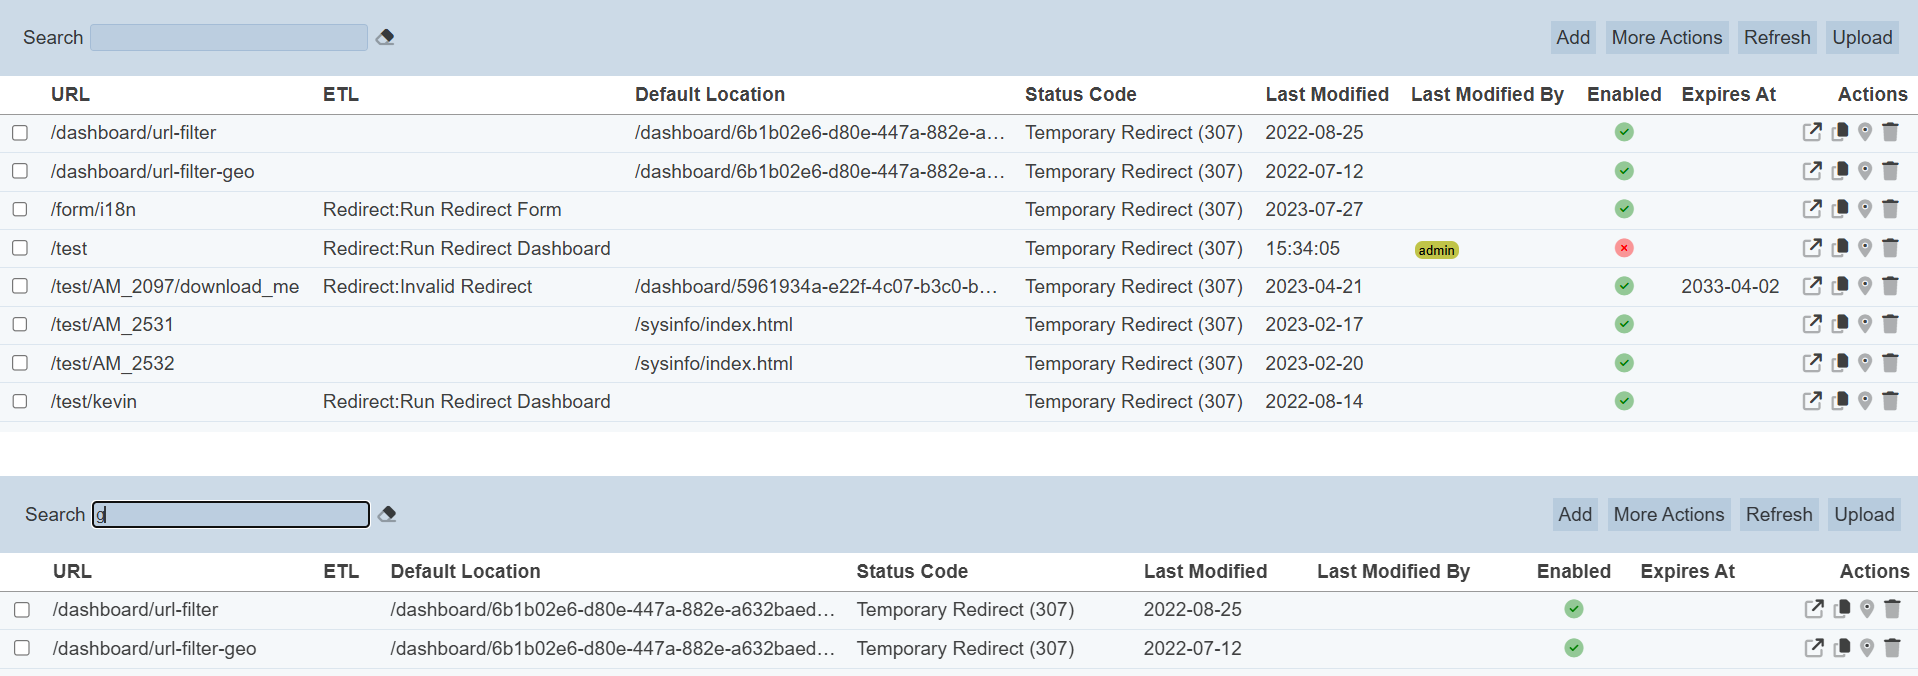
Search
The search bar appears on the upper left corner of the page.

This provides an easy way to search through the redirect list. It is case-insensitive and displays records that have the entered search value in any of the values of the fields below:
- URL
- ETL
- Default Location
- Status Code
- Last Modified
- Last Modified By
- Expires At