
Secrets
Introduction
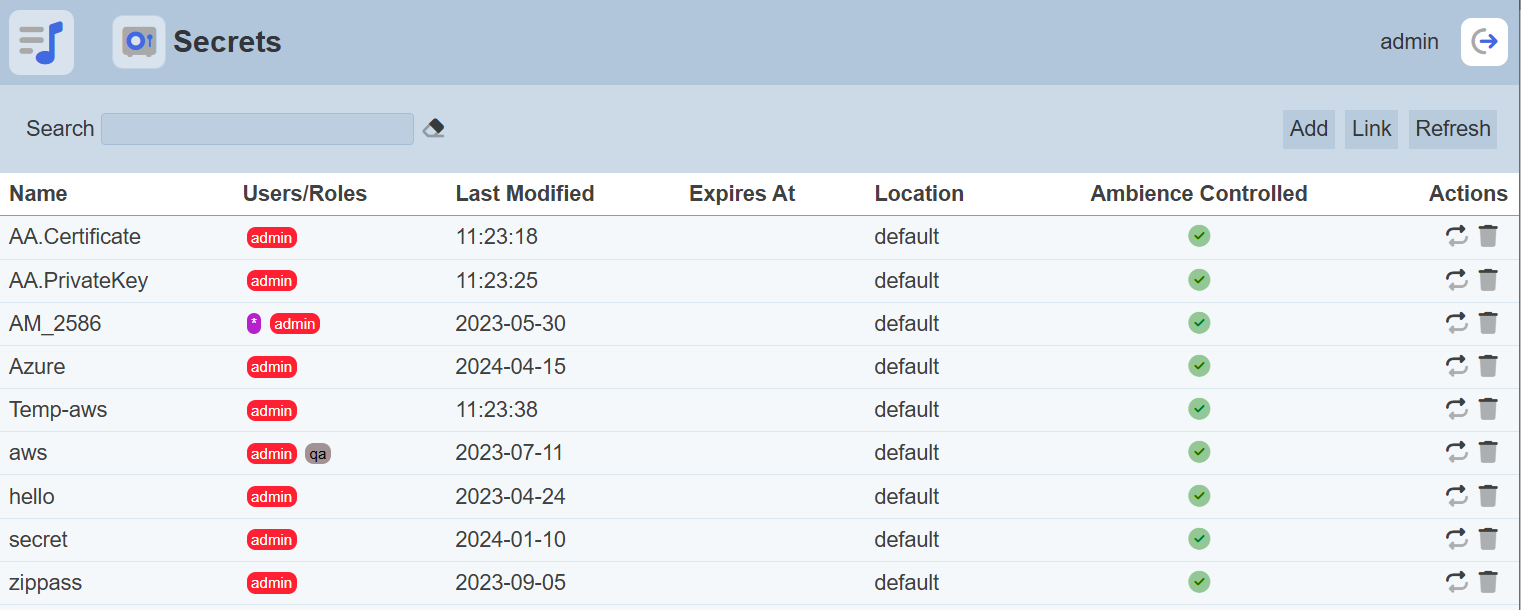
The Secrets module acts as a repository and manager for secrets, such as passwords, which can be accessed via ETL. These secrets can be stored either internally (such as MongoDB or binary store) or in an external vault (such as Hashicorp Vault).
Do note that Hashicorp is disabled in Ambience by default. See Hashicorp and Config Vault sections on more information on how to install Hashicorp Vault and configure Ambience to include Hashicorp.
See the Examples section on how the secrets can be used.
This module is available in both the Ambience and Repertoire software suite.
Module Interface
| Interface | Description | Required Privilege |
|---|---|---|
| Secrets | Allows Secrets module access, allows creation and management of secrets | mod-secrets |
| Secrets | Allows reading of secrets only | mod-secrets-reader |
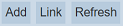
Add
To add a secret, click on the “Add” button at the upper right corner of the page.
The “Add Secret” dialog box will appear.
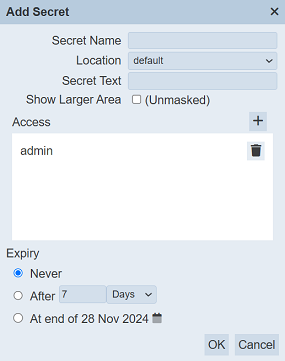
THis dialog box can be divided into three parts. The first four property fields, the “Access” field and the “Expiry” field.
Property Fields
| Field | Description | Input Type | Default Value |
|---|---|---|---|
| Secret Name | Unique name of the secret. | Textbox | None |
| Location | Location of the secret to be located. See Config External Vault for more details on how to add external vaults. |
Drop-down list | “default” |
| Secret Text | Encrypted text of the secret. | Textbox | None |
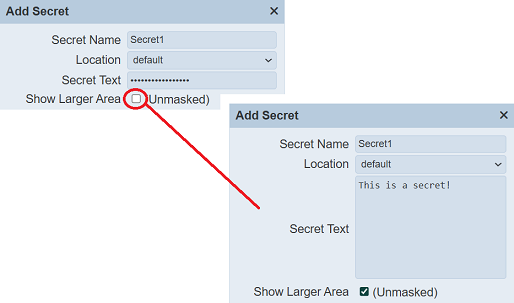
| Show Larger Area (Unmasked) | If selected, displays the secret text unencrypted. | Checkbox | Not selected |
| Access | Users or roles that can access this secret. | Dialog box | owner’s name |
| Expiry | Unique name of the secret. | Textbox | None |
Key in an unique name for the colour in the “Name” field. Select the desired location for the secret from the drop-down list from the “Location” field.
In the “Secret Text” field, key in the secret text. The text will be encrypted. To view the text un-encrypted, select the checkbox next to the “Show Larger Area” field.
Access
The “Access” field allows you to add users and/or roles to the secret. By default, the owner is added into the list. To add a new user/role, click on the “+” icon above the list. The “Users and Roles” dialog box will appear.
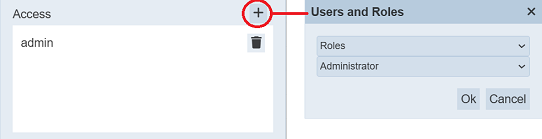
The first drop-down list allows you to select either Roles or Users or All. The second drop-down list displays the available options based on the selected option above. Selected the desired role/user and click on the “OK” button. The new role/user will be added onto the list.
To remove a role/user, click on the  “Delete” icon next to the desired role/user.
Expiry
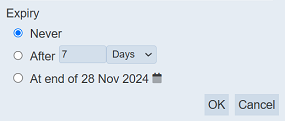
The “Expiry” field allows you to set the expiry of the secret. There are three options:
| Option | Description |
|---|---|
| Never | The secret will not expire if this option is selected. This is the default. |
| After | The secret will expire this period. There are two sub-fields. The first field defines the duration and the second field defines the unit (either Days or Hours). |
| At End Of “Date” | The secret will expire after this date. By default, the current date is selected. |
The first option “Never” is the default selection. Selecting this option means the secret never expires. The second option is “After”, which allows you to select the duration, either in units of days or hours.
The last option is “At End Of” allows you to select date in which the secret will expire. By default, the current date is selected. You can change the date by clicking the  “Date Picker” icon on the right of the option. The “Date Picker” will appear.
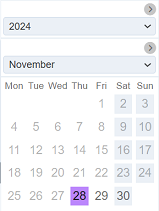
Select the desired date. Do note that only future dates are allowed. Once the secret expires, it will be removed from the list of secrets.
Click on the “Save” icon under the “Actions” column to save the secret. To abort, click on the “X” icon.
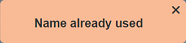
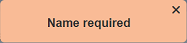
If the name provided in the “Name” field already exist or no name is provided, the appropriate error message will appear.
An error message will also appear if the “Secret Text” field is empty.

Link
This function will only appear if a 3rd party integration, (eg. Hashicorp) is enabled. See Config Vault on more details on how to enabled Hashicorp in Ambience.
To add a link, click on the “Link” button at the upper right corner of the page.
The “Link Secret” dialog box will appear.
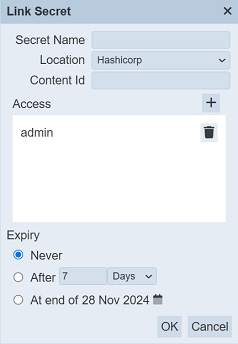
There are three parts in the dialog box. The first three property fields, the “Access” field and the “Expiry” field.
For the first three property fields, key in a unique name for the secret in the “Secret Name” field. This is the Ambience name for the secret and may be different to the name of the secret within the vault it is stored in.
Enter the Content Id on the “Content Id” field.
The Hashicorp vault stores secrets as a key value pair with a name. When linking a secret stored in a Hashicorp, the Content Id must take the form <name>.<key> where <name> is the Hashicorp name and may or may not be the same as the name Ambience will refer to it as.
There are two parts in the dialog box:
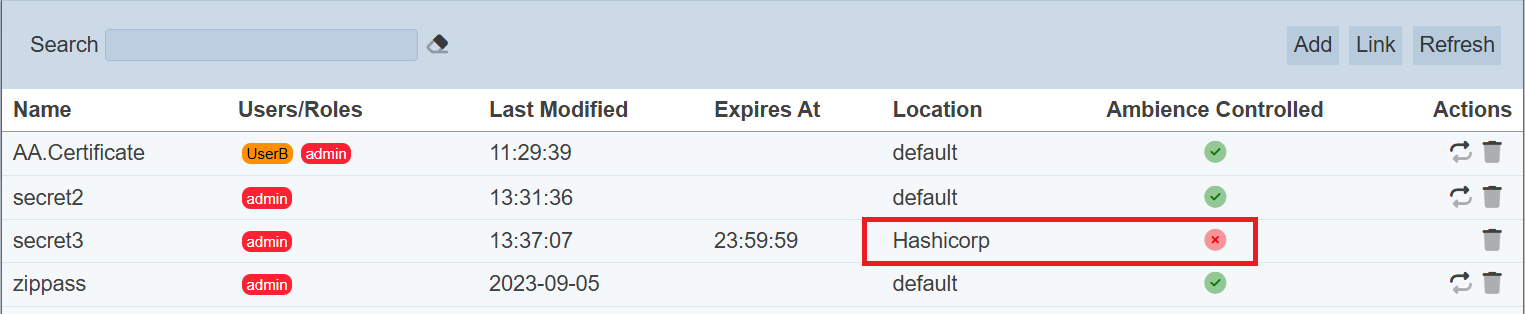
Refer to the relevant sections for more information on the part by clicking the links above. Once the link secret is created, the secret will appear in the management page with a red cross in the “Ambience Controlled” column.
Delete
To delete a secret, click on the “Delete” icon under the “Actions” column of the corresponding secret.

A dialog box will appear prompting to confirm the action.
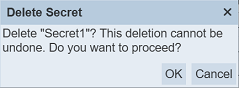
Click on the “OK” button to confirm the action or click on the “Cancel” button to abort.
Edit
This function allows you to change the properties of the secret. The secret text will not be shown and cannot be edited. It can only be replaced.
To edit a secret, click on the name of the desired secret under the “Name” column.
The “Edit secret” dialog box will appear.
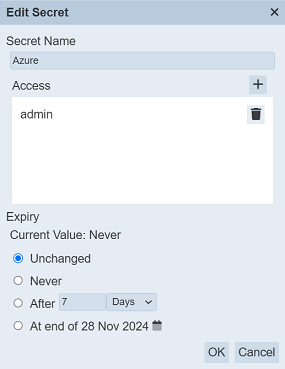
There are three parts in the panel:
Refer to the relevant parts for more information on the part by clicking the links above. The secret text will not appear in this dialog box.
Edit the fields as desired and click on the “Save” to save the changes. To abort the change, click on the “Cancel” button.
Replace Secret
To replace the secret text, click on the “Replace Secret” icon under the “Actions” column corresponding the desired secret. The “Replace Secret” dialog box will appear.
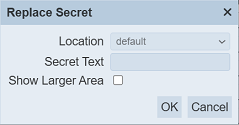
Key in the secret text. The secret text is masked. To view the secret unmasked, select on the “Show Larger Area” checkbox.
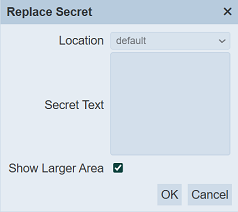
Ensure the new secret text is correct and click on the “OK” button to save the text.
Edit the other fields as desired and click on the “Save” icon under the “Actions” column to save the changes. To abort the change, click on the “X” icon.
Refresh
After performing actions on the browser, the list is reloaded to display the list of secrets. The manual “Refresh” button is available and is particularly useful if there are others making changes on the same page.
The “Refresh” button is found on the upper right corner of the page. Clicking on it reloads the list of secrets.
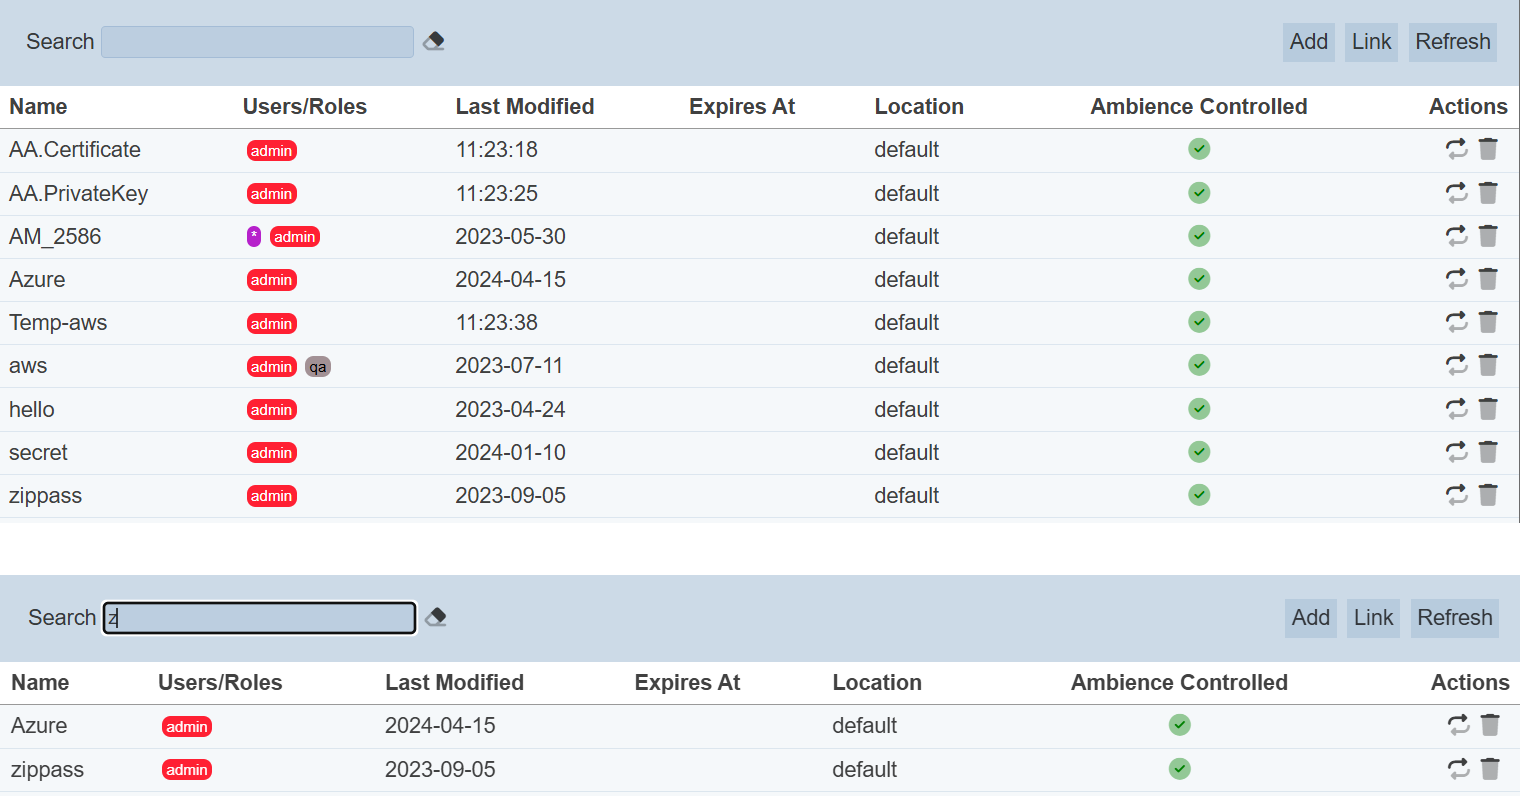
Search
There is a cross-field search function for the list of secrets. It is located at the upper left corner of the page.

This provides an easy way to search through the list of secrets. It is case-insensitive and displays secrets that have the entered search value in any of the values of the fields below:
- Name
- Users/Roles
- Last Modified
- Expires at
- Location
Config Vaults
The vault locations for storing secrets are created in the application.conf file in the Ambience “bin” folder.
ambience.secrets-store.location {
  default {
    type = "mongodb"
    enabled = true
    database = ""
    collection = "Secrets"
  }
  hashicorp {
    type = "hashicorp"
    enabled = false
    address = "http://127.0.0.1:8200"
    vault = "secret"
    token = "<insert your value here>"
    is-addable = true
    is-linkable = true
  }
}
Edit as desired to enable/disable and/or add new stores.
Ambience currently supports two types of secret manager: “mongodb” and “hashicorp”.
Multiple stores of each type can be created, as long as they have uniquely identified by the key. In this case, the keys are “default” and “hashicorp”, and “hashicorp” is disabled.
Hashicorp
The Hashicorp vault can be downloaded from [https://developer.hashicorp.com/vault/downloads]. Select the correct version for your OS and follow the instructions in the webpage to install the vault.
There are two modes to start the vault:
- Developer mode - which is held im memory
- HCL configuration file mode - starts server with an HCL configuration file
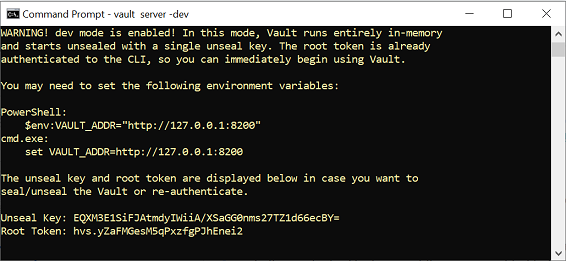
Developer Mode
Open a command line terminal, navigate to the location where the Hashicorp is installed and run the following command:
vault server -dev
to start the server in “dev” mode.
The vault server will produce a token. Below is an example. Copy the token.
HCL Configuration Mode
Open a command line terminal, navigate to the location where the Hashicorp is installed and run the following command:
vault server -config=<path>
to start the server with an HCL configuration file.
Once the server is running, enter the following command to generate a token:
vault token create
Enable Hashicorp
In the application.conf file, add the generated token into the token field and change the enabled field to true.
  hashicorp {
    type = "hashicorp"
    enabled = false
    address = "http://127.0.0.1:8200"
    vault = "secret"
    token = "<insert your value here>"
    is-addable = true
    is-linkable = true
  }