
Text Editor
The Text Editor allows a user to construct/edit a text template using the preconfigured lookups. While the lookup mechanism is typically controlled by a developer, who produces a list of available lookups, eg. name, address etc. the text of the template can be edited by non-developers so they can perform their own updates without having to rely on a developer.
Interface
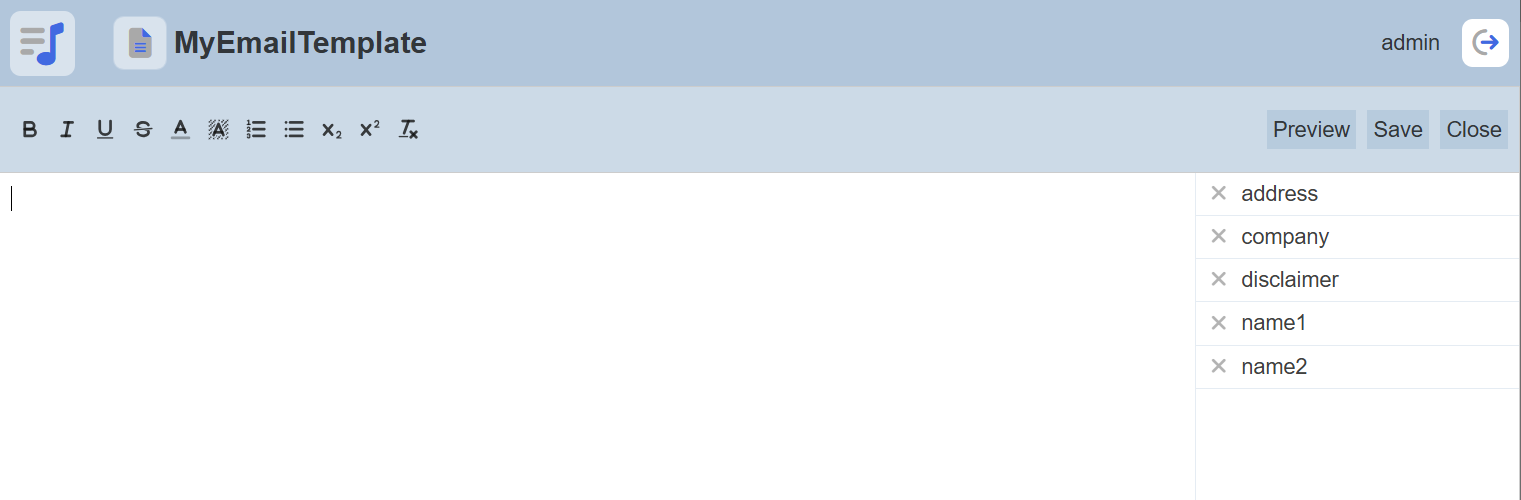
The Text Editor can be divided into three parts:
- Menu Bar - consists of font style icons on the left and actions buttons on the right
- Main Text Area
- Right Panel - list the lookup items created prior
The Menu Bar consists of icons for font styling on the left and action buttons on the right. Font styling, such as bold, bullet list, colour, etc. can be applied to the text.
The Main Text Area allows you to create the text template. To create a text template, simply key in the desired text into the main text area.
The right panel lists the lookup items that are created in the management page of this text template. These items can be added into the template when necessary. By default these items have a “cross” appearing next to each item, indicating that they are not used in the template. When the lookup is used in the template, a “tick” will appear instead.
Usage
Below is an example of a simple email template.
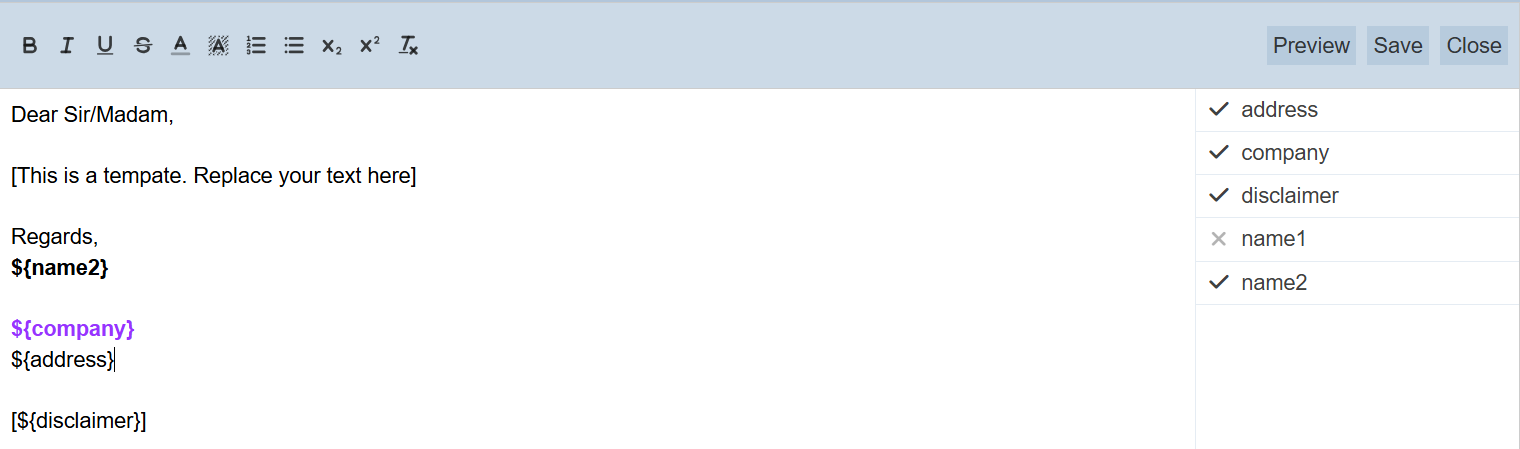
In the main text area, enter the desired text. To add a lookup item, simply place the cursor at the desired location in the main text area and click on the desired lookup item in the right panel. The lookup item will be added into the template as ${lookup_keyname}. In this case, ${name2}, ${company}, ${address} and ${disclaimer} are lookup items added into the text template.
When a lookup item is used in the template, a “tick” will appear next to it instead of a “cross” in the right panel.
You can also provide styling to the text by highlighting the desired text and click on the relevant styling icons on the left of the menu bar. Hover over the icons to display their respective tooltip.
Once the text template has been setup, click on the “Preview” button on the right of the menu bar.
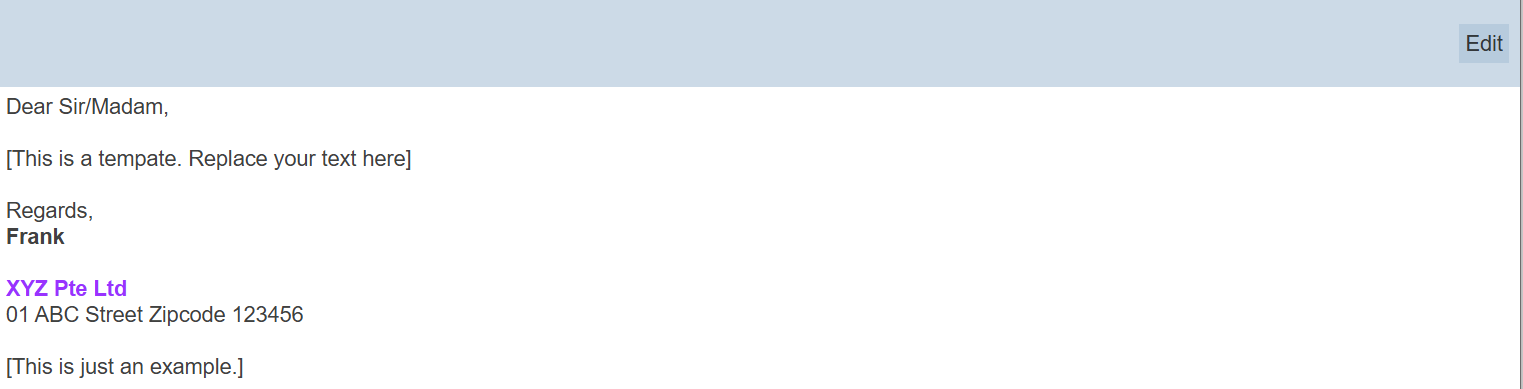
This will give the user a clearer picture of how an actual email will look. The preview values chosen by the developer when configuring the text template are substituted as an illustration. To return to the text editor mode, click on the “Edit” button on the upper right corner of the page.
Because the editor is intended for users to manage themselves, there is more guidance here. If a user spells a template lookup name wrong, using “Company” instead of “company”, for example, (names are case-sensitive) the mistake will be shown in red.
Click on the “Save” button on the menu bar to change the changes. A message will appear when the template is saved successfully.

To abort, click on the “Close” button. If there are any unsaved changes, a “Close” message dialog will appear.
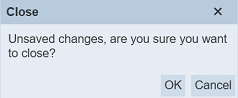
To confirm abort changes, click on the “OK” button in the message dialog. Clicking the “Cancel” button will return you back to the text editor.