
A4 Migration
Description
The A4 Migration module allows you to migrate repositories and configuration from Ambience 4.x (A4) to Ambience 202x.

This module is available in both the Ambience and Repertoire software suite.
The migration requires two parts, the repositories (or filesystems) and the configuration used by A4. The repositories (or filesystems) are uploaded onto Ambience via the Repository module. The configuration needs to be migrated Ambience using this module. This action is usually performed once.
The module consists of two tabs:
- Domain Migration - Allows you to migrate the configuration XML from A4 to Ambience
- JDBC - Allows you to view and update JDBC connection pools
Module Interface
| Interface | Description | Required Privilege |
|---|---|---|
| A4 Migration | Allows access to A4 Migration page. | mod-a4-migration |
Domain Migration
The Domain Migration tab allows you to migrate A4 configuration XML file onto Ambience. The migration from A4 to Ambience requires two parts:
- Transfer of repositories or filesystems
- Configuration XML file
Files Preparation
Before the migration, you need to prepare the required files for the process. These files reside in the A4.
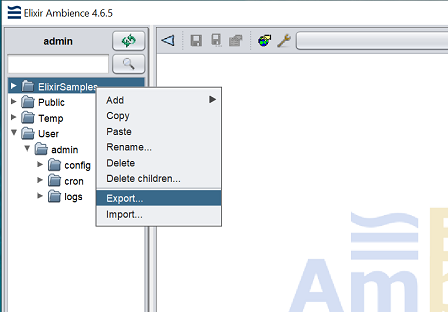
In the A4 Designer, export the filesystems to migrate. These files will be saved as .tgz files.
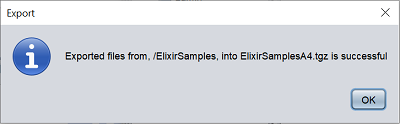
A message will appear after the files are exported successfully.
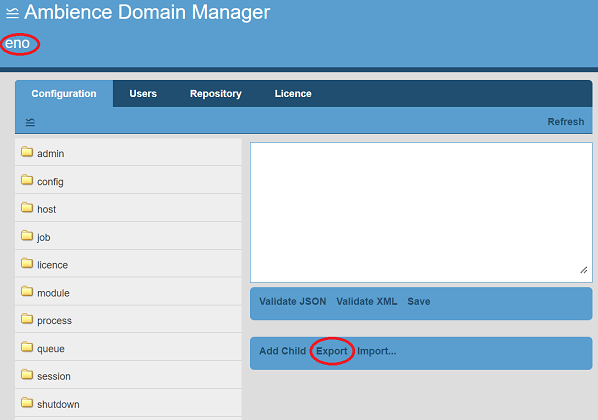
In the A4 Domain Manager, ensure the correct domain is used. In the Configuration tab, click on the “Export” button to export the Configuration XML file. This file will be saved with the filename <domain>.xml.
Add the mod-a4-migration privilege to your user and login again.
Migration
In the Ambience software suite, navigate to the Repository module. If desired, create a root folder for each filesystem.
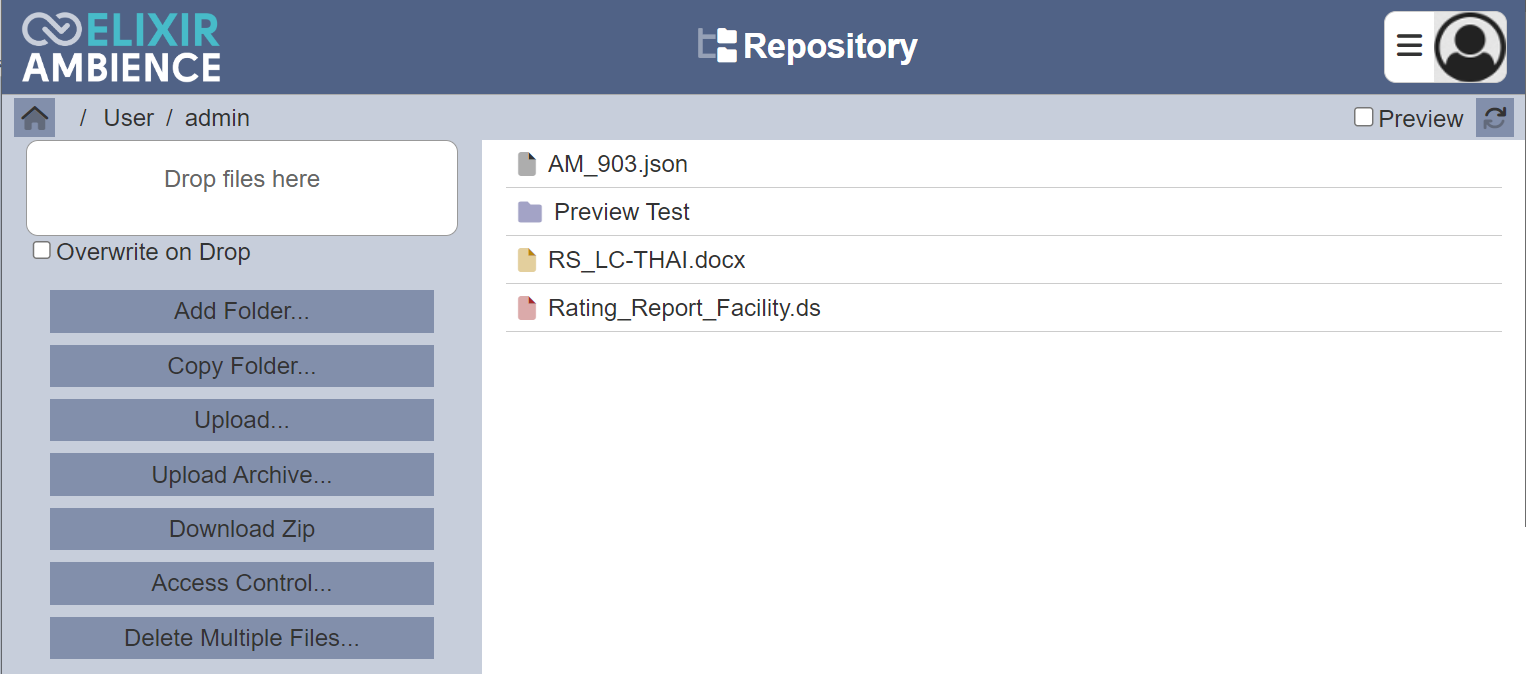
In the desired folder, click on the “Upload Archive” button on the left panel.
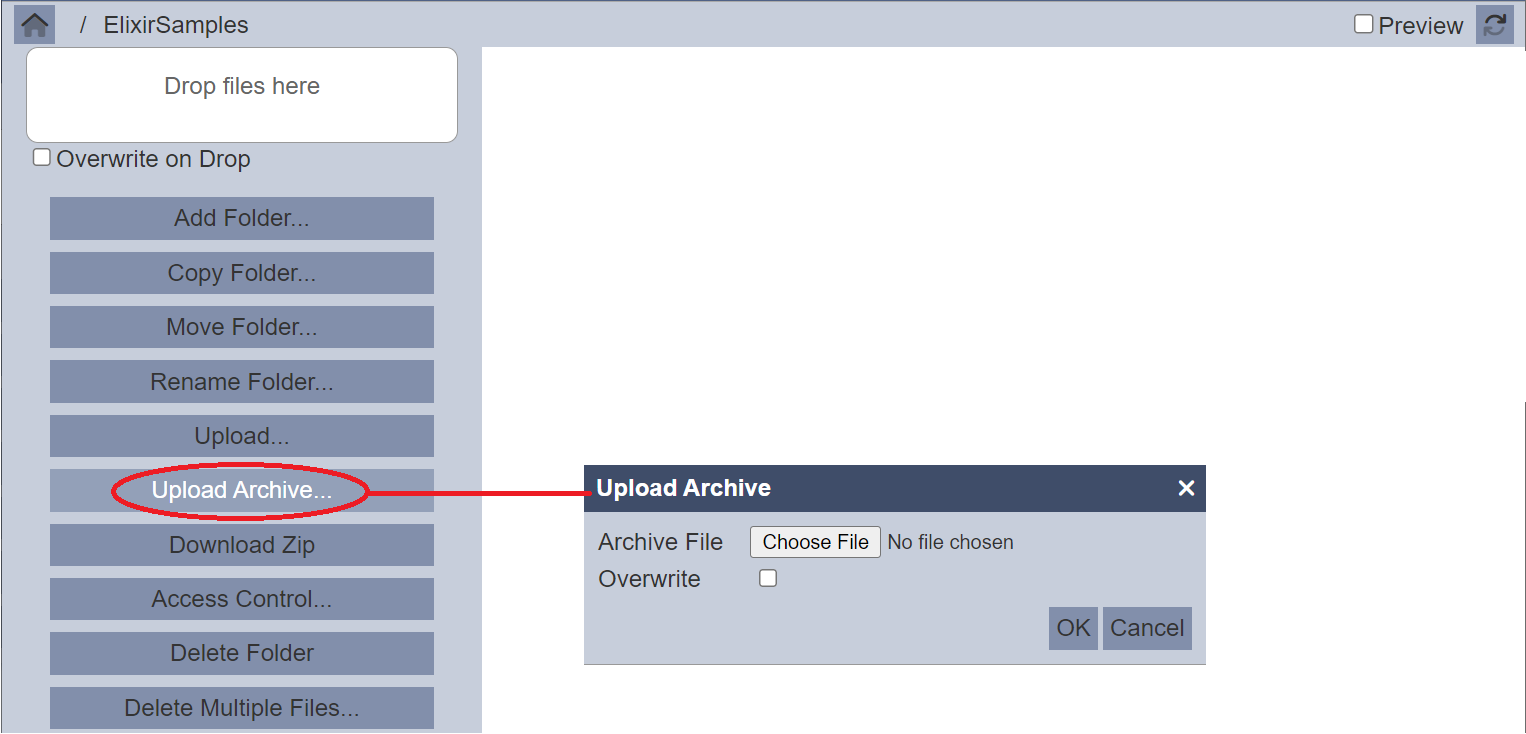
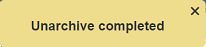
In the “Upload Archive” dialog box, browse to the location of the file with the extension .tgz. To overwrite existing filesystem, select the “Overwrite” checkbox. This will upload all files from the A4 filesystem to the equivalent locations in Ambience. Once the files are uploaded successfully, a message will appear.
Repeat the above process for the other filesystems.
Next, navigate to the A4 Migration module.
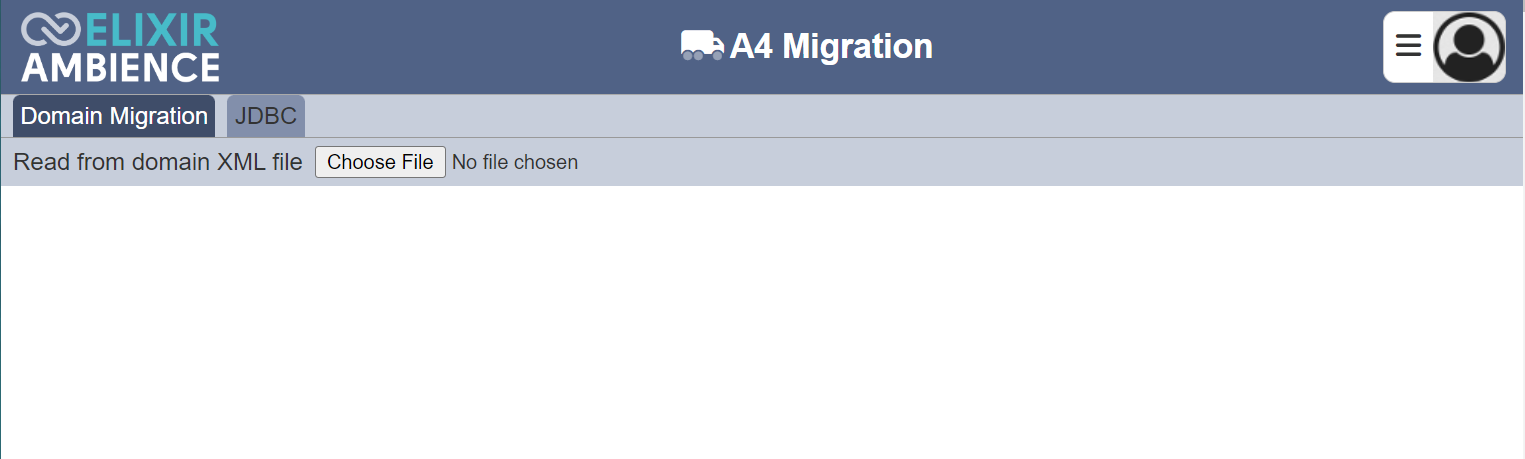
In the Domain Migration tab, click on the “Choose File” button. Browse to the location of the Configuration XML file.
Once the configuration XML has been uploaded, a list of users, roles and ACLs found in the configuration will be displayed for review.
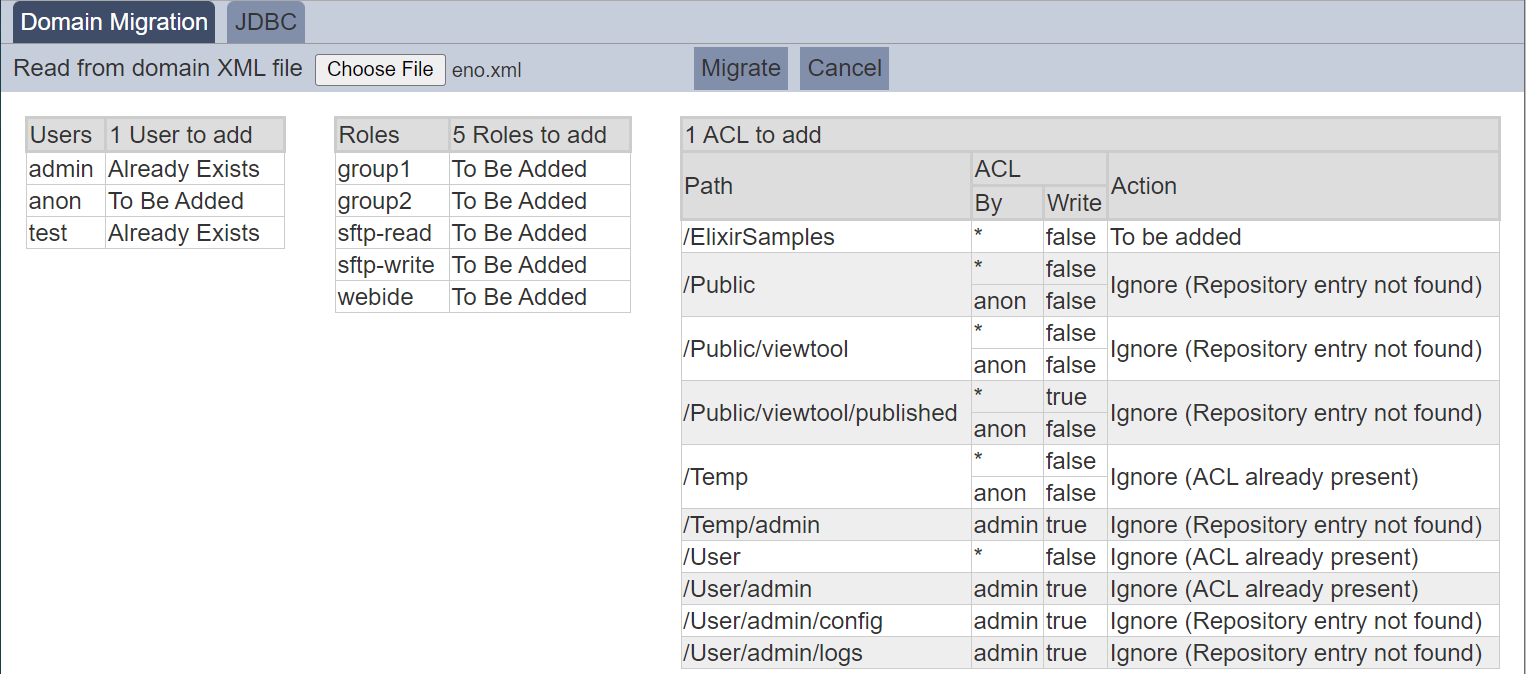
Review the configuration and click on the “Migrate” button to apply the changes. To abort the action, click on the “Cancel” button.
The migration will perform the following:
- Add new users and roles that were not already present
- Apply any roles to the users that had them, including existing roles and users.
- Add ACL to any of the repository entries that exist and do not already have an ACL set
Upon successful migration, A message will appear.
The page will be refreshed (as per initially launched).
JDBC
The JDBC tab lists the JDBC connection pools and their path.
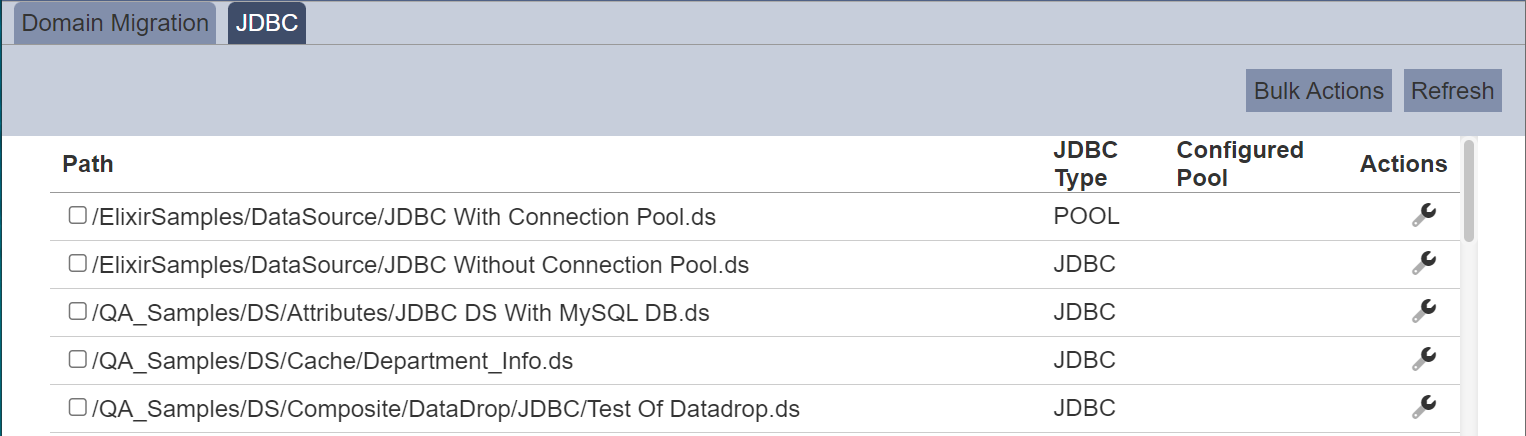
There are several actions that can be performed in this tab. They are described in the sub-sections below.
Update
This function allows you to update the path of the JDBC connection pool.
To update a JDBC connection pool, click on the  “Update” icon under the “Actions” column of the corresponding JDBC connection.

The “Update JDBC” dialog box will appear.
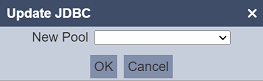
Select the desired JDBC connection pool from the drop-down list in the “New Pool” field. Click on the “OK” button to save the change or click on the “Cancel” button to abort.
Bulk Actions
This function allows you to perform an action on several connection pools at the same time.

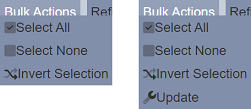
When the “Bulk Actions” button located at the upper right corner of the page is clicked, a list of available actions are displayed. If no connection pool is selected prior clicking the button, there will be fewer actions available. To select a connection pool, select the checkbox next to the name of the connection pool.
| Option | Description |
|---|---|
| Select All | Selects all connection pools in the list. |
| Select None | Unselects all connection pools. |
| Invert Selection | Inverts the current selection. That is, any connection pools selected will be unselected and vice versa. |
| Update | Displays the “Update JDBC” dialog box to update the connection pool path. See Update for more details. |
Refresh
After performing actions on the browser/tab, the list is reloaded to display the list of JDBC connection pools. The manual “Refresh” button is available and is particularly useful if you have opened multiple pages and are making changes in these pages.
The “Refresh” button is found on the upper right corner of the page. Clicking on it reloads the list of JDBC connection pools.