Editor
Description
The Editor allows you to view and edit the records of the dataset selected.

Only users with mod-record-editor privilege can access the Editor page and users with mod-record-editor-edit privilege can edit the record editor. These users must be one of the roles selected in properties of the record editor.
Basic Functions
The following are the basic functions of the Editor:
- Add new record
- Export record
- Edit records
- Delete records
- Search
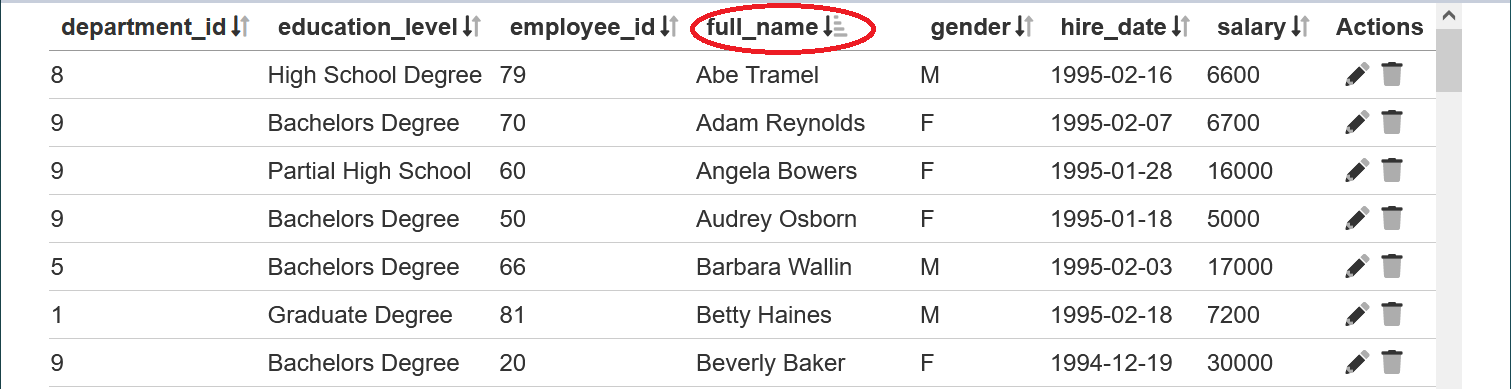
By default the records are sorted according to the sequence in the dataset. You can sort the records either in ascending or descending order of the desired field by clicking on the column title.
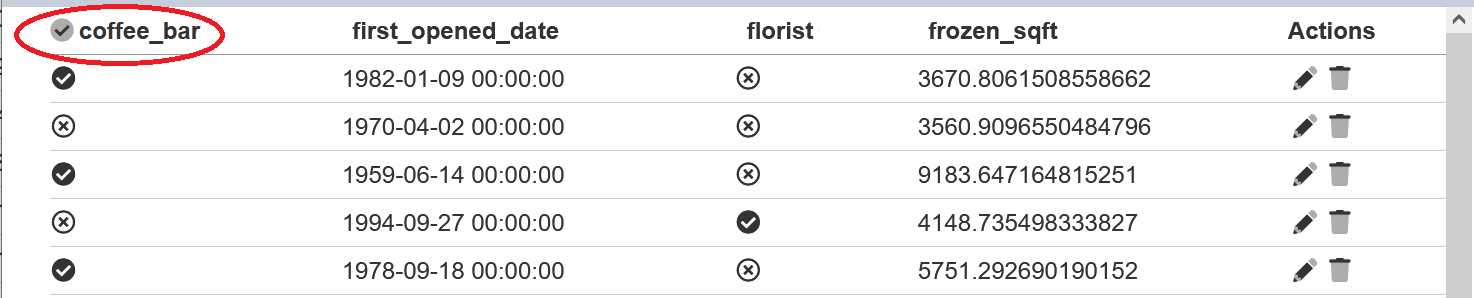
If the record contains boolean field and multiple select is enabled, you can select or unselect all records in the field by clicking on the  or
or  icon at the column title respectively.
Do note that this action is un-reversible, proceed with caution.
Add Record
You can add new records onto the the dataset by clicking onto the “Add” button on the upper right corner of the page.

A new row will be added just below the column names. Key in the necessary field values and click on the  “Save” icon under the “Actions” column to add the new record. To abort the action, click on the “X” icon.

Upon adding the new records successfully, a message will appear.
Export Record
This function is only available if the options in the “Export” field is selected in the “Properties” tab of the record editor. The available options (or format) depends on the selection and will appear at the upper right corner of the page.
To export the records, click on either one of the buttons. The exported record editor will have the format of the selected option.
Edit Record
To edit a record, click on the  “Edit” icon under the “Actions” column corresponding the desired record. The Actions column is by default the rightmost column. Depending on the properties, the Actions column may be on the left of the page.

This action will place the Editor into edit mode. In this mode, you can edit or change the field values as desired.
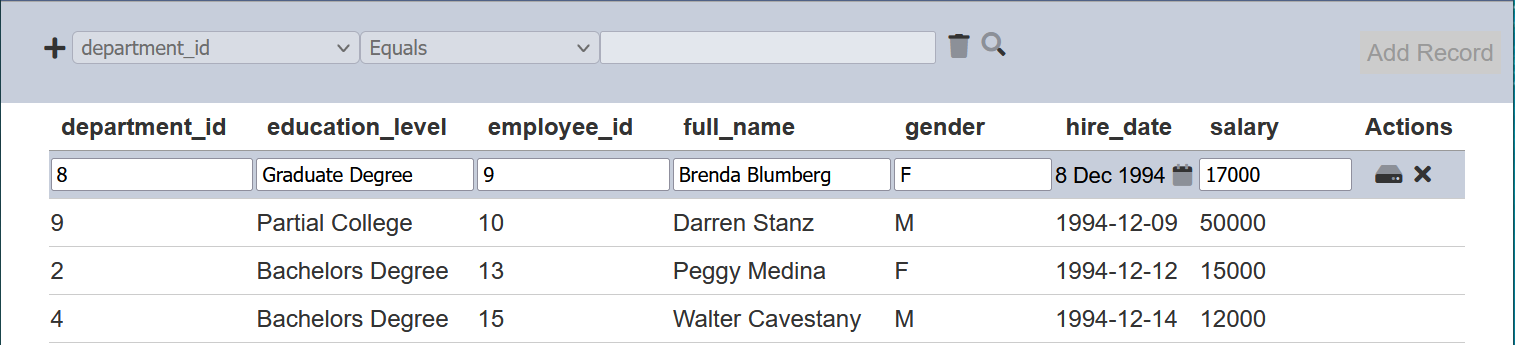
In the example above, you can change the value in the “department_id” field or change the date in “hire_date” field by clicking on the  “Calendar” icon next to the value.
Not all field are editable. It depends on the setting of the field in the “Fields” tab in the Record Editor page. In this case, the “education_level” field is not editable and is greyed out.
Once edits are completed, click on the “Save” icon under the “Actions” column corresponding the selected record. To abort the action, click on the “X” icon to goes back to the Editor page.
If any fields edited are incorrect, for example, need a value but the field is left empty, or when an unique value need to be entered, etc., an error or multiple error message will appear.
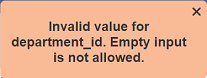 .
. 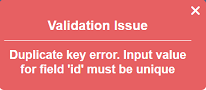 .
.
Delete Record
To remove a record from the dataset, click on the  “Delete” icon under the “Actions” column corresponding the desired record.
Upon successful deletion, a notification will appear. There is an option to undo the deletion. In the notification with an “Undo” button appears right after clicking on the “Delete” icon.

Upon clicking on the “Undo” button, the deleted record is restored and is added back to the list of records. Do note that the notification will disappear after five seconds.
Do note that the records may not be deletable. That depends on the “Can delete” field in the “Properties” tab in the Record Editor page. If the “Can delete” field is unselected, the icon will not appear in the Editor page.
Search
The search function is located at the top left of the page. It allows you to search for records that matches the conditions set.

There are three fields in the search function. The first field selects the field to be searched. The second field selects the operation and the third field selects the value.
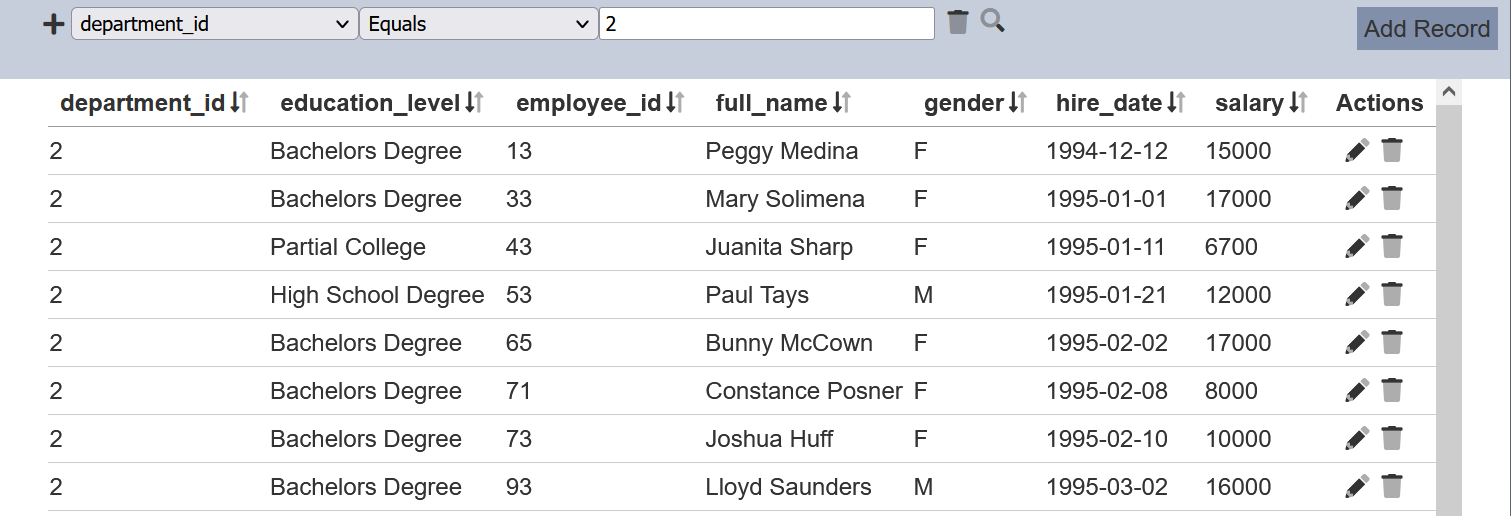
In the example below, we want to view all employees from department ID 2. The first field selects “department_id” while the second field selects the operator Equal. Key in “2” for the third field. Click on the  “Search” icon to search for records that satisfy the condition. The search returns 30 records.
To narrow down the search to find all male employee in Department ID 2, another search condition is to be added. Click on the “+” icon on the left of the search function and a new search row will appear. Set the desired search condition and click on the icon.
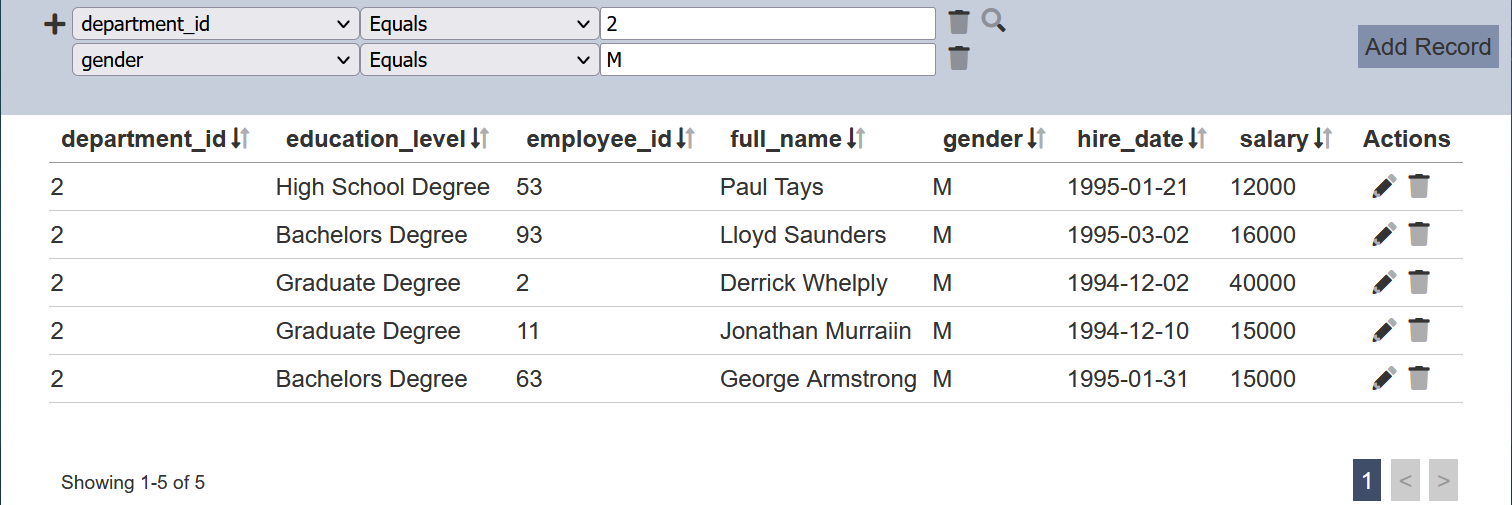
The number of records are now reduced from 30 to 10. To remove any condition, click on the “Delete” icon.
More conditions can be added to further query the log. Click on the “+” icon on the left of the condition and a new condition wil lbe added below the current one.
When the same field is used on the filters, their operations are ANDed if the options include “Greater than”, “Greater than or equal”, “Less than”, “Less than or equal”, “Not equal” or “Contains”. If different fields are used, they are ORed.
For example, A>1, A<9 and A=20 are set as filters, they are ANDed and will have no results. But A=10 and A=20 will have results as they are ORed. To elaborate further, A=1 AND A=2 does not make sense. A starts with “ABC” AND A starts with “DEF” does not make sense as well. But A contains “X” AND A contains “Y” is possible.
You may also create a more restrictive search function for the editor using the “Layout Scripts” tab in the Record Editors page.
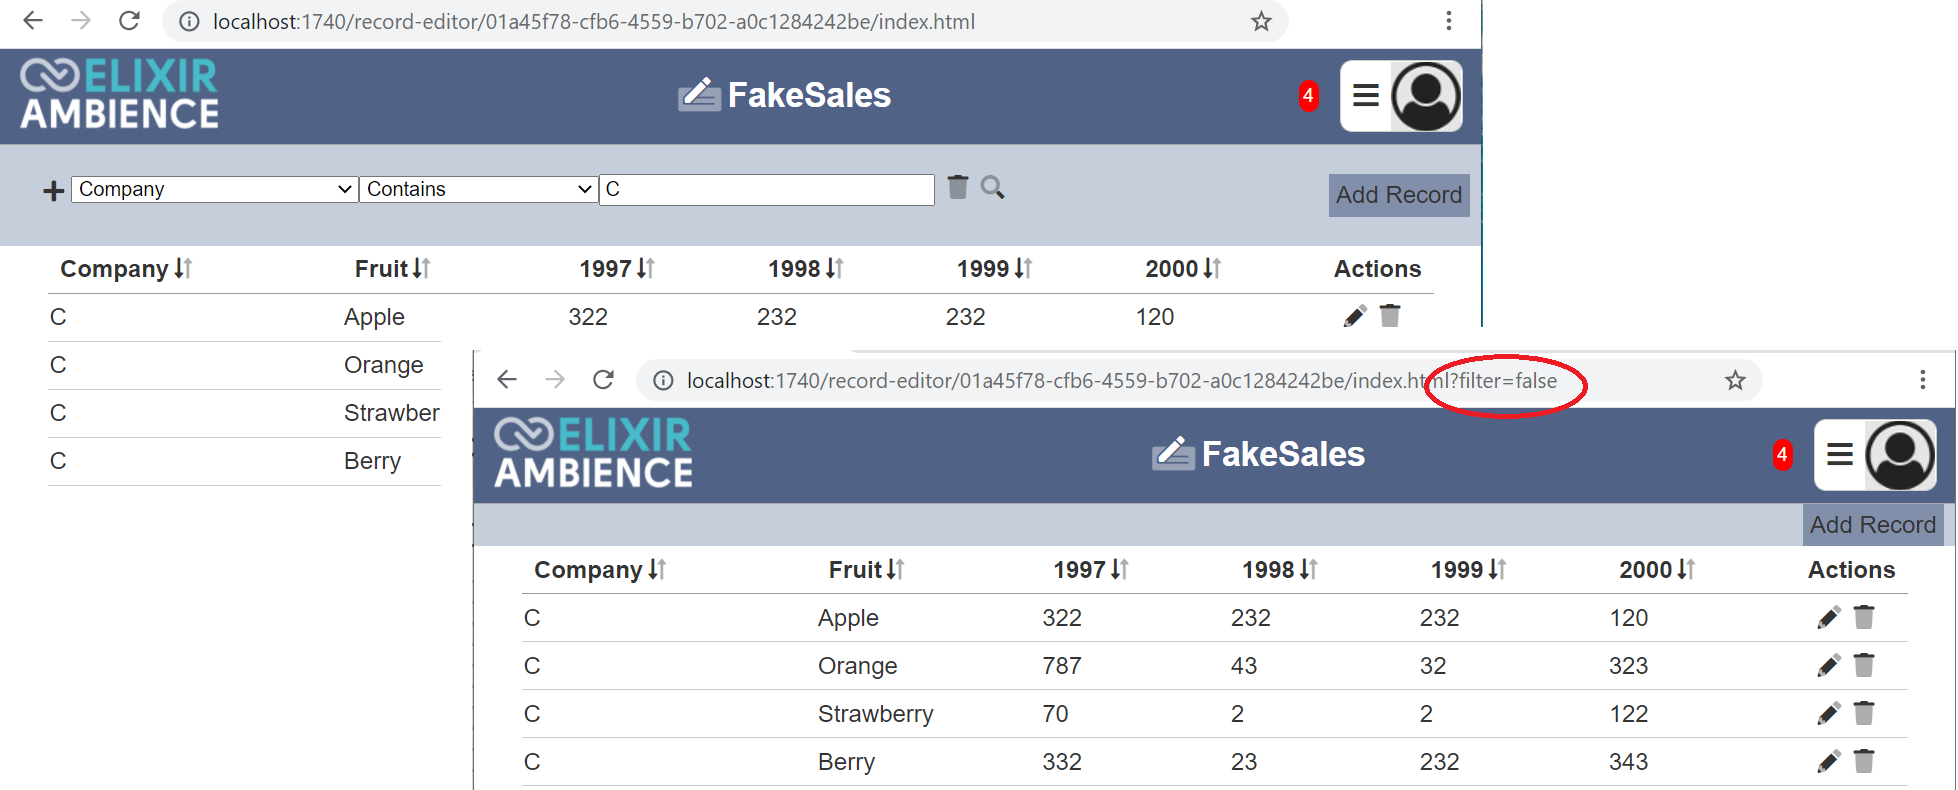
Do note that the filtering once set up using this search function is enabled by default, which means that even if you leave the editor page, the search result will still be present, until you remove it clicking on the “Delete” icon.
To hide the search function, key in ?filter=false at the end of the of the URL on the address bar. To enable the function again, change to ?filter=true or simply remove the code at the end of the URL.