
Regular Expressions
Introduction
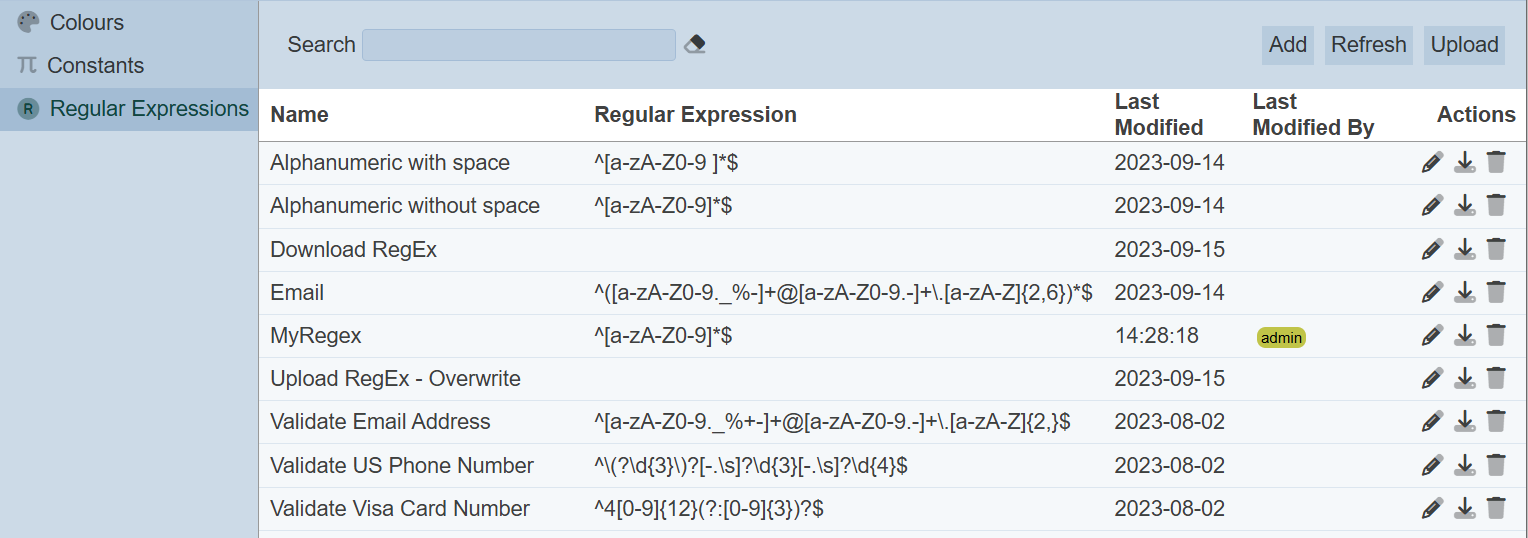
The Regular Expressions page allows you to define these regex that can be used in the ETL steps or scripts. This page can be selected via the left panel.
These regex can be accessed using the Lookup Regex ETL step under the Ambience category.
Add
To add a regex, click on the “Add” button at the upper right corner of the page.

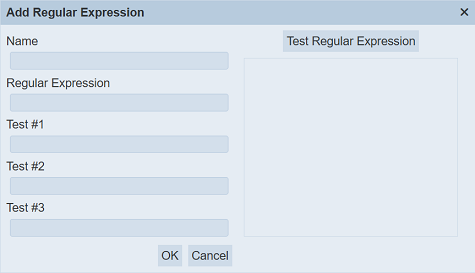
The “Add Regular Expression” dialog box will appear.
| Field | Description | Input Type | Default Value |
|---|---|---|---|
| Name | Unique name of the regex. | Textbox | None |
| Regular Expression | Regular expression. | Textbox | None |
| Test #1 Test #2 Test #3 |
Test values for the regex. | Textbox | None |
| Valid Regular Expression | Shows test results of the values in Test #1 to #3 on the regex. | Textbox | None |
Key in an unique name for the regex in the “Name” field. In the “Regular Expression” field, key in the expression in the textbox. In the “Test #1” to “Test #3” fields, key in the values to test on the regex. These fields are optional.
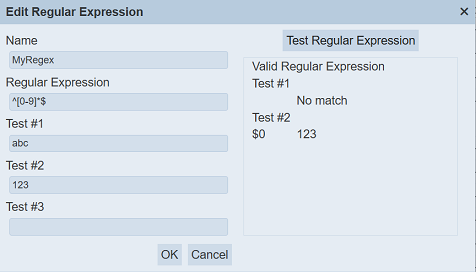
You can test the regex with the test values by clicking on the “Test Regular Expression” button and the result will be shown in the rightmost textbox.
Once the regex is verified, click on the “Save” button to save the regex. To abort, click on the “Cancel” button.
If the name provided in the “Name” field already exists or no name is provided, the appropriate error message will appear.


Once saved successfully, the regex will appear in the management page.
By default the list of regex are sorted in ascending order using the “Name” field. You can sort the list in descending order by clicking on the column title.
Delete
To delete a regex, click on the  “Delete” icon under the “Actions” column of the corresponding regex.

A notification will appear.

There is an “Undo” button to undo the deletion. Upon clicking on the “Undo” button, the deleted regex is restored and is added back to the list of regex. Do note that the notification will disappear after some time.
Edit
To edit a regex, click on the  “Edit” icon under the “Actions” column corresponding to the desired regex.
The “Edit Regular Expression” dialog box will appear.
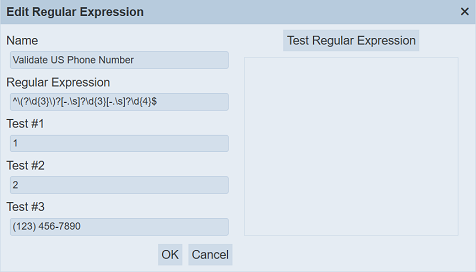
Edit as desired and click on the “Save” button to save the changes. To abort the change, click on the “Cancel” button.
Upload
To upload a regex, click on the “Upload” button at the upper right corner of the page.
The “Upload” dialog box will appear.
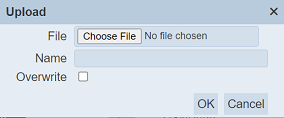
Click on the “Choose File” button in the dialog box and browse to the location of the JSON file to be uploaded. Click on the “OK” button to upload the file. To abort, click on the “Cancel” button.
If the filename already exist or no file is selected, an error message will appear.

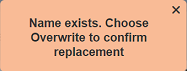
To overwrite the existing regex, select the “Overwrite” field, then click on the “OK” button. The regex in the uploaded file will overwrite the existing regex with the same name.
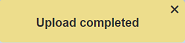
Once the file is uploaded successfully, a message will appear.
Download
You can download a regex by clicking on the  “Download” icon under the “Actions” column corresponding desired regex.
The downloaded file will have the filename <RegexName>.regex.json.
Refresh
After performing actions on the browser, the list is reloaded to display the list of regex. The manual “Refresh” button is available and is particularly useful if there are others making changes on the same page.
The “Refresh” button is found on the upper right corner of the page. Clicking on it reloads the list of regex.
Search
There is a cross-field search function for the list of regex. It is located at the upper left corner of the page.

This provides an easy way to search through the list of regex. It is case-insensitive and displays regex that have the entered search value in any of the values of the fields below:
- Name
- Regular Expression
- Last Modified
- Last Modified By
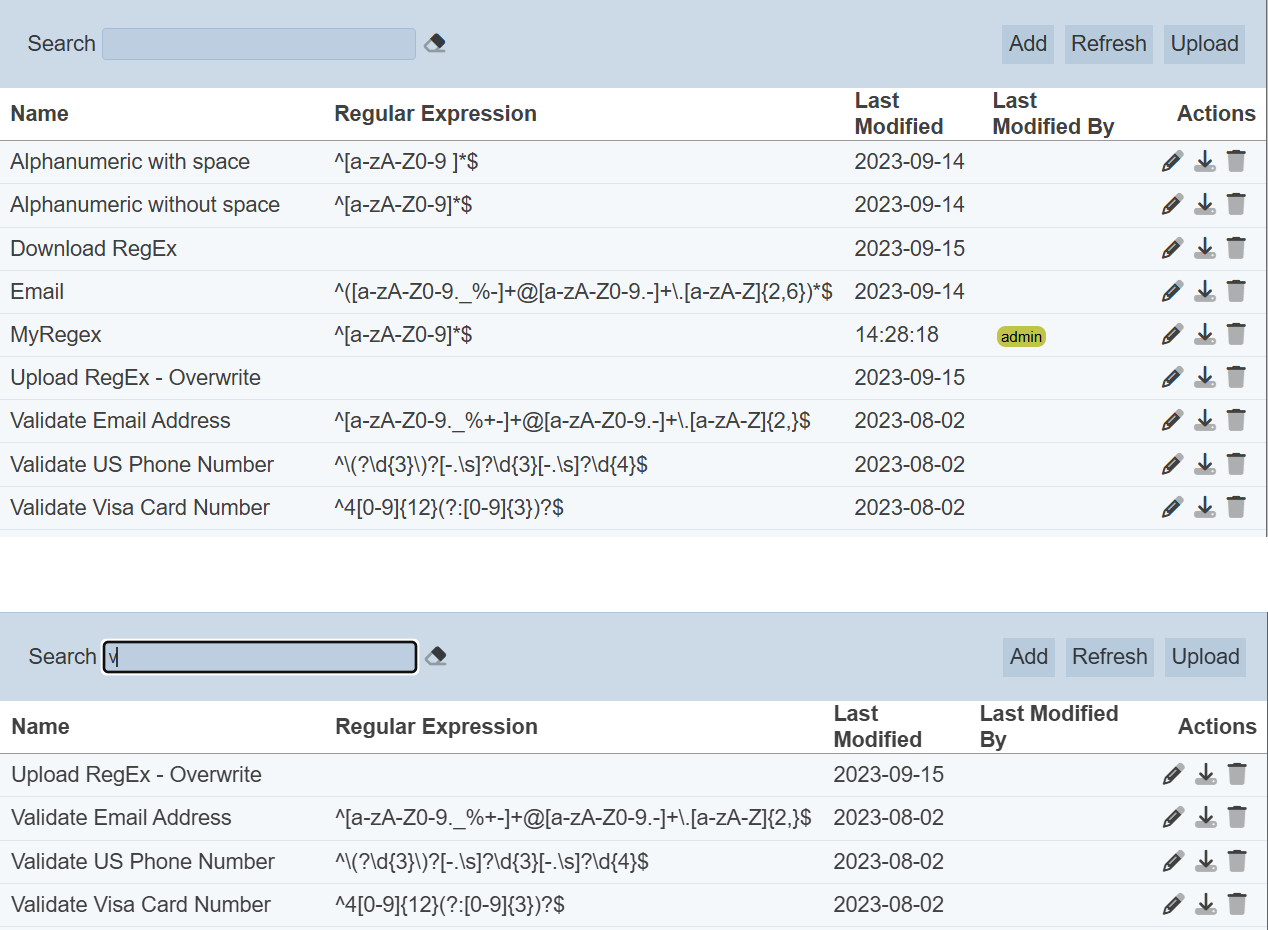
Alternatively, you can click on the any item under the “Last Modified By” column to aid the search for the regex in the page.

In the example above, regex that is last modified by “admin” is shown.
These two search methods can be combined together, with each criteria separated by a comma.