
RML Engine Module
The RML (Report Markup Language) Report Engine resides in the Repository module and make use of a RML file and the DS file as data to generate the required report.
The RML engine can be invoked using either the user interface in the Repository module or through the ETL chainset in the ETL module.
The Repository module has a job queue to allow multiple jobs to be triggered on the same report. Some delay may be experienced on the return results or reports if there are jobs that need to be completed before yours could begin.
Module Interface
To use the user interface to access the RML report engine, you need to have the privilege to access the Repository module.
| Interface | Description | Required Privilege |
|---|---|---|
| Repository | Allows access to Repository page. | mod-repository |
| Repository | Allows repository administrator access. | mod-repository-admin |
| RML Engine | Allows RML Engine access. | mod-rml-engine |
To use ETL chainset to access the RML report engine, you need to have the privilege to access the ETL module.
| Interface | Description | Required Privilege |
|---|---|---|
| ETL | Allows ETL module access. | mod-etl |
| ETL Designer | Allows ETL Designer access. | mod-etl-designer |
Datasource Engine
A datasource (DS) file provides the configuration details to access a collection of records, for example by loading from JDBC, XLSX or MongoDB. The DS file is used by the RML report engine to generate reports.
The DS engine can be invoked either through the user interface in the Repository module or the ETL chainset in the ETL module. For more information on the DS engine, refer to Datasource Engine.
RML Report Engine
The RML Report Engine uses the DS file as data source and a RML file as template. The file with RML extension file contains annotations, markers and other information (such as location of the DS file) stored in XML format.
The RML report engine can be invoked either through the user interface in the Repository module or the ETL chainset in the ETL module.
Generate RML Via Repository
To generate the RML report through the Repository module, select the RML document and click the “Render” button.

The RML Report Engine page will appear.
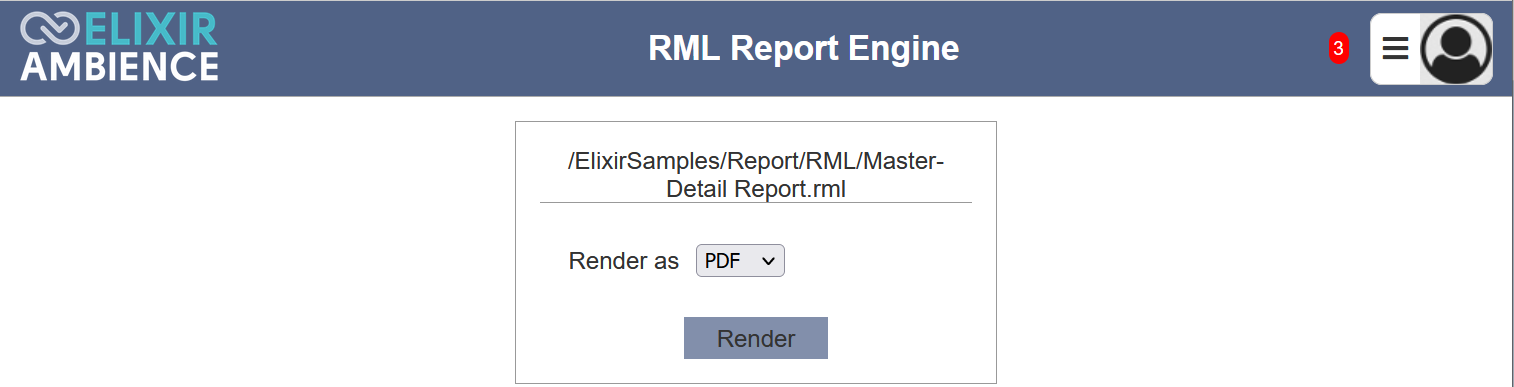
Select the desired format (PDF or XLSX) from the drop-down list and click on the “Render” button. The report is generated using the DS file as content and the RML file as template. If the browser permits, the report is displayed in another tab.
There is an additional option to display the generated report in the RML Report Engine page. To use this, you will need to add the following line into the application.conf file. For example, to show PDF files on the same page:
ambience.rml-engine.ui-left-parameters = ["application/pdf"]
If the browser permits, you can also display HTML or XLSX format in the RML Report Engine page. You simply add the corresponding mime-types into the list (comma separated) in the application.conf file.
You will need to restart the server for the display to take effect. With this option enabled, where possible, the generated report will be displayed in the RML Report Engine page instead of another browser tab.
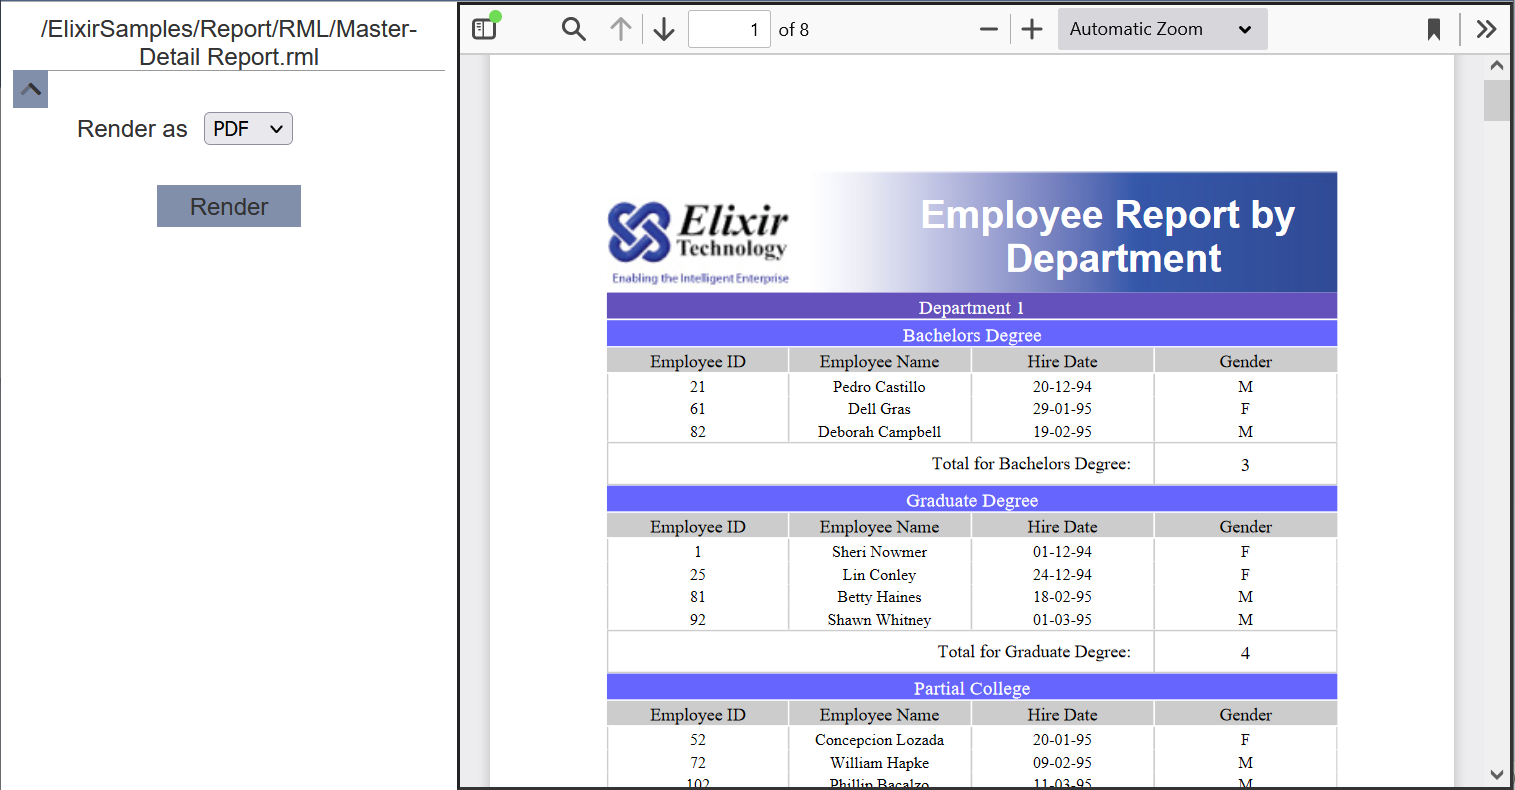
You can opt to close the left panel to maximise the report in the page by clicking on the  “Hide Parameters” icon on the left of the left panel.
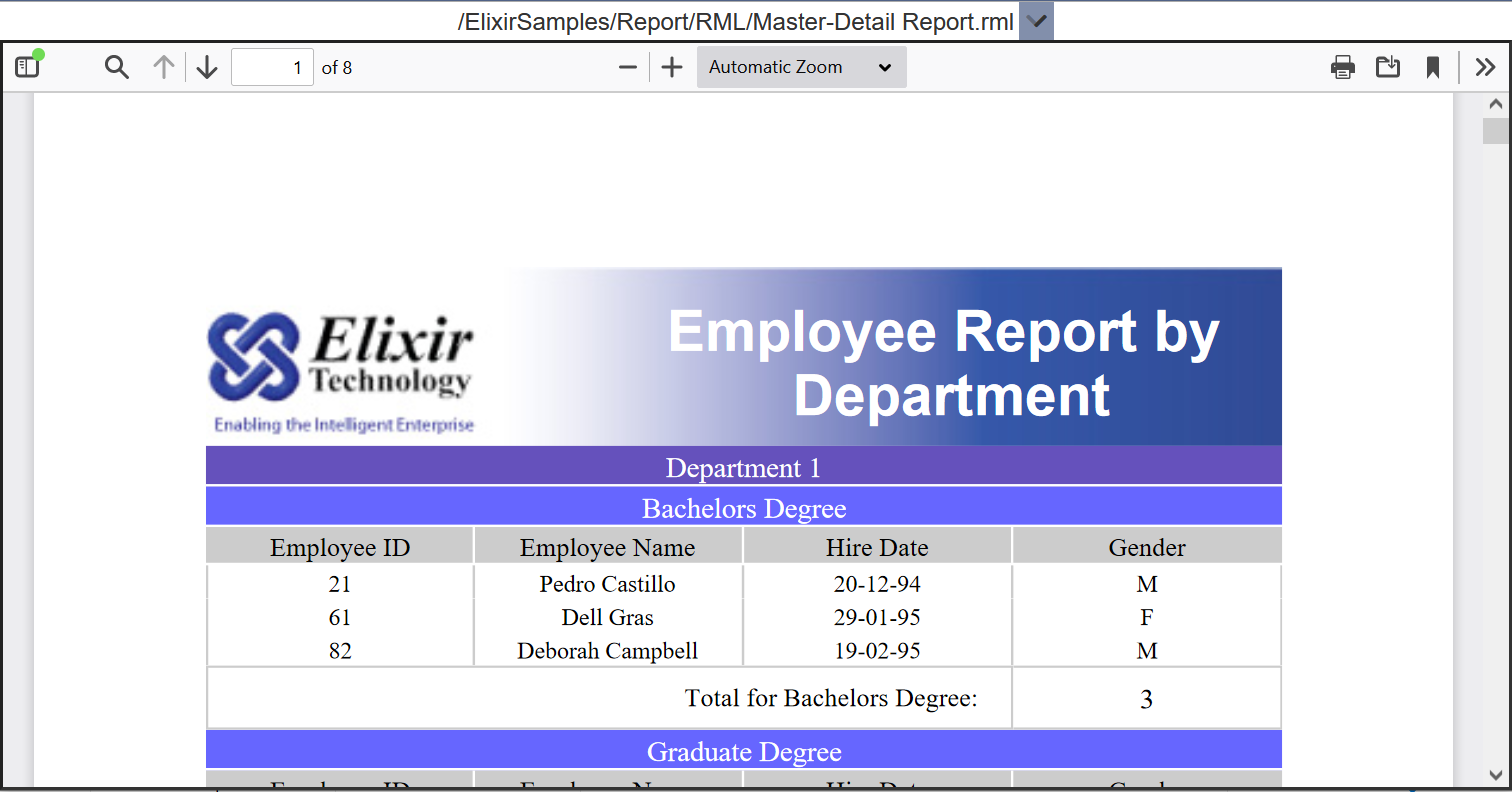
To expand the left panel, click on the  “Show Parameters” icon next to the path of the report at the top.
Generate RML Via ETL
Another way to generate RML report is to use the ETL chainset. There are several ETL steps that can be used to generate the RML report.

In the simple example below, the ETL chainset generates the RML report and writes to a PDF.
This ETL chainset performs the following:
- Generates RML report in the desired output format
- Writes the output file to the desired location and filename
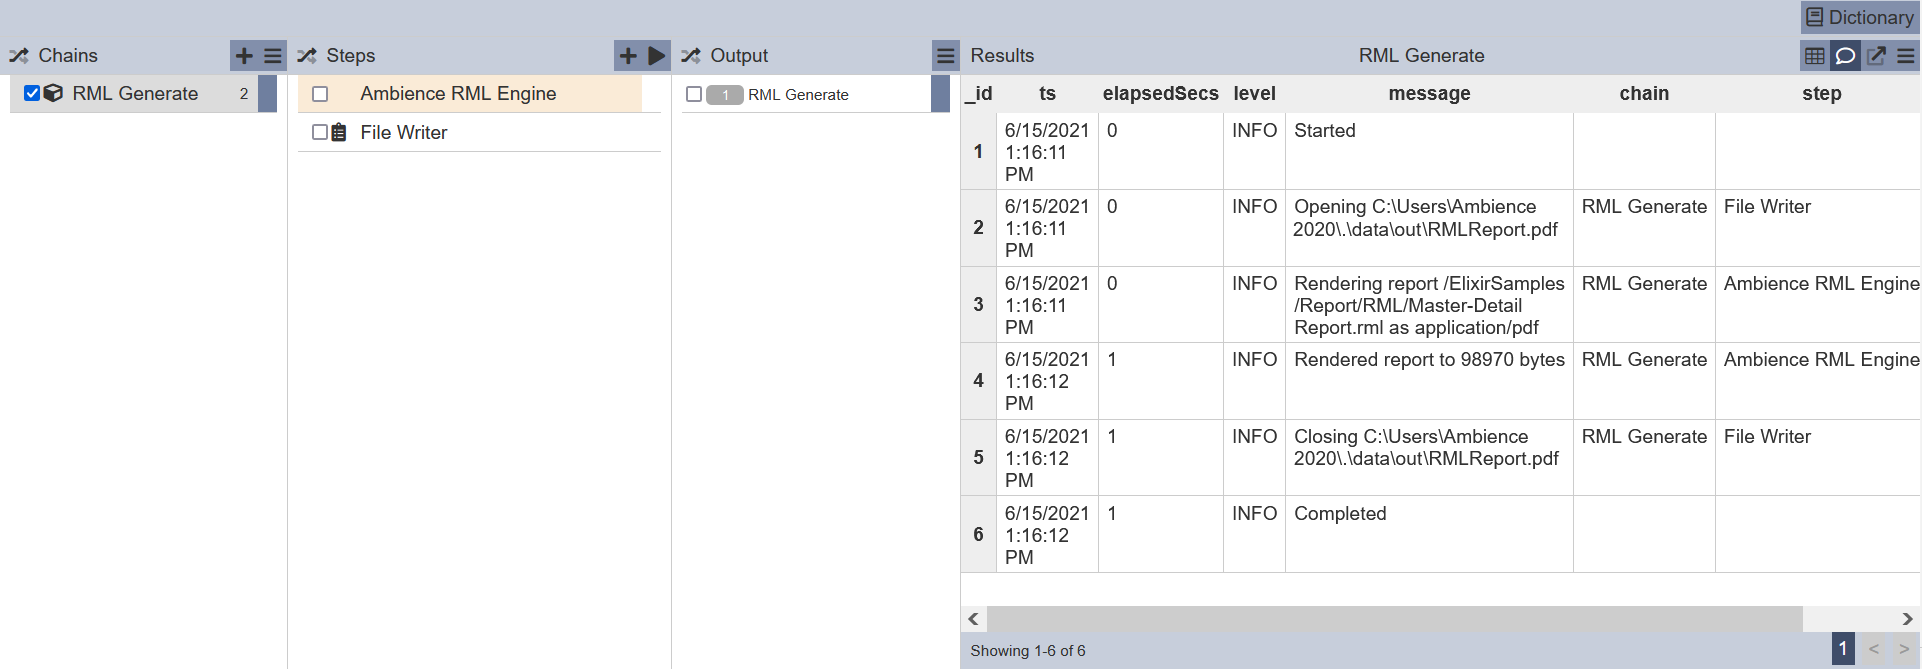
Click on the  “Run Steps” icon to generate the RML report.
Render RML Report Via API
You can generate a RML report using API token.
For example, in the command line tool, key in the following, replacing the API token <token> as required:
curl -v -X POST http://localhost:1740/rml-engine/api/v1/render?elx.token=<token>
-H "Content-Type: application/json"
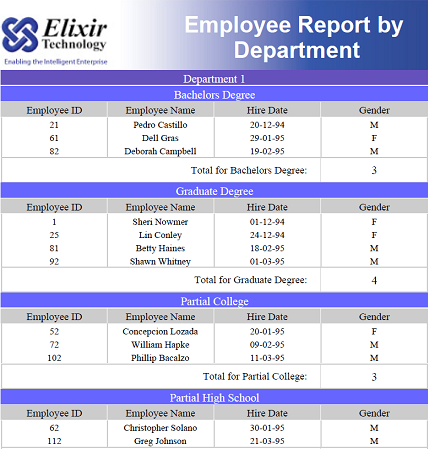
-d '{"rml": "/ElixirSamples/Report/RML/Master-Detail Report.rml"}' -o result.pdf
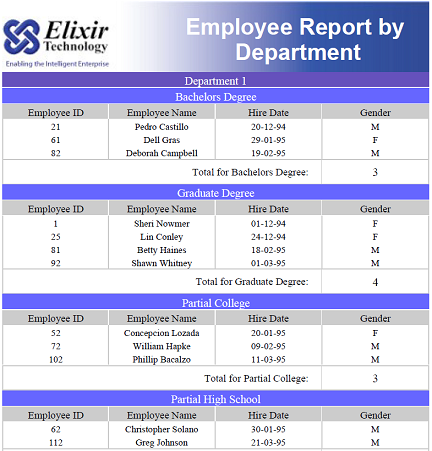
The result PDF will be displayed with the content of Master-Detail Report.rml.
Customise Data Picker Using Theme
An RML template may need to use dates in its report. These dates typically need a default value. Depending on the nature of the report, you may want the default values to be as close to the current date as possible. So if an RML file was created several years ago, hard-coded default dates may be dated too far back. It may be useful to set the default date to the first day of the current month and year - the Theme module can help to set the initial date.
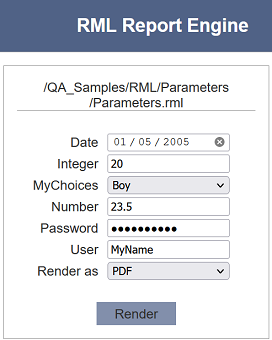
In the example below, a RML file that was created several years ago has a default date that is old.
To address this, in the “rml-engine/_render.html” file of the Themes module, add the following code at the start of the <script> section.
function pad2(i) {
  if (i<10) return "0"+i;
  else return ""+i;
}
var path = "${path}";
if (path=="/<path-of-report>/<name-of-report>.docx") {
  var now = new Date();
  var year = new.getFullYear();
  var month = pad2(now.getMonth()+1);
  var firstOfMonth = year+"-"+month+"-01"
  elx.panel[0].setup.value = firstOfMonth;
}
The above script allows you to use the first day of the current month and year as the initial date.
Activate the theme if it is not activated yet. Refresh the Repository and render the report.
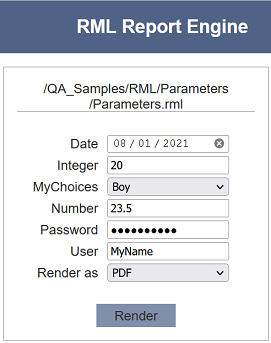
The initial date is now the first day of the current month and year. This makes it easier for the user to select dates that are more current.