Collection Management
The Collection Management tab in the Developer module allows you to manage the selected database within Ambience.
Any actions performed in this tab are irreversible. Proceed with caution.
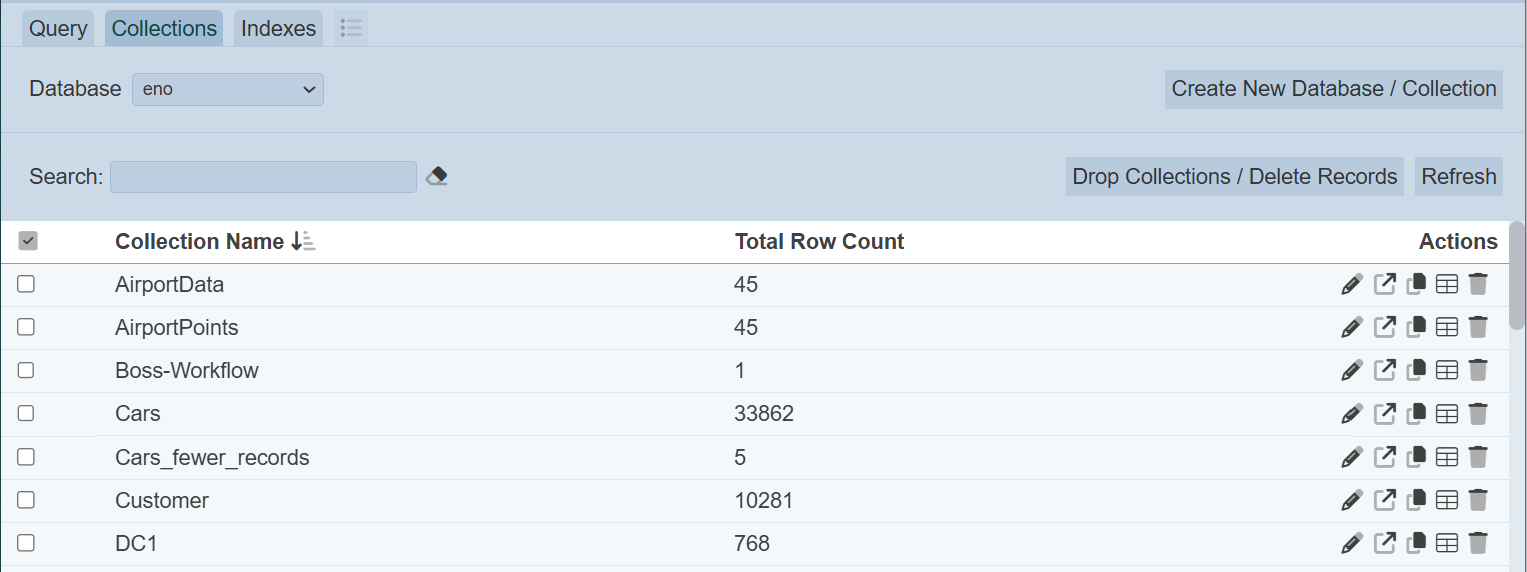
The upper part of the page allows you to select the database and search the list of collections, as well as action buttons that you can perform on the database. The lower part of the page displays the collects for the selected database and the action icons that can be performed on the collection.
In this page, you can perform the following:
- Create new database / collection
- Drop collections / records
- Refresh
- Search
- Rename
- Open
- Copy
- Infer schema
- Delete
Create New Database/Collection
To create a new database/collection, click on the “Create New Database / Collection” button at the upper right corner of the page.

The “Create New Database / Collection” dialog box will appear.
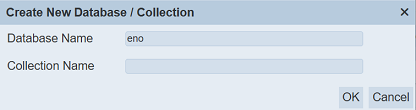
In the “Database Name” field, the default value is the currently selected database. Change to the required database if the current database is not desired. Key in a unique name for the new collection in the “Collection Name” field. Click on the “OK” button to create the new database collection or click on the “Cancel” button to abort the action.
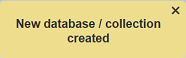
A notification will appear once the new database collection is created.
Drop Collections / Delete Records
This function allows you to drop (delete) one or multiple collections, or delete all records in selected collection(s). Do note that this action is irreversible.
To drop a collection oe multiple collections, select the desired collections and click on the “Drop Collections / Delete Records” button at the upper right corner.

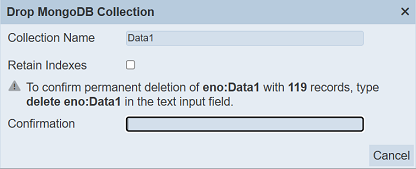
In this example, two collections are selected, namely “Data1” and “Data2”. The “Drop MongoDB Collection” dialog box will appear for the one of thhe selected collection. Do note that of more than one collection are selected, the collections will be dropped one by one.
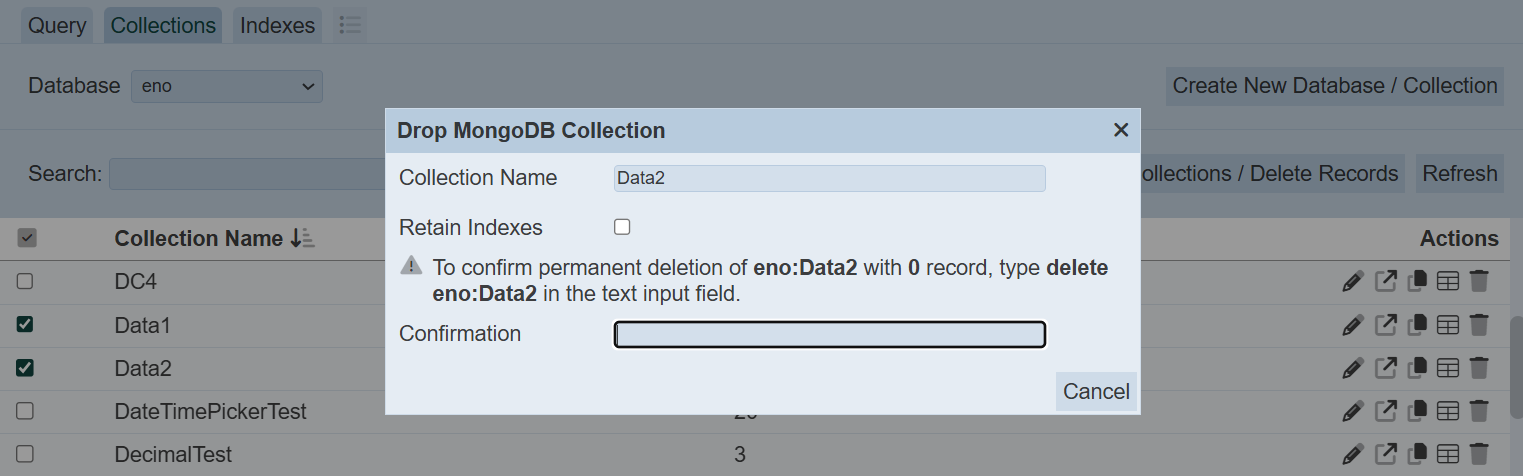
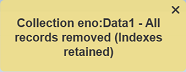
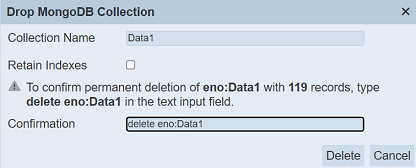
The “Collection Name” field shows the collection to be deleted (not editable). The “Retain Indexes” field allows you to select whether to retain the indexes of the collection. By default it is not selected. If the “Retain Indexes” field is selected, the records in the collection will be removed but the collection remains in the database. Other else, the collection will be removed from the database.
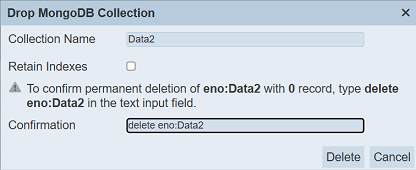
The “Confirmation” field requires you to enter the phrase as indicated in the dialog box to enable the “Delete” button. This is to avoid accidental deletion of the collection.
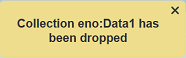
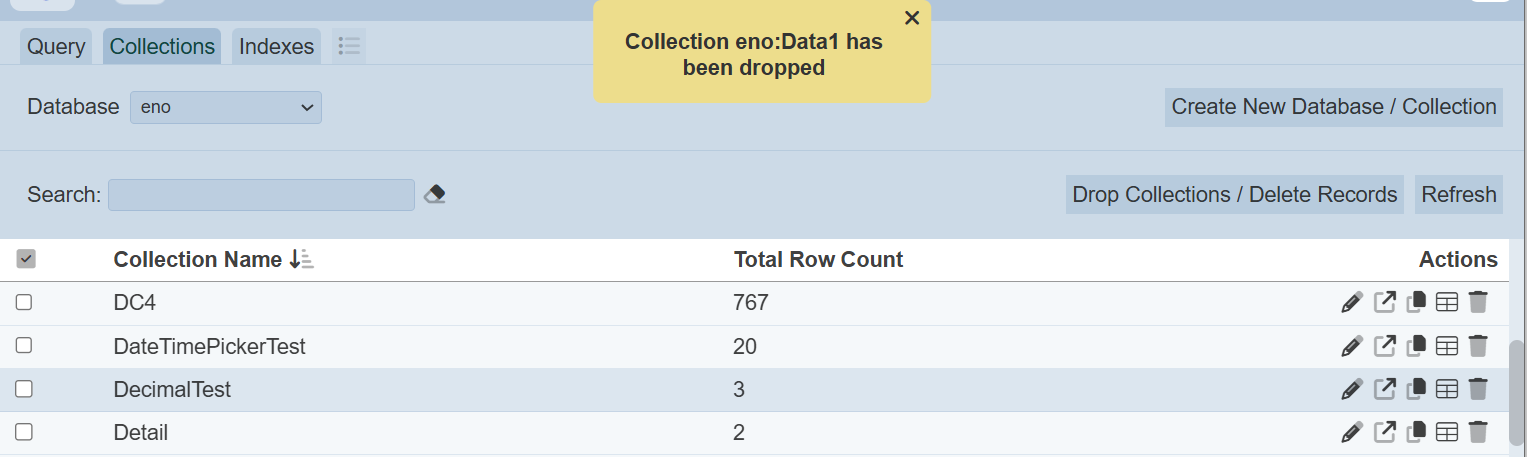
Click on the “Delete” button to delete the collection or click on the “Cancel” button to abort the action. Upon successful deletion, the collection will be removed from the database and a message will appear.
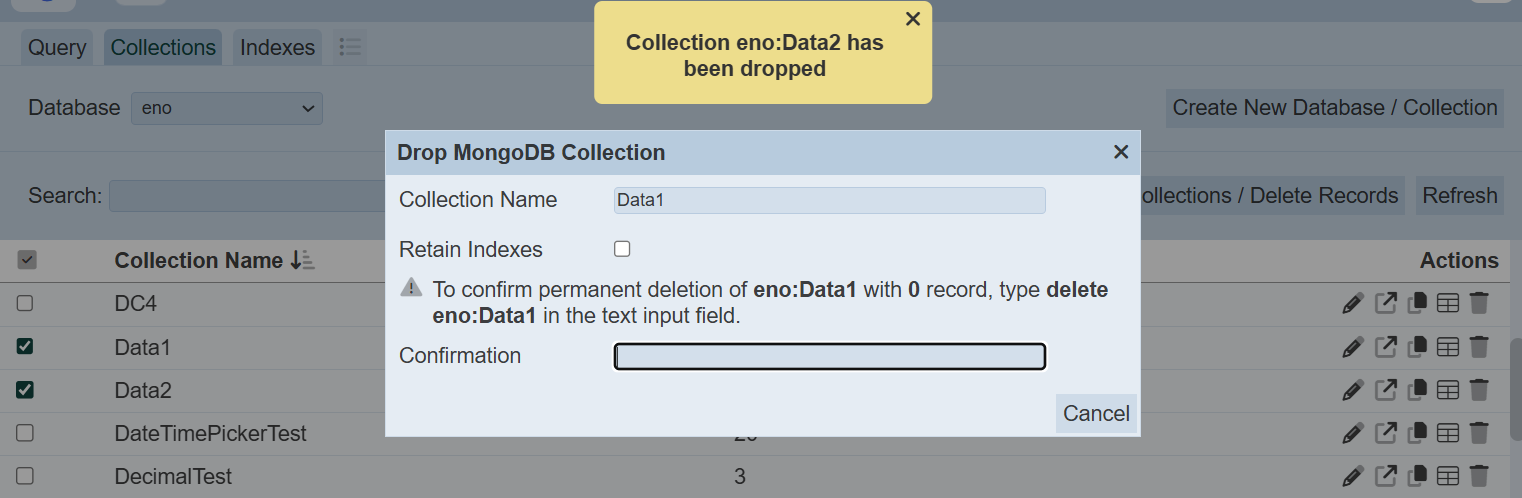
If more than one collection are selected, the dialog box will appear again. Enter the phrase and click on the “Delete” button that appear.
Upon successful deletion, the collections are removed from the database and a message will appear.
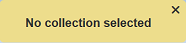
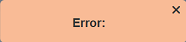
If no collection is selected, an error message will appear.
Dropping a collection can also be done using the  “Delete” icon under the “Actions” column of the respective collection.
Refresh
The “Refresh” button at the upper right corner of the Query page allows you to refresh the page in case anyone or the database is being updated.
Search
There is a cross-field search function for the list of collections. It is located at the upper left corner of the page.

This provides an easy way to search through the collection list. It is case-insensitive and displays collections that have the entered search value in any of the values of the fields below:
- Collection Name
- Total Row Count
Rename Collection
You can rename a collection by clicking on the  “Rename” icon under the “Actions” column corresponding the desired collection.

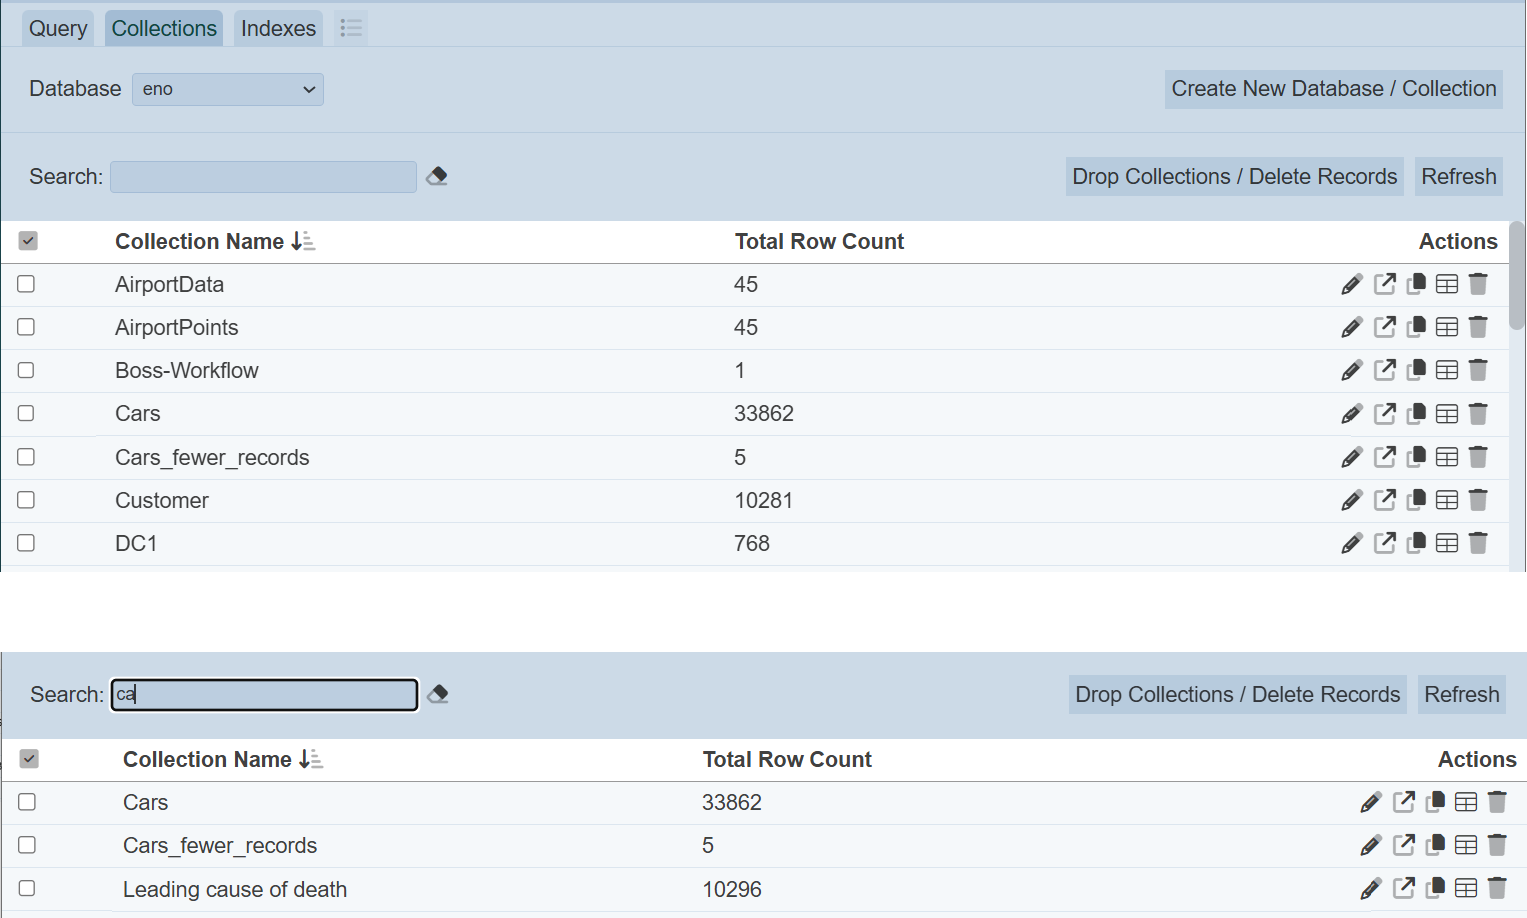
The “Rename MongoDB Collection” dialog box will appear.
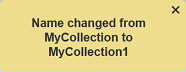
Key in an unique name in the “Collection Name” field and click on the “OK” button to save the change. To abort, click on the “Cancel” button or the “X” icon at the top right of the dialog box.
Upon successful rename, a notification will appear.
Open Collection
To open a collection to view the records in the collection, click on the  “Open” icon under the “Actions” column corresponding the desired collection.
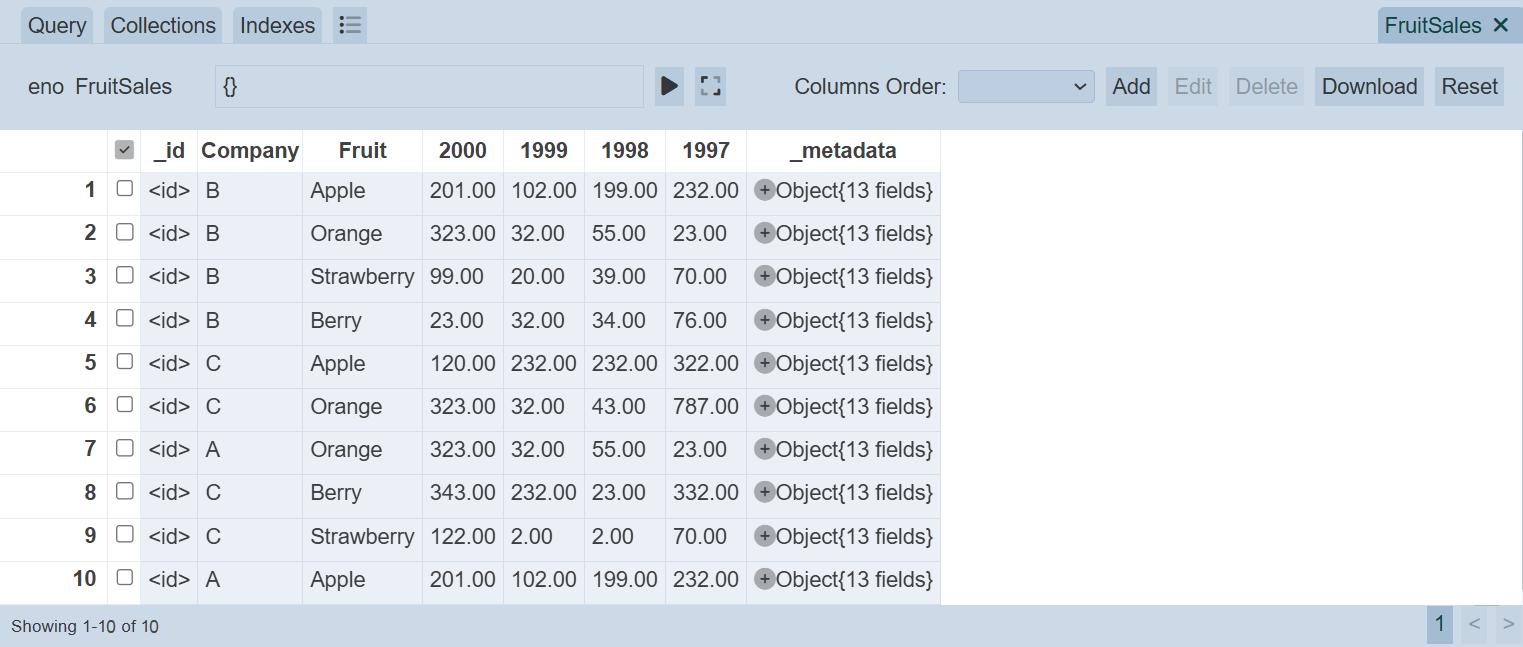
All the records will be displayed in the “Results” tab.
See Results section for more information.
Copy Collection
This function allows you to copy records from one collection to another collection. It only works for MongoDB 4.4 onwards. The copy function does not work on DocumentDB4.0.
To copy the records in a collection and copy to another collection, click on the  “Copy” icon under the “Actions” column corresponding the desired collection.
The “Copy MongoDB Collection” dialog box will appear.
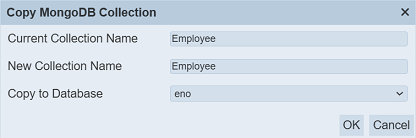
The “Current Collection Name” field shows the where the records are copied from and it is not editable. The “New Collection Name” field, by default uses the same name as the “Current Collection Name” field. Change it to the desired collection name. It must be unique. In the “Copy to Database” field, select the appropriate database where the copied records are to be located from the drop-down list. Click on the “OK” button to copy the collection or click on the “Cancel” button to abort the action.
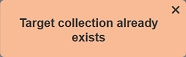
If the same collection name is used or the collection does not exist, an error message will appear.
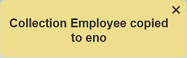
If the copy is successful, a notification will appear.
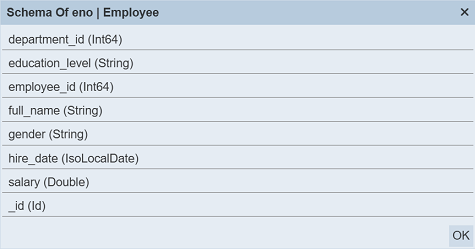
Infer Schema
This function allows the user to view the schema of the collection.
To infer the schema, click on the  “Infer Schema” icon under the “Actions” column of the corresponding collection.
The “Schema” dialog box will appear and display the list of fields with their field type.
To close the dialog box, click on the “OK” button or the “X” icon at the upper right corner of the dialog box.
Delete Collection
To delete a collection, click on the “Delete” icon under the “Actions” column corresponding the desired collection. Do note that this action is irreversible.
The “Drop MongoDB Collection” dialog box will appear.
The “Collection Name” field shows the collection to be deleted (not editable). The “Retain Indexes” field allows you to select whether to retain the indexes of the collection. By default it is not selected. If the “Retain Indexes” field is selected, the records in the collection will be removed but the collection remains in the database. Other else, the collection will be removed from the database.
You may have noticed that the “Delete” button does not appear in the dialog box. The “Confirmation” field requires you to enter the phrase as indicated in the dialog box to enable the “Delete” button. This is to avoid accidental deletion of the collection.
Click on the “Delete” button to delete the collection or click on the “Cancel” button to abort the action.
Upon successful deletion, a notification will appear depending on the selection made earlier.