
Actions
This section provides descriptions on using the available actions for the Repository.
The type of actions available depends on the type of item being selection, whether it is a folder or a particular type of file. For example, a DocX or RML file allows you to render a report while a datasource file allows you to generate a output file.
Actions for Folder
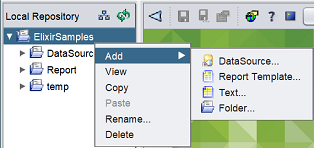
The typical available actions for a folder is shown below.
| Action | Description |
|---|---|
| Add -> DataSource… | Adds a data source file via DataSource Wizard. |
| Add -> Report Template… | Adds a report template. |
| Add -> Text… | Adds a new text file. |
| Add -> Folder… | Adds a new folder. |
| View | Views the location of current folder through File Explorer. |
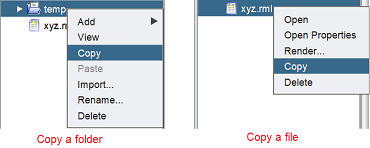
| Copy | Copies the selected folder onto clipboard. |
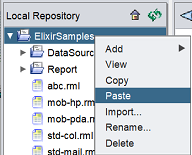
| Paste | Paste item on clipboard into current folder. |
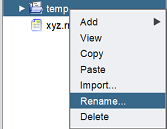
| Rename… | Renames the current folder. |
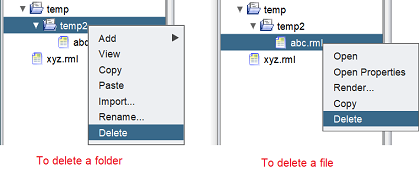
| Delete | Deletes the current folder and files in it. |
Actions for File
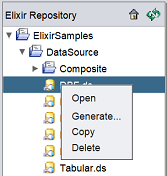
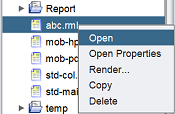
The typical available actions for a file is shown below. Different file type may have different available actions.
| Action | Description | File Type |
|---|---|---|
| Open | Opens the datasource or RML file. | Dataasource, RML |
| Generate… | Generates a datasource file. | Datasource |
| Copy | Copies the file onto clipboard. | All |
| Delete | Deletes the selected file. | All |
| View | Views the selected DocX file or other common file formats. | DocX, other common file formats |
| Render… | Creates a report for the selected DocX or RML file. | DocX, RML |
| Open Properties | Displays the Report Properties wizard. | RML |
| Open Image… | Displays the image. | Image File |
Add
The “Add” action on a folder has four sub-actions:
- Datasource
- Report Template
- Text
- Folder
Each sub-action has a wizard to guide you through the process.
Add Datasource
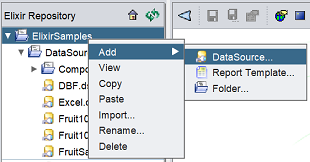
To add a new datasource file into the repository, right-click on the location or folder desired. A pop-up menu appear with the available actions. In this case, select “Add”, then “DataSource…”.
A DataSource Wizard will appear to guide you through the process.
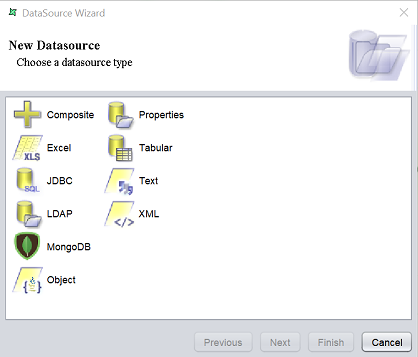
The pages prompted by the DataSource Wizard differs for each datasource type. The last page, which is the Security page however remains the same for all datasource type.
Refers to DataSoruce Wizard for more details.
Add Report Template
To add a report template into the repository, right-click on the location or folder desired. A pop-up menu appear with the available actions. In this case, select “Add”, then “Report Template…”.

A Report Wizard will appear to guide you through the process.
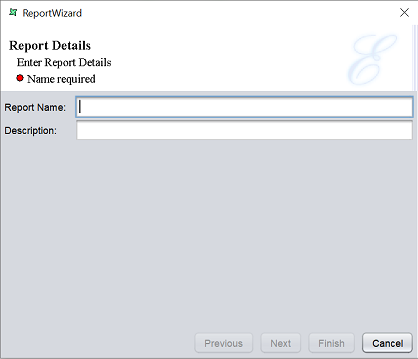
See Report Wizard for more details.
Text
To add a text file into the repository, right-lick on the location desired. A pop-p menu appear with the available options. Select “Add”, then select “Text…”.
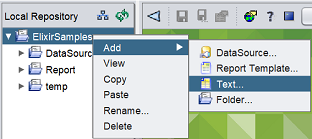
A Add Text Wizard will appear.
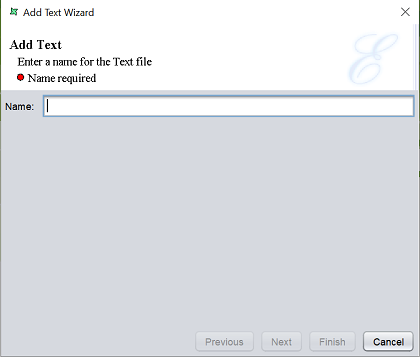
In the “Name” field, key in a name for the new text file. Click on the “Finish” button to save the new text file or click on the “Cancel” button to abort.
Once the text file is added onto the repository, a text editor will appear in the workspace.
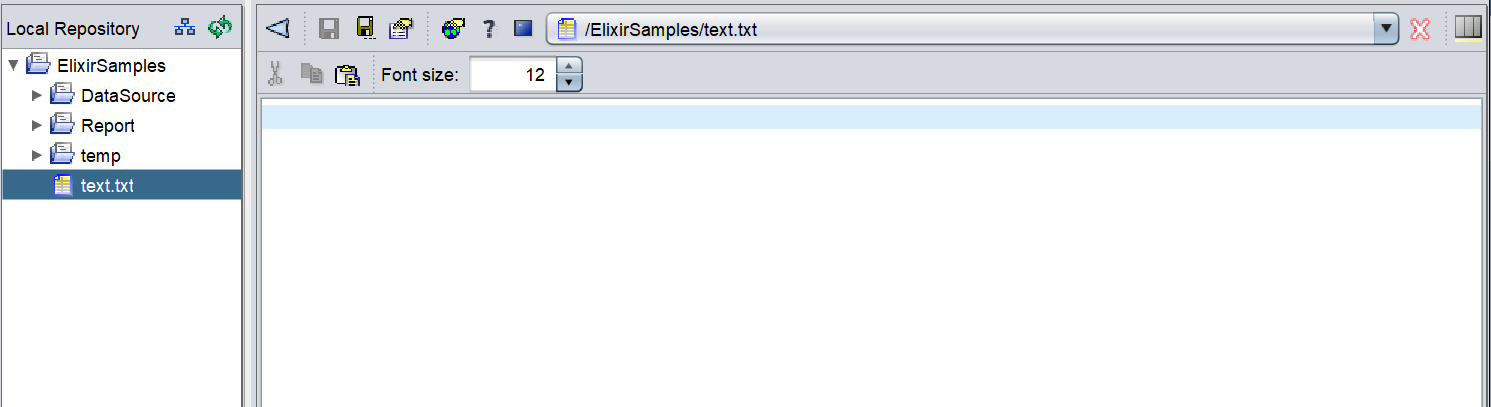
Key in the desired text in the text editor and save the content by clicking on the “Save” button on the menu bar at the top of the workspace.
Add Folder
To add a folder into the repository, right-click on the location desired. A pop-up menu appear with the available options. Select “Add”, then select “Folder”.
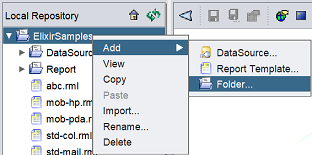
The “Add Folder” dialog box will appear.
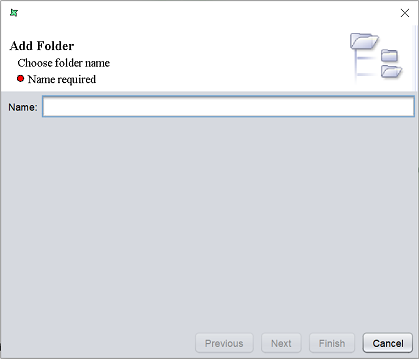
Key in a name for the new folder in the “Name” field. The “Finish” button by default is disabled until “Name” field is filled. Click on the “Finish” button to complete the process or click on the “Cancel” button to abort the action.
View
The “View” action allows you to view the location path of the selected folder or to view the file that cannot be opened in the workspace.
Simply select the desired folder/file and right-click to display the available actions. Select the “View” action and the respective selected item will be displayed (if applicable).
View Folder
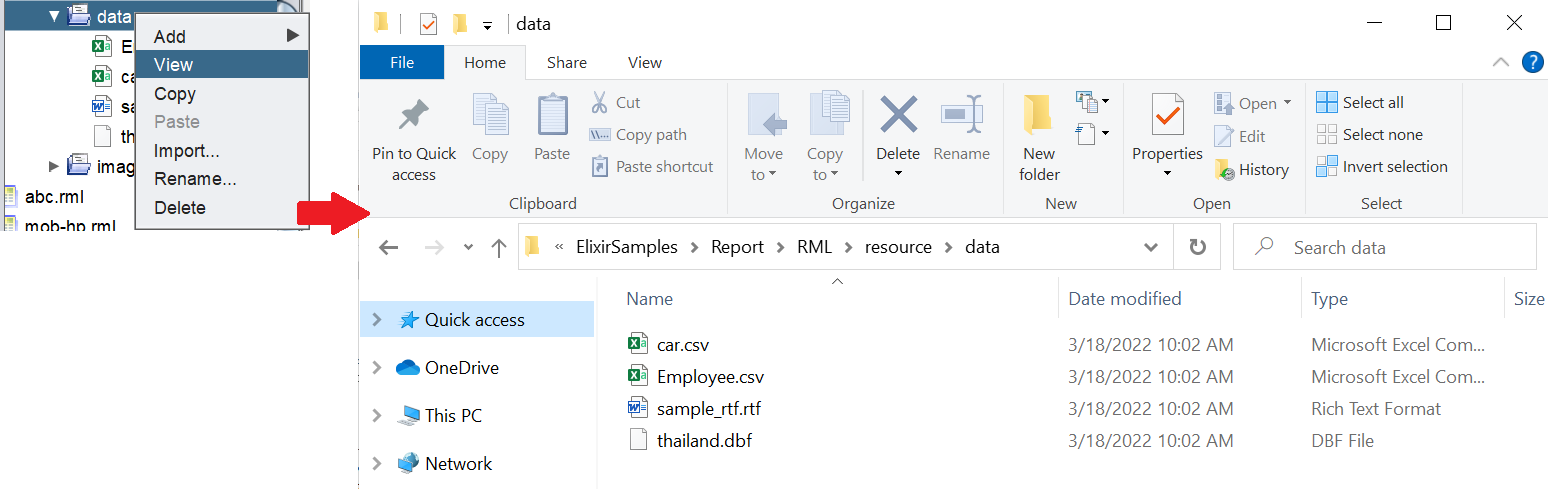
For a folder, this action allows you to view the location path of the selected folder through a file explorer.
When the “View” action is selected, the file explorer will appear, showing you the path location of the folder.
View File
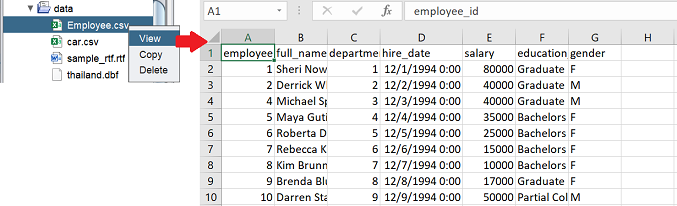
For a file, this action allows you to view the data in the selected file that cannot be opened in the workspace.
Depending on the type of file selected, if your system has applcation that support the file format, the file will be opened in their respective application. For example, an Excel file or CSV file will be opened in the Windows Excel application.
Copy
This function allows you copy the folder/file onto the clipboard, ready to be pasted onto another location.
To do so, select the desired folder/file, right-click on it and select the “Copy” from the list of available actions.
Paste
The “Paste” function allows you to paste the content copied on the clipboard into the repository folder.
To do so, select the desired folder, right-click on it and select the “Paste” from the list of available actions.
Rename
This function allows you to rename the name of the folder.
Select the desired folder and right-click on it. Select the “Rename…” from the list of available actions.
In the dialog box, edit the name of the folder in the “Name” field.

Click on the “Finish” button to save the change. Click on the “Cancel” button to abort the action.
Delete
This function allows you to remove a folder/file from the repository.
Select the desired folder/file and right-click on it. Select the “Delete…” action from the list of available actions.
For a folder, any sub-folders and/or files in the selected folder will be deleted along with it. For a file, the selected file will be deleted.
Do note that this action is irreversible.
Open
You can open a file in two ways:
- Double-click on the desired file
- Right-click on the selected file and select “Open” action
Depending on the file selected, one single tab or several tabs may open in the workspace on the right of the application.
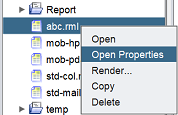
Open Properties
This function allows you to open the report properties of a report template (RML file) or the property of a text file.
RML File
To do so, select the desired file from the repository and right-click on it. Select “Open Properties” from the list of available actions.
The 2-page “Report Properties” dialog box will appear.
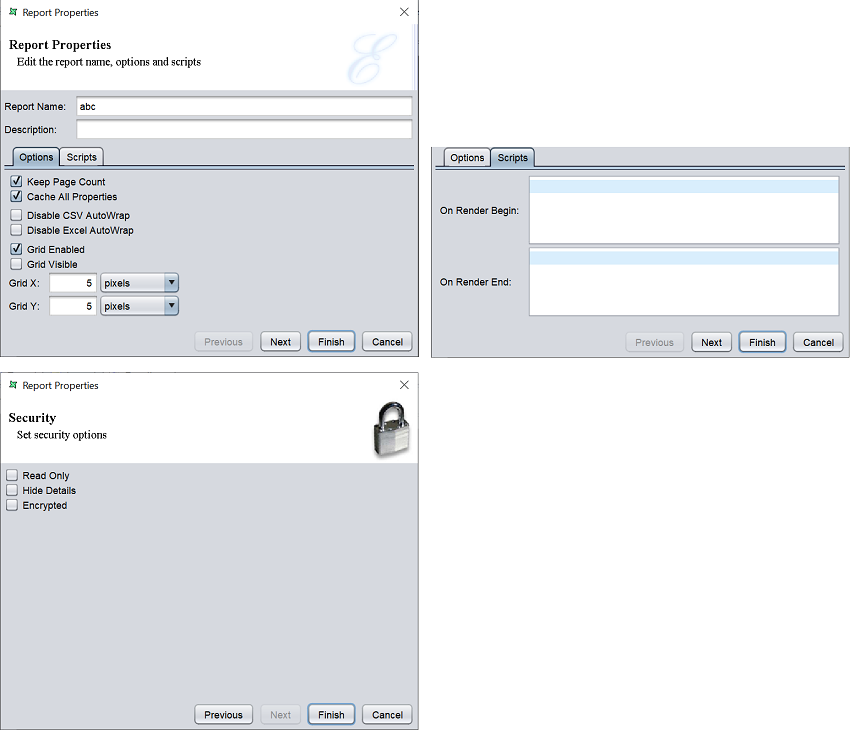
You can edit the the following: * Page setup of the report in the “Options” tab * Scripts to run at the start and end of the report in the “Scripts” tab * Security options in the next page
See Report Properties for more details.
Text File
Select the desired text file and right-click on it. Select “Open Properties” from the list of available actions.
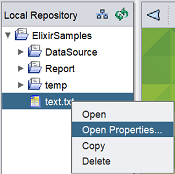
The “Edit Text Wizard” will appear. The only property that can be edited is the “Name” field.
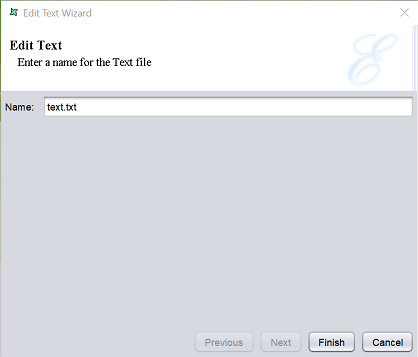
Edit as desired and click on the “Finish” button to save the change and close the wizard.
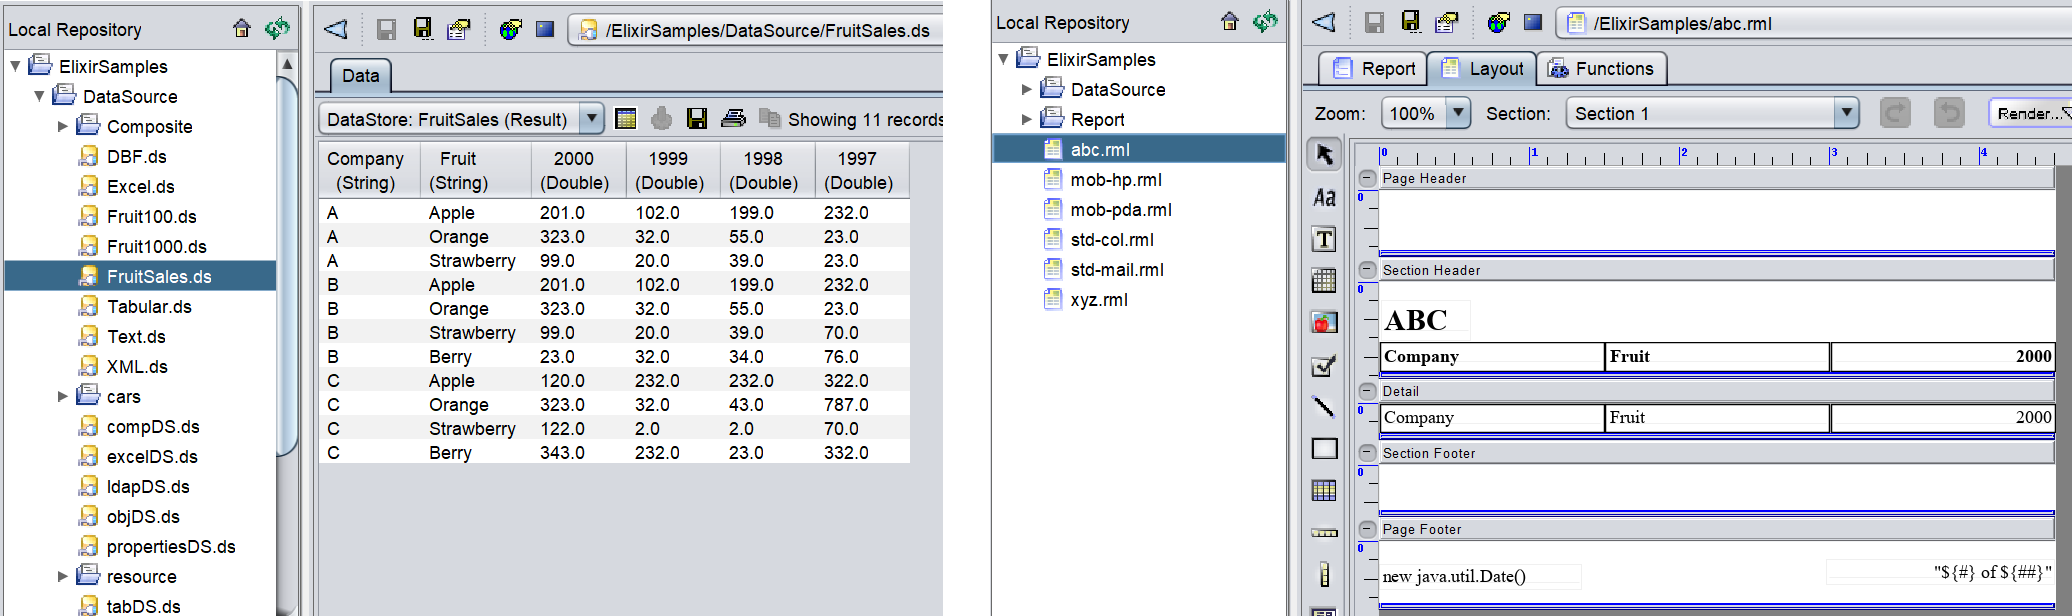
Generate
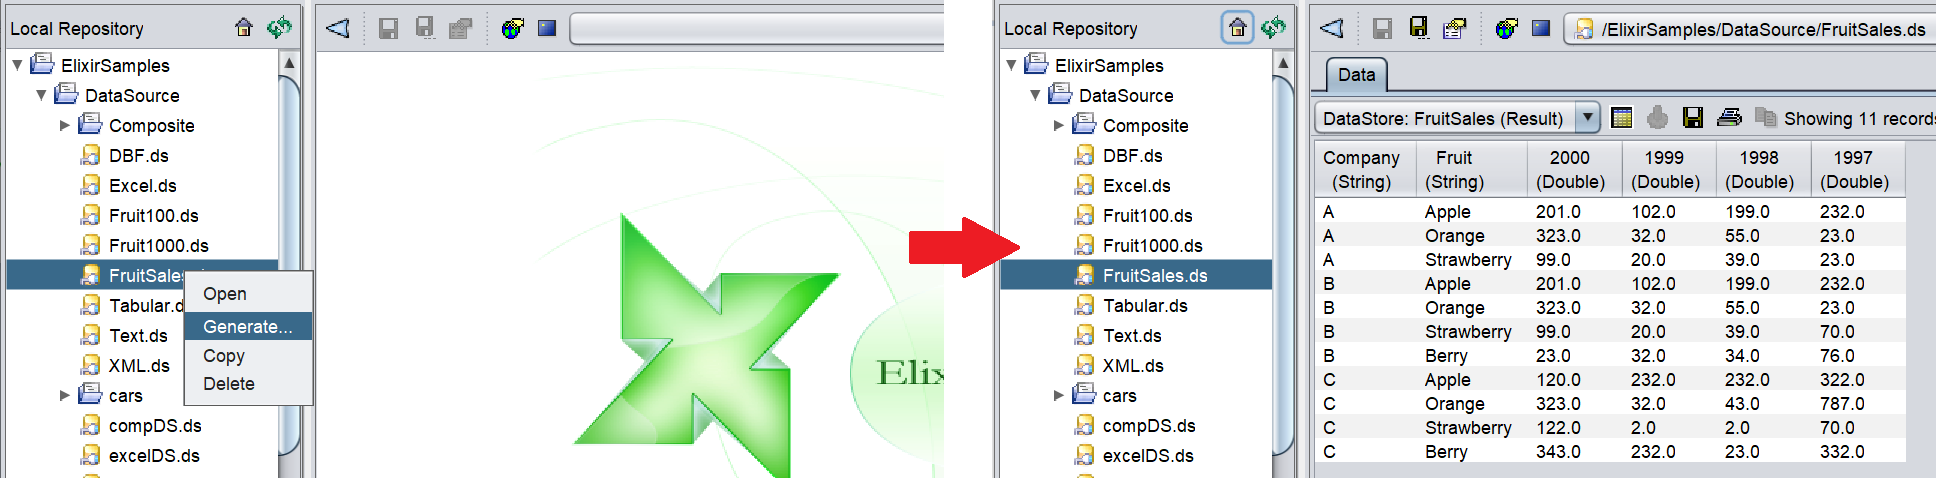
This function allows you to open and load all data of the selected datasource.
Simply select the desired datasource file and right-click on it. Select “Generate” from the list of available actions.
The data will be displayed in the workspace.
Render
There are two types of report template, DocX and RML. Depending on the type of report selected,
Render Report Using RML
This function allows you to render a report from the selected RML report template.
To do so, select the desired RML file from the repository and right-click on it. Select “Render…” from the list of available actions.
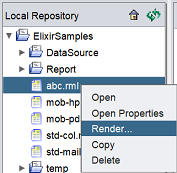
The “Render Wizard” will appear.
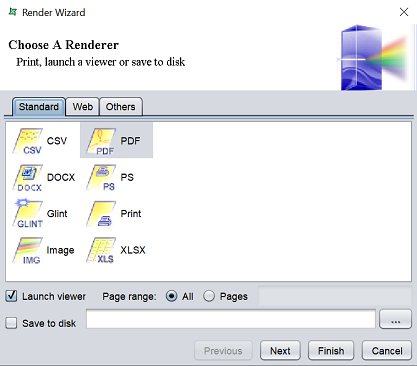
The wizard will guide you along the way, from selecting the type of output to other parameters.
See Render Wizard for more details.
Render Report Using DocX
This function allows you to render a report from the selected DocX report template.
See DocX for more details on how to render the report.
Open Image
This function allows you to open an image file.
Select the desired image file and right-click on it. Select the “Open Image…” action.
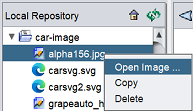
A window will appear and display the image.
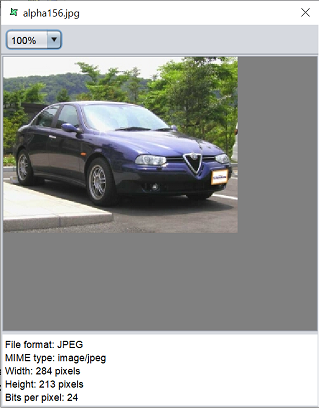
The zoom field at the top of the winow allows you to zoom in and out of the image. You can reduce or increase the size of the window by dragging the lower right corner of the window or any of the four edges of the window.
To close the window, click on the “X” icon at the upper right corner of the window.