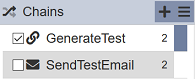
Chains Panel
The Chains Panel is the leftmost panel in the ETL Designer page and it displays the list of chains in the chainset.
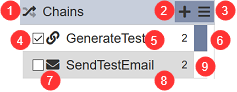
Below are the different components of the panel:
| No. | Description |
|---|---|
| 1 | Allows inverting selected and deselected chains. |
| 2 | Allows adding new chains. |
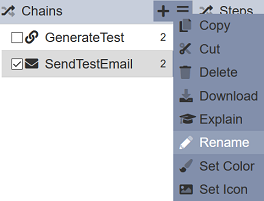
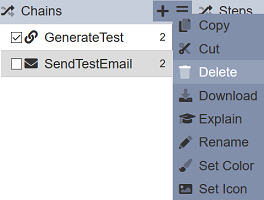
| 3 | Provides more actions that can be performed. Available options vary depending on the chains selected. |
| 4 | Checkbox indicating that the chain is selected. |
| 5 | Unique name of the chain. |
| 6 | Indicates which chain is displayed on the Steps panel. |
| 7 | Icon assigned to the chain for aesthetic purposes. |
| 8 | Color assigned to the chain for aesthetic purposes. |
| 9 | Number of steps (both enabled and disabled are included in the count) in the chain. |
On this panel, the following features are available:
- add a new chain
- cut, copy, and paste a chain
- modify a chain’s properties
- generate a consolidated short description of the chainset
- download a chain
- load a chain (to view its steps in the
Stepspanel) - delete a chain
- set a color and an icon for a chain
Add Chain
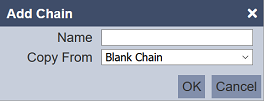
To add a new chain, click on the + Add Chain button.

A dialog appears, prompting the user to enter the chain name. It also provides the option to copy the steps of an existing chain.
| Field | Description | Mandatory | Input Type | Constraints | Default Value |
|---|---|---|---|---|---|
| Name | Unique name assigned to the ETL chain that would be used as its identifier. | Y | Text field | Any text. The value must not exist in the current list of chain names of the current ETL chainset. The value is case-sensitive. | Empty string |
| Copy From | The name of the chain of which the new chain would copy its steps from. Selecting “Blank Chain” results in using an empty chain as a starting point while selecting an existing chain would result in having the selected chain’s steps cloned as the starting point for the new chain. | Y | Select | 1 value can be selected. Options are: - “Blank Chain” - names of all enabled ETL chains in the chainset |
“Blank Chain” |
Once a chain is selected or added, the Steps panel would display all the steps in that chain.
Select Chain
Selecting a single chain and multiple chains are supported in the Chains panel.
To perform a single-value selection, tick on the checkbox on the left of the chain name and ensure that only 1 chain is ticked.

Another option is to click on any part of the chain’s row. This automatically removes the ticks on the checkboxes of all other chains, if any. The difference between ticking on the checkbox and the entire row is that the former does not change the chain displayed on the Steps panel, whereas the latter changes the steps displayed on the said panel to the ones corresponding to the selected chain. Note that performing the latter also adds a colored indicator on the right part of the selected row, specifying that the steps displayed on the Steps panel belong to the selected chain.
To select multiple chains, tick on the checkboxes on the left of the chain names. To deselect a chain, simply un-tick the checkbox corresponding the designated chain. To invert the selection, simply click on the checkbox on the panel header.

Modify Chain Properties
There are a few chain properties that can be modified. Some properties, like the chain name, can only be modified one chain at a time. There are other properties that can be changed in bulk as well. The options under the 
More Actions button depend on how many chains are selected.
To modify a chain’s property or the same property of multiple chains collectively, start by selecting a chain or several chains. The option to modify a chain’s name is only available if only one chain is selected. Other properties, such as color and icon properties, are when one or more chains are selected.
To rename a chain, select one chain then click on the button. Select the Rename option.
A dialog box appears, prompting to enter the new name for the selected chain.
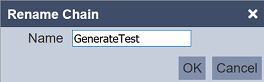
Enter any text that does not yet exist in the list of chain names. The field is case-sensitive. Clicking on the OK button proceeds with renaming the chain. Entering a name already given to another chain would result in a notification stating that the name is already used. Clicking on the Cancel button aborts the action. Note that renaming chains does not update any references to it (e.g. in Chain Call steps).
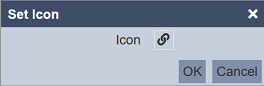
To change the icon assigned to a chain or several chains, simply select the chain/chains by ticking on their respective checkboxes. Click on the button then select the Set Icon option. A dialog box appears, prompting to select an icon. The “chain” icon is set as default for all chains. Click on the icon to change it.
This displays the available icons that can be selected from.
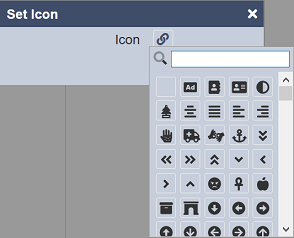
Entering the icon names on the search bar is useful to narrow down the options.
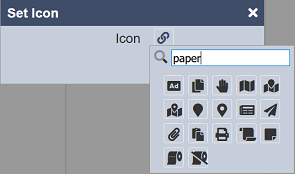
Select an icon then click on the OK button to set it.
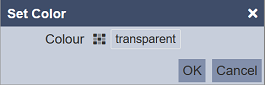
To change the color assigned to a chain or several chains, simply select the chain/chains by ticking on their respective checkboxes. Click on the button then select the Set Color option. A dialog box appears, prompting to select a color. “Transparent” is set as the default color for all chains. Click on the color to change it.
This displays the available colors that can be selected from.
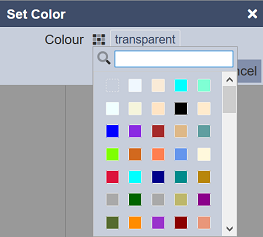
Entering the color names on the search bar is useful to narrow down the options.
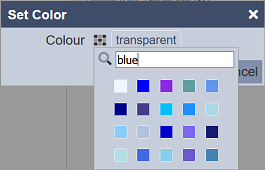
Select a color then click on the OK button to set it.
Delete Chain
To delete a chain or multiple chains, select the chain/chains by ticking on their respective checkboxes. Click on the button then select the Delete option.
The selected chain/s would then be removed from the list of chains.
Download Chain
To download a chain or multiple chains as a JSON file, select the chain/chains by ticking on their respective checkboxes. Click on the button then select the Delete option. A dialog box would appear, prompting to enter the file name of the JSON file.
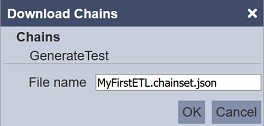
By default, the chainset name is used, per the format below:
<chainset name>.chainset.json
Click on the OK button to proceed.
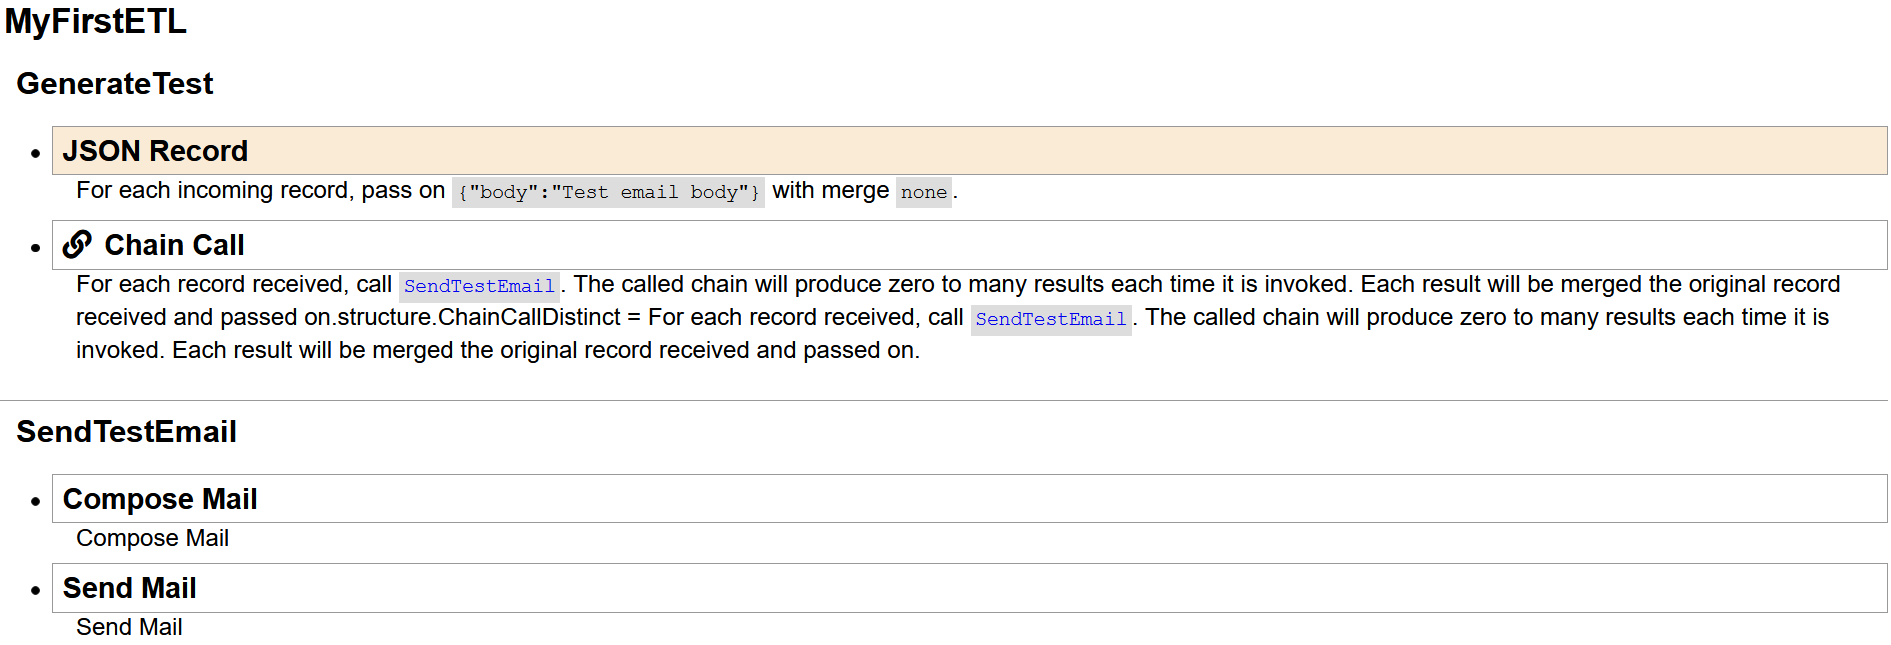
Explain Chain
To generate a brief summary the chainset, click on the button then click on the Explain option. It opens another browser tab and displays descriptions of each step in each chain. It includes the parameters and values for each step, providing a narrative-like overview of the chainset.