
Task Editor
The Task Editor allows you to create and edit tasks and subtasks for the project, as well as access Task Editor. To access the Project Editor, user needs to have the mod-task-editor privilege.
The Task Editor can be divided into several sections:
- Task Info
- Status
- Sub Tasks
- Blocked Tasks
- Comments
- Attachments
- Hyperlinks
- History
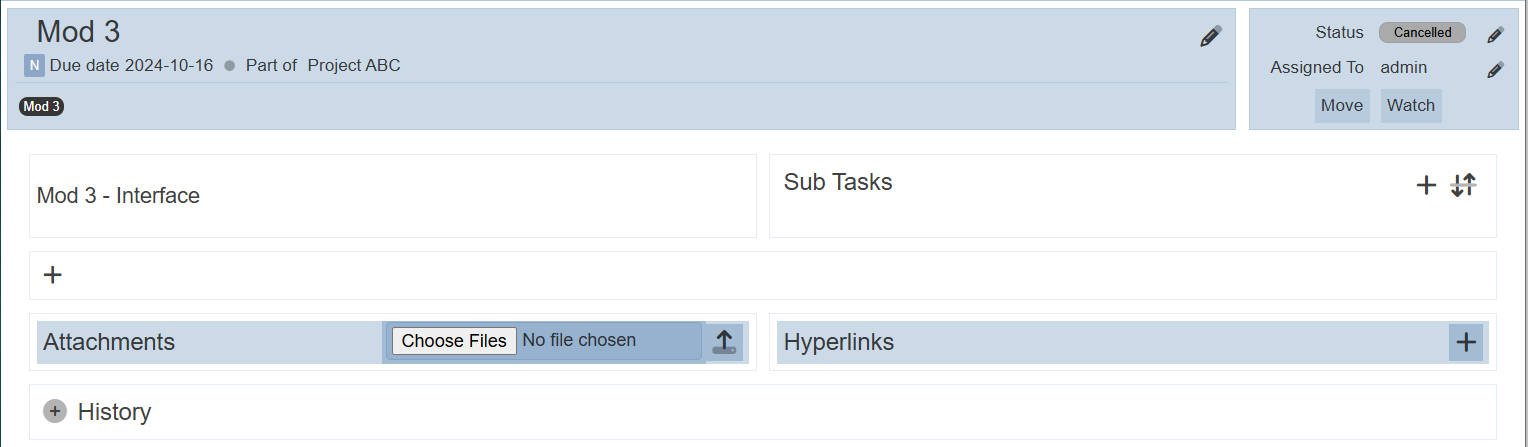
Task Info
The Task Info consists of two portions; left and right portion.
The left portion shows the details of the name of the task, its label and the project it belong to, as well as the due date.

The project name is clickable. When clicked, it beings you to the Project Editor page.

The  “Edit Task Details” icon when clicked, displays the “Edit Task” dialog box, allowing you to edit the task details. Refer to Project Editor for more details.
The right portion of the Task Info shows the status, assigned user and actions icons.
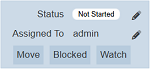
- Status - Allows you to change the status of the task
- Assigned To - Allows you to change the assignee
- “Move” button - Allows you to relocate the task in the project
- “Block” button - Allows you to block the current task with another task
- “Watch” button - Allows you to watch the task
Status
“Status” shows the current status of the task. You can update the status by clicking on the “Change Status” icon.
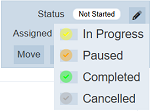
A drop-down list will appear. Select the desired status. If you are not the owner of this task, the only option is “Cancelled”.
Assigned To
“Assigned To” shows the current assigned user for the task. To assign the task to another user, click on the “Re-assign” icon. The “Reassign Task” dialog box will appear.
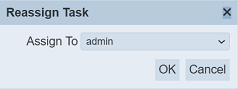
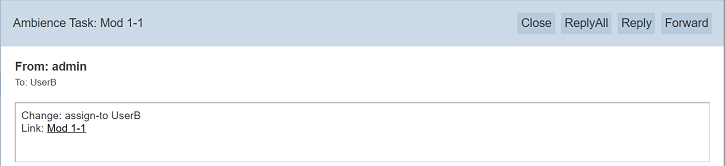
Select the desired user from the drop-down list and click on the “OK” button to save the change. The assigned user will receive an email once the assign is completed.
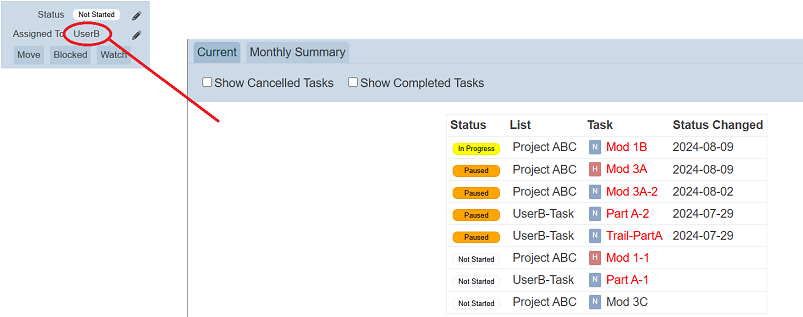
Do note that the user name is clickable. When clicked, it will brings you to the user’s status page.
Move
This function allows you to move this task to another position in the current project or another project.
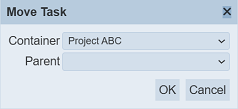
To move the task, click on the “Move” button. The “Move Task” dialog box will appear.
| Field | Description |
|---|---|
| Container | Selects the project to move the task to. |
| Parent | Selects the parent task for the current task (if applicable). |
Select the desired project to move to from the drop-down list in the “Container” field. In the “Parent” field, select the desired parent task for the current task to move to.
Click on the “OK” button to move the task.
If a parent task is selected, the current task will be moved to the selected project and as a subtask for the parent task selected. If no parent task is selected, the current task will be moved to the selected project as a parent task.
Blocked
This function allows user to block the selected task with another task. Do note that task with “Completed” or “Cancelled” status will not have this function.
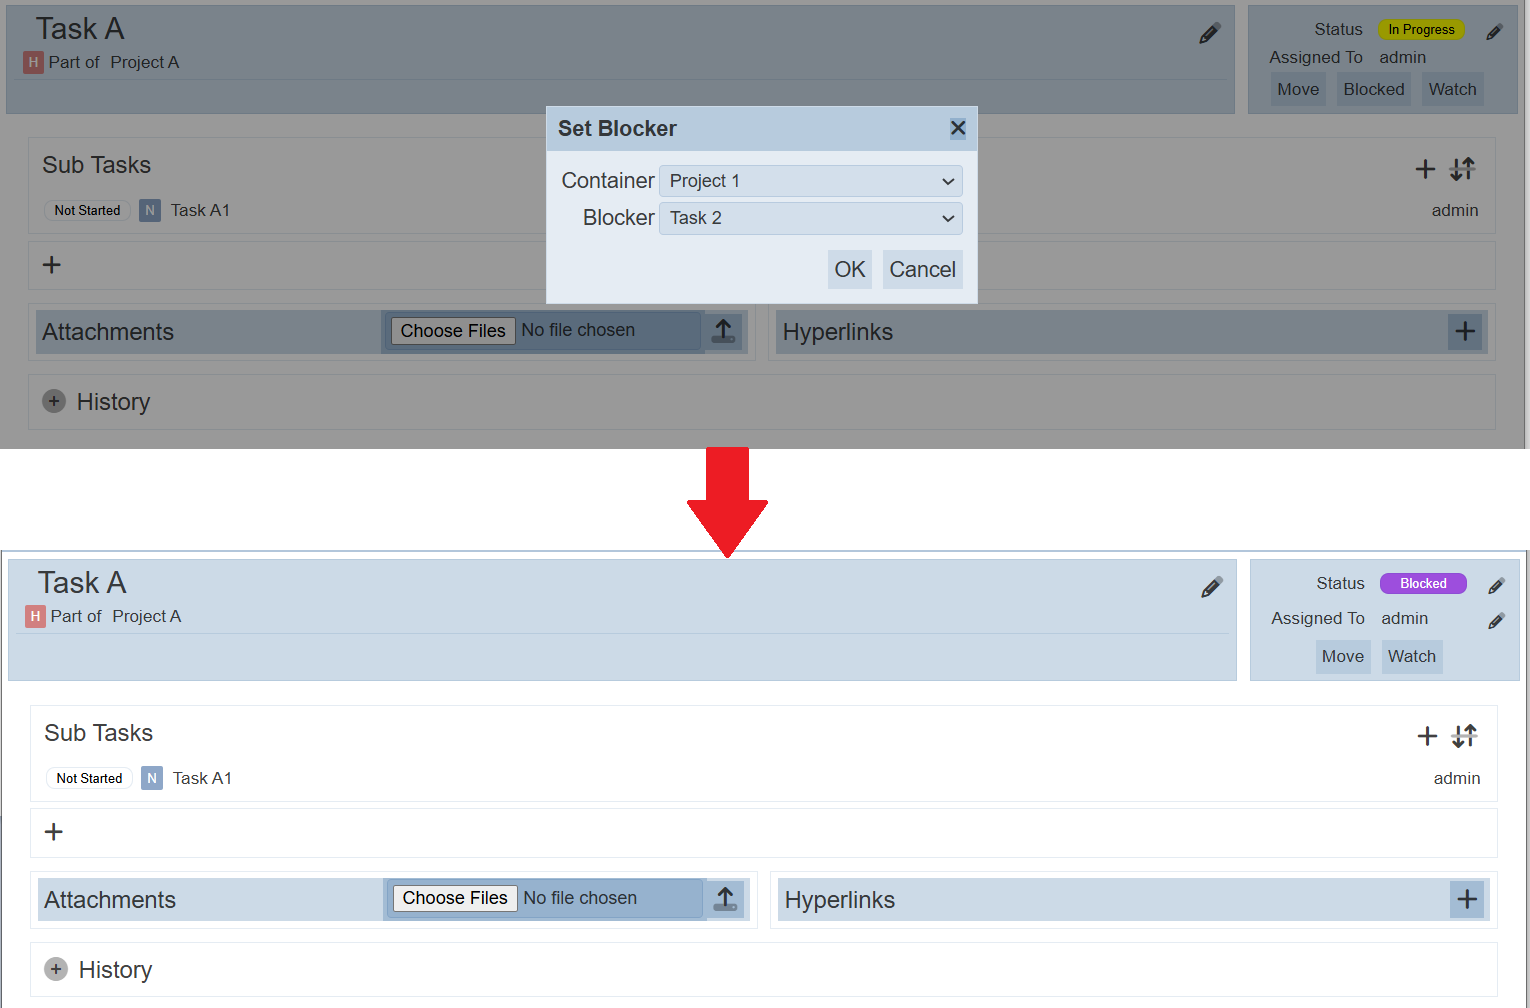
To block the task, click on the “Blocked” button in the Task Info. The “Set Blocker” dialog box will appear.

| Field | Description |
|---|---|
| Container | Selects the project. |
| Blocker | Selects the task to block the current task. |
In the “Container” field, select the desired project. In the “Blocker” field, select the desired task to block this task.
Click on the “OK” button to save the block.
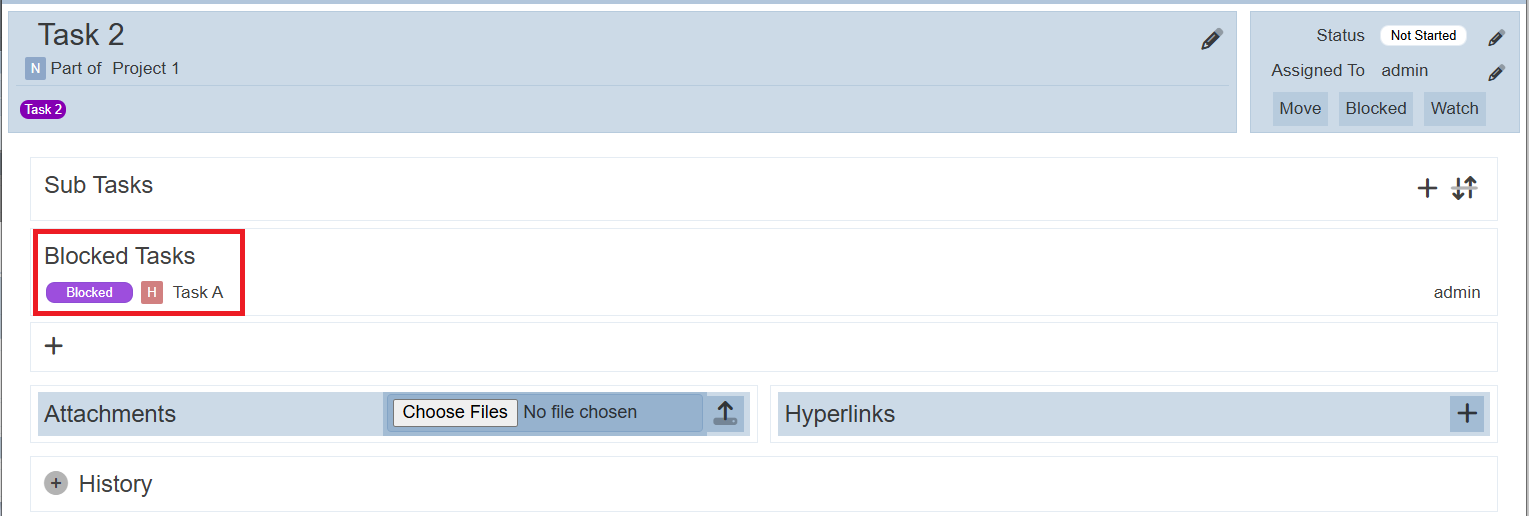
In the below example. Project A Task B is blocked by Project 1 Task 2. The status of Task A will change to “Blocked”.
In the Task Editor, Task 2 of Project 1 will show the blocked task Task A in the Blocked Task section, which will only appear if this task blocks another task.
There are two ways to unblock a task, in this case, Task A:
- Owner of Task A explicitly change the status to unblock it. Task 1 (blocker) will be removed from the “Blocked Tasks” section.
- Wait for the Task 1 (blocker) to be completed or cancelled. Then, the original status of Task A will be reinstated.
Watch
This function allows user to set a watch on the task, sending a notification to the “watcher” when an action is performed on the task.
To watch a task, click on the “Watch” button in the Task Info. An icon will appear in the Task Info, along with the name of the user (“watcher”) who initiates this watch.
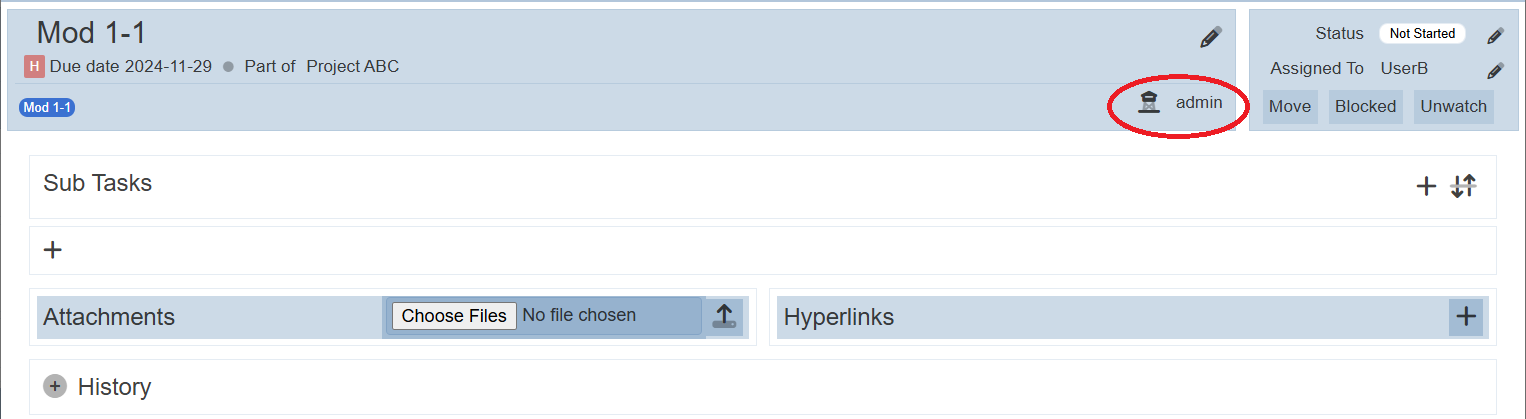
The user name is clickable. When clicked, it will bring you to the status page of the user.
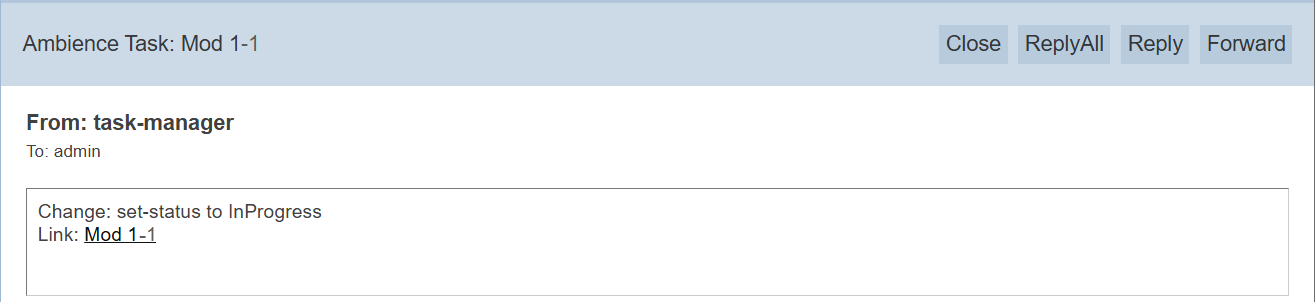
A notification will be sent to the user watching this task when any action is done to this task.
To unwatch the task, simply click on the “Unwatch” button in the Task Info.
Task Description
This section displays the description of the task. This section is not editable.
If no description is entered prior, this section will not appear.
The task description can be edited using the “Edit” icon in the Task Info. The “Edit Task” dialog box will appear, allowing you to edit the task details. Refer to Project Editor for more details.
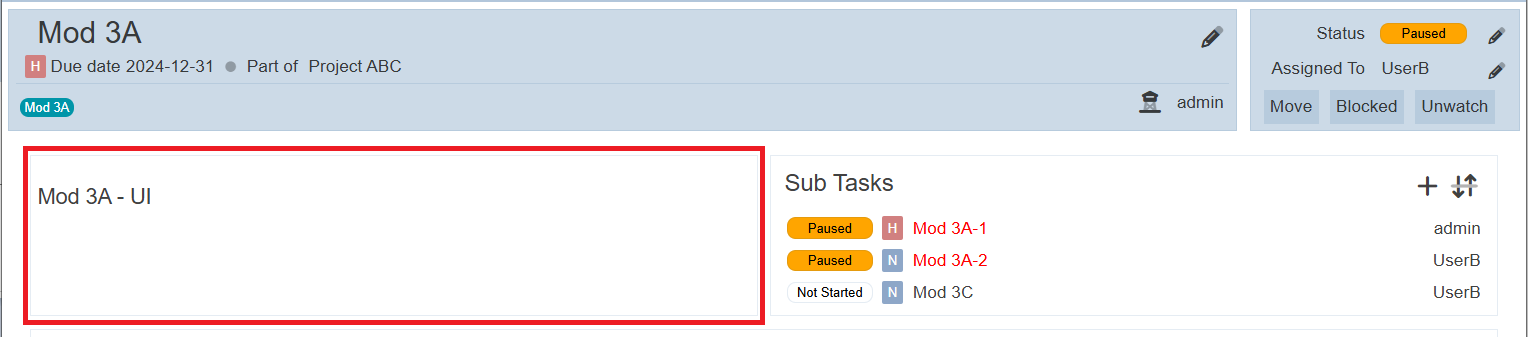
Sub Tasks
The Sub Tasks section displays the subtasks of this current task and allows you to add and reorder subtasks.
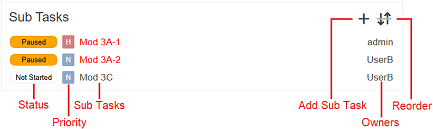
Do note that the subtask names and user names are clickable. Clicking on the subtask name will display the details of the subtask. Clicking on the user name will display the status of the task owned by the user.
Add
To add a subtask, click on the “Add Sub Task” icon on the right of the section. The “Add Task” dialog box will appear.
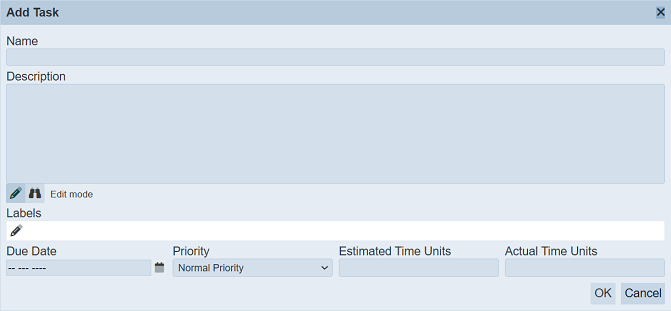
Refer to “Add Task” in Project Editor“ for the details of the fields. Click on the ”OK“ button to the new task. Click on the ”Cancel" button to abort the action.
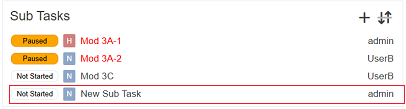
The new subtask will appear at the end of the list in the Sub Tasks section once it is added successfully.
Reorder
To reorder the subtask, click on the  “Reorder” icon in the section. The “Order Task” dialog box will appear.
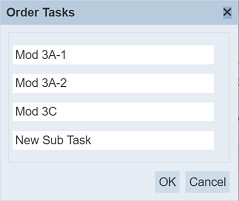
Simply drag-and-drop the task to their desired location and click on the “OK” button when done.
Comments
This function allows you to add comments to the task. If no comments are added prior, only the “+” icon appears.

Add
To add a comment, click on the “+” icon in the section. The “Add Comment” dialog box will appear.
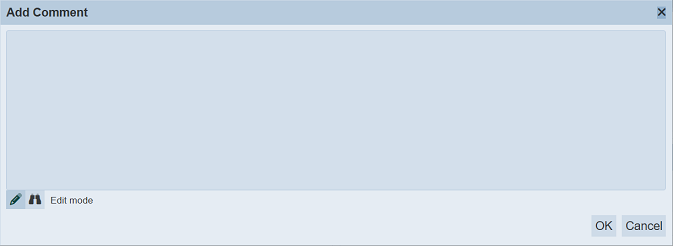
Key in the comments. By default, the text is in edit mode (i.e., the is selected). Toggle to preview mode by clicking on the  “Preview” icon to view the text that will appear in the Task Editor.
Click on the “OK” button to save the new comment.
Once added, the latest comment will be added to the end of the list, with an “Edit” icon and a running number on the right. Do note that only comments from the last hour can be edited. The icon will not be shown after that.

The user name is clickable. Clicking on the user names will display the status of the task owned by the user.
Edit
Only comments from the last hour can be edited. To edit the comment, click on the “Edit” icon on the right of the comment. The “Edit Comment” dialog box will appear.
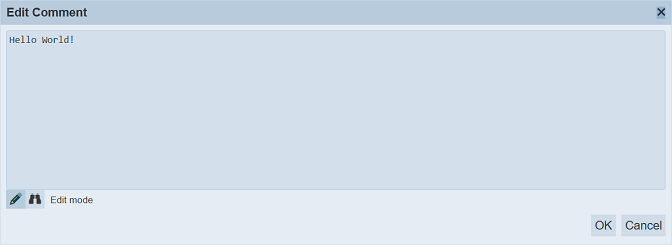
Edit as desired and click on the “OK” button to save the change.
Collapse / Expand
By default, the older comments are hidden (collapsed), showing only the newest comment (exapnded).
To view the older comment, click on the “+” icon on the left of the desired comment. To hide a comment, click on the “-” icon.

Attachments
This function allows you to add an attachment to the task.
To do so, click on the “Choose Files” button. Browse to the location of the file to upload. Click on the  “Upload” icon to upload the file.

The maximum file size is limited to 10MB. If the size is exceed, a message will appear.

The “Upload Progress” dialog box will appear, showing the uploading progress. If the file size is too small, user may not see this dialog box.
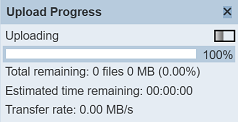
Upon successful uploading, the file will appear in the Attachments section.

To delete the file, simply click on the  “Delete” icon on the right of the file.
Hyperlinks
The Hyperlinks section allows you to add, edit and delete URLs to the task.
Add Hyperlink
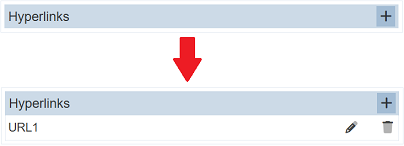
To add a URL, click on the “+” icon. The “Add Hyperlink” dialog box will appear.
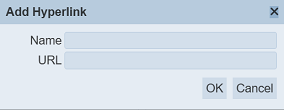
Key in a name in the “Name” field and a URL address in the “URL” field. Click on the “OK” button to save the hyperlink.
Once the new hyperlink is added, it will appear in the Hyperlink section.
Do note that duplicates are allowed.
Edit Hyperlink
To edit an existing hyperlink, click on the “Edit” icon next to the desired hyperlink. The “Edit Hyperlink” dialog box will appear.
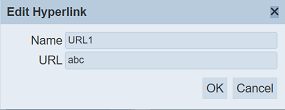
Edit as desired and click on the “OK” button to save the changes.
Delete Hyperlink
To delete a hyperlink, click on the “Delete” icon next to the desired hyperlink. The hyperlink will be removed from the list.
Since duplicate hyperlinks are allowed, when deleting hyperlinks, note the following scenarios:
- Hyperlinks with same name and URLs. When one hyperlink is deleted, the other duplicate hyperlink will be deleted as well.
- Hyperlinks with same name but different URLs. When one hyperlink is deleted, the other hyperlink stays.
- Hyperlinks with different name but same URLS. When one hyperlink is deleted, the other hyperlink stays.
History
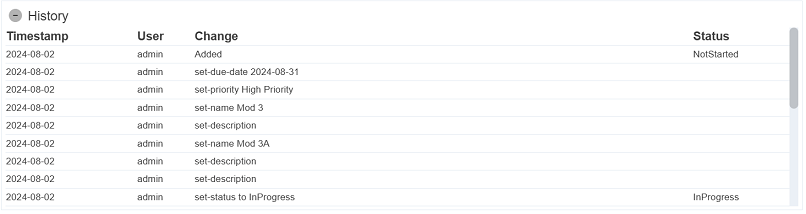
The History section allows you to view the changes done on the task. By default the History section is collapsed, showing only the title and a icon.
To view the history, click on the  “Expand” icon. The detail history will appear below.
To hide the history, click on the  “Collapse” icon.