
Form with Workflow and ETL
This section describes the steps to create a simple form that uses Workflow and ETL.
In this example, a three-page form is created and it involves a workflow. Three Ambience modules will be required for this example:
- ETL
- Workflows
- Forms
ETL
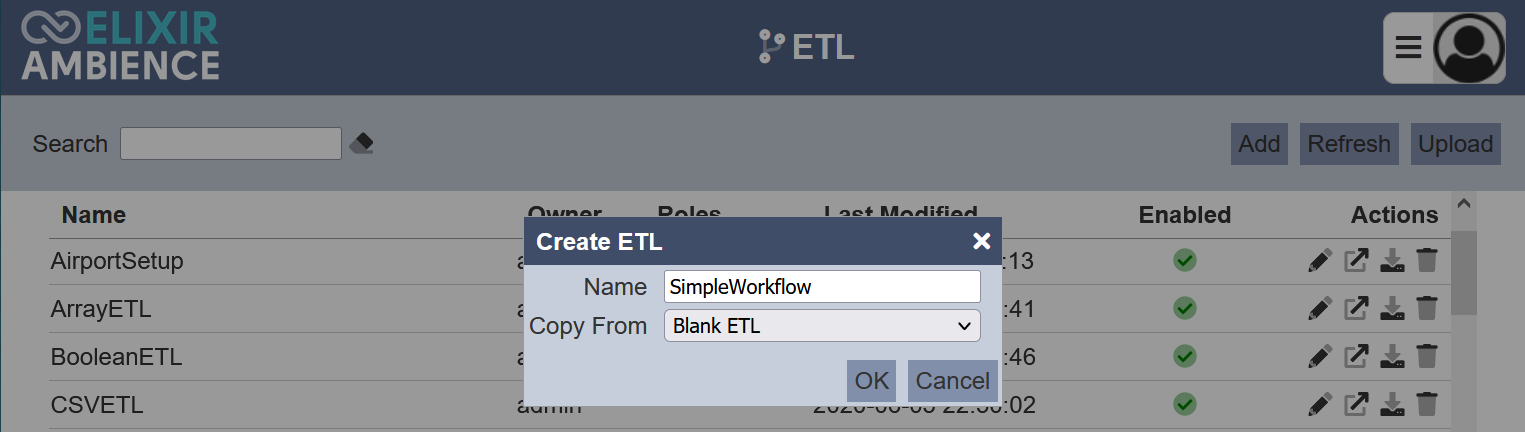
In the ETL module, create a new ETL chainset named SimpleWorkflow.
Define two chains in the new ETL.

In the “Add To elxPublic” step, key in the fields that need to be made public to pass to the next page and back. In this case, the fields name and address from the form are used.
Workflow
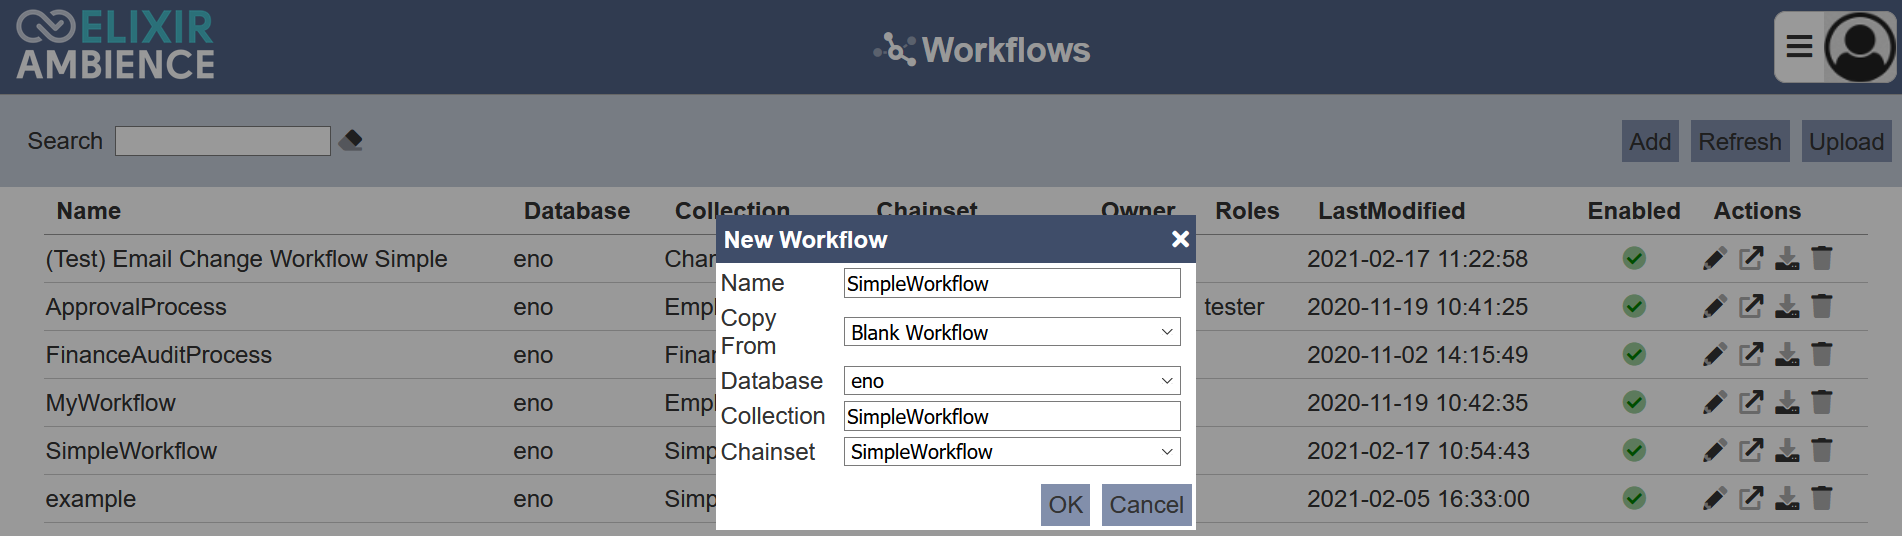
In the Workflows module, create a new workflow with the name SimpleWorkflow.
Create a three-page workflow and add the transitions as per the screenshot below.
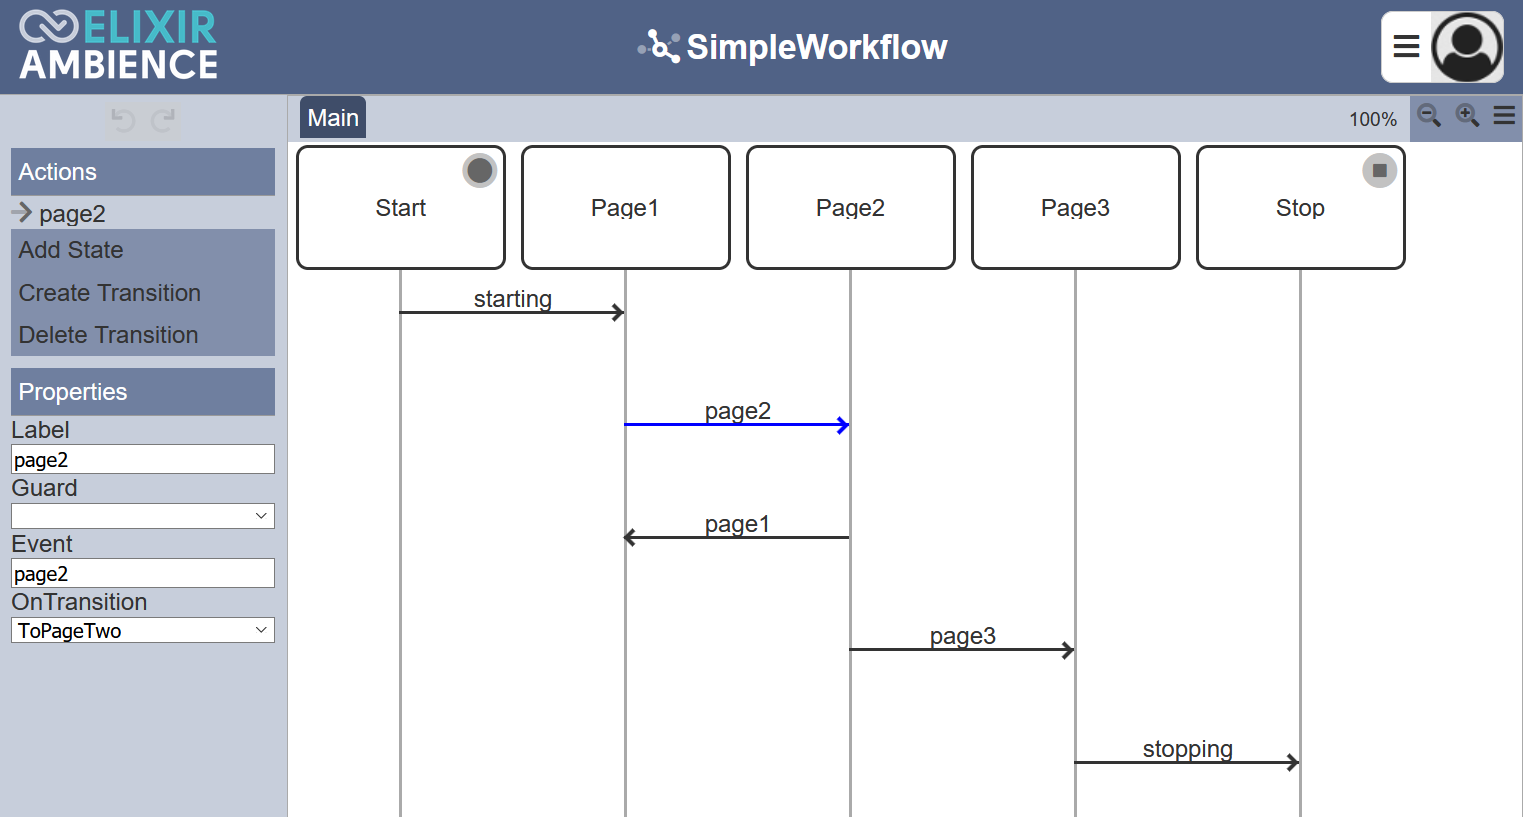
Select the transition page2 to display the properties. In the “OnTransition” field, select “ToPageTwo” ETL chain. This allows the the workflow to call “ToPageTwo” ETL chain when the page2 event is fired.
Form
Create Form
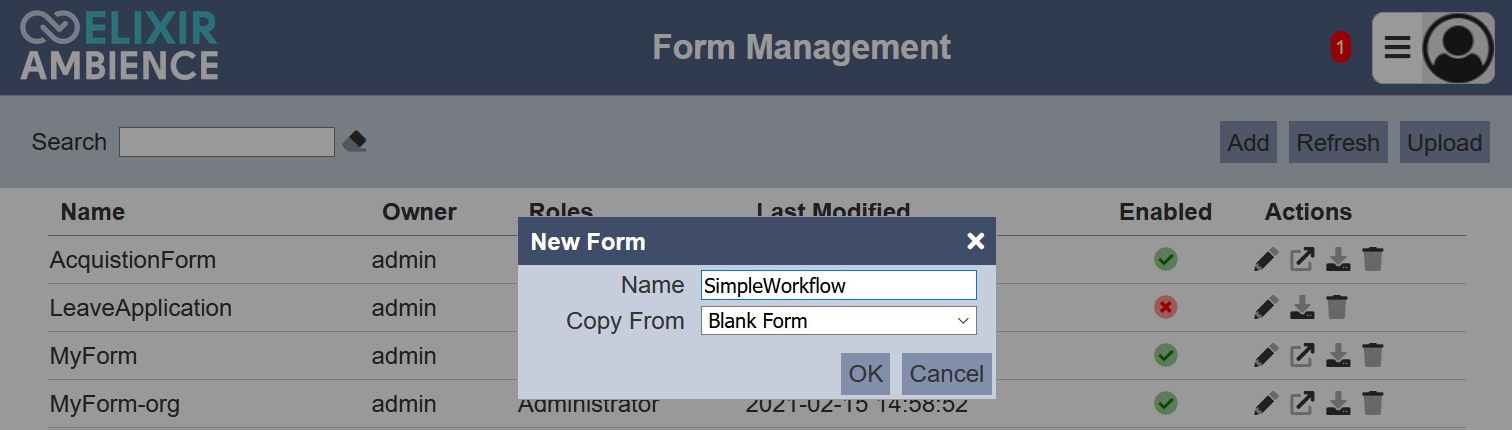
In the Forms module, create a new form with the name SimpleWorkflow.
In the Form tab, create a three-page form using the workflow defined earlier.
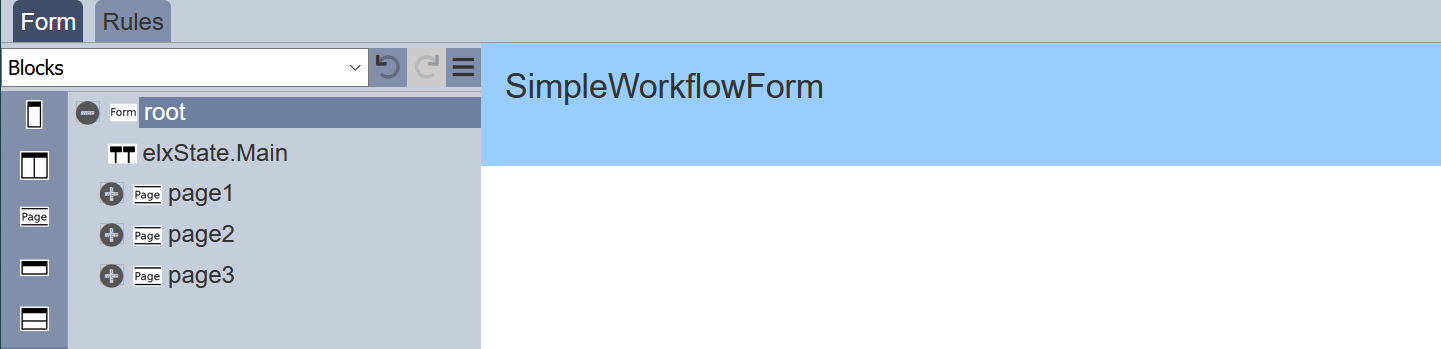
Ensure the “elxState” field uses the value “Main” to align with the Main page in the Workflow created earlier.
Set up the pages are per the screenshots below.
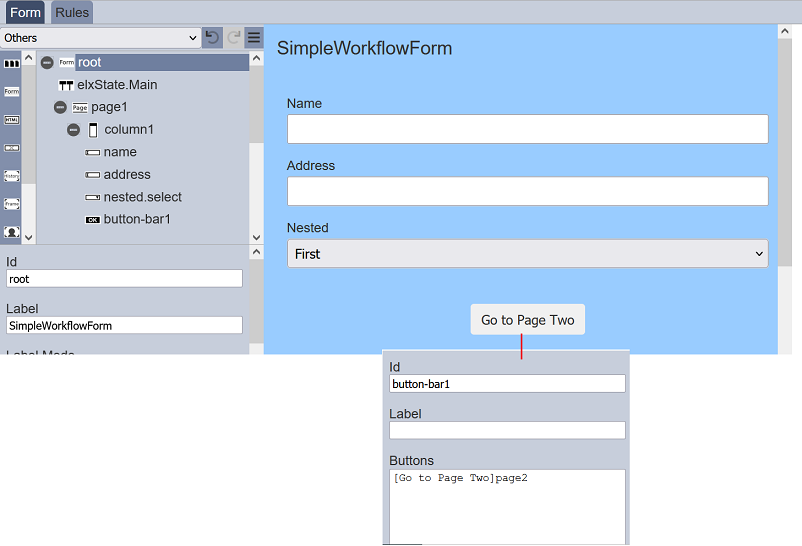
For the “Buttons” field in button-bar1, the syntax is [label]event. If no label is specified, the event name is shown. In this case, the label is “Go to Page Two” and the event is “page2” as per in the Workflow.

For the “Buttons” field in button-bar2, two buttons are added. The labels and events are [Go to Page Three]page3 and [Go to Page One]page1
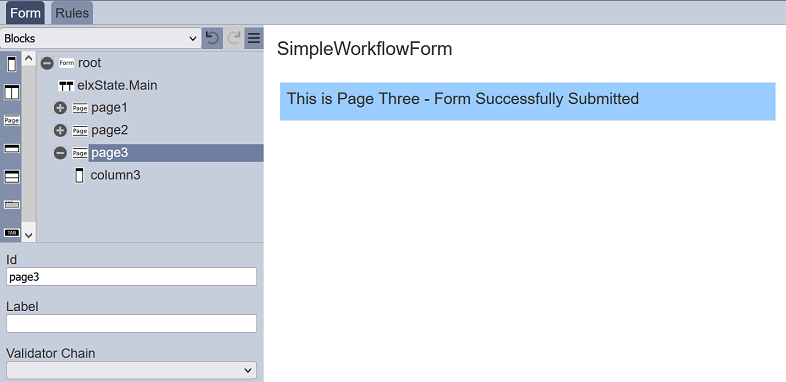
Page3 simply states the form is submitted successfully.
Refer to the Form for more information on the components and their properties.
Create Rules
In the Rules tab, create rules to dictate how and when some pages or input components appear in the form.

Above is an example of using a rule to display only Page1 of the form instead of showing all three pages. You can also add rules to enable or disable parts of the form as well as provide alternate sub-forms based on earlier choices.
Refer to the Rules for more information on how conditions and actions are to be carried out on the form.
Create Workflow Instance
A workflow instance is one “Record” following a template. In this case, the SimpleWorkflow form.
Workflow instances are stored in a collection named by the Workflow, in this example, its SimpleWorkflow that was defined earlier.
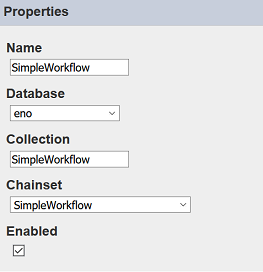
This collection does not exist until the first instance is added onto it.
To create an instance, a form URL is used.
http://localhost:1740/form-runtime/<form id>/<workflow id>/create.html
The created URL will redirect you to the form.
http://localhost:1740/form-runtime/<form id>/<workflow id>/index.html
Validation and Test
Validation can be performed before a form is submitted to the workflow.
It is performed by ETL steps, in particular those in the Validation category which produce a “validationIssues” array as a result.
In this example, an validation ETL is created in the ETL module to validate the name that is being input into the form.
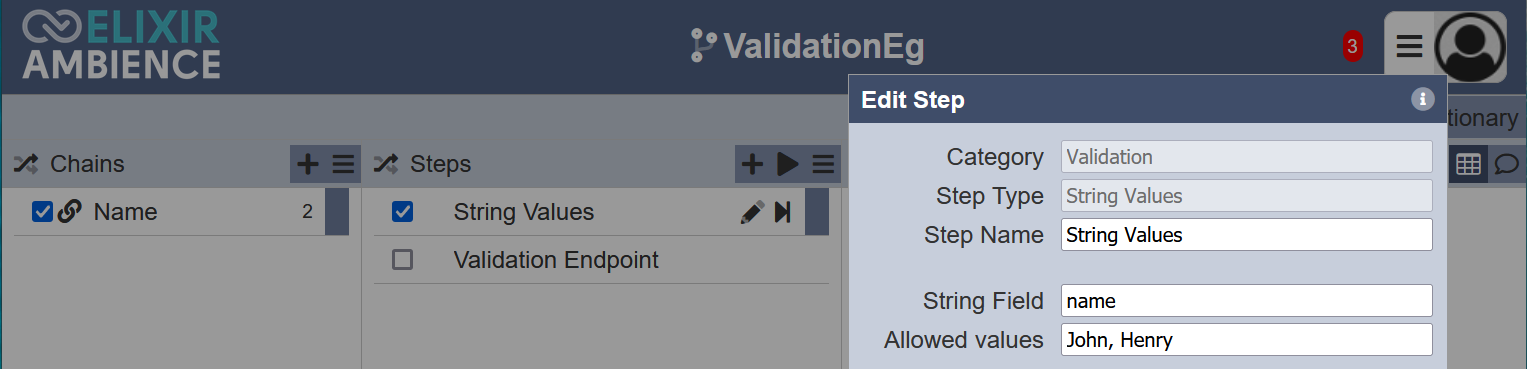
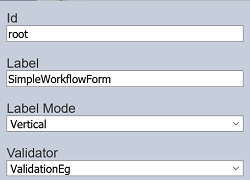
In the form, select “ValidationEg” ETL as the “Validator” in the properties of the root.
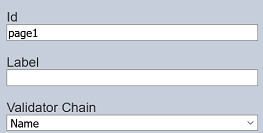
In each page, a Validator Chain can be assigned. In this case, assign “Name” to page1 of the form.
To test the form, click on the  “More Actions” icon at the top row and select “Run Form” from the drop-down list. The form (Page 1) will appear in another tab, allowing you to test the form.
When the input in to the “Name” field is not “John” or “Henry”, an error message will appear.
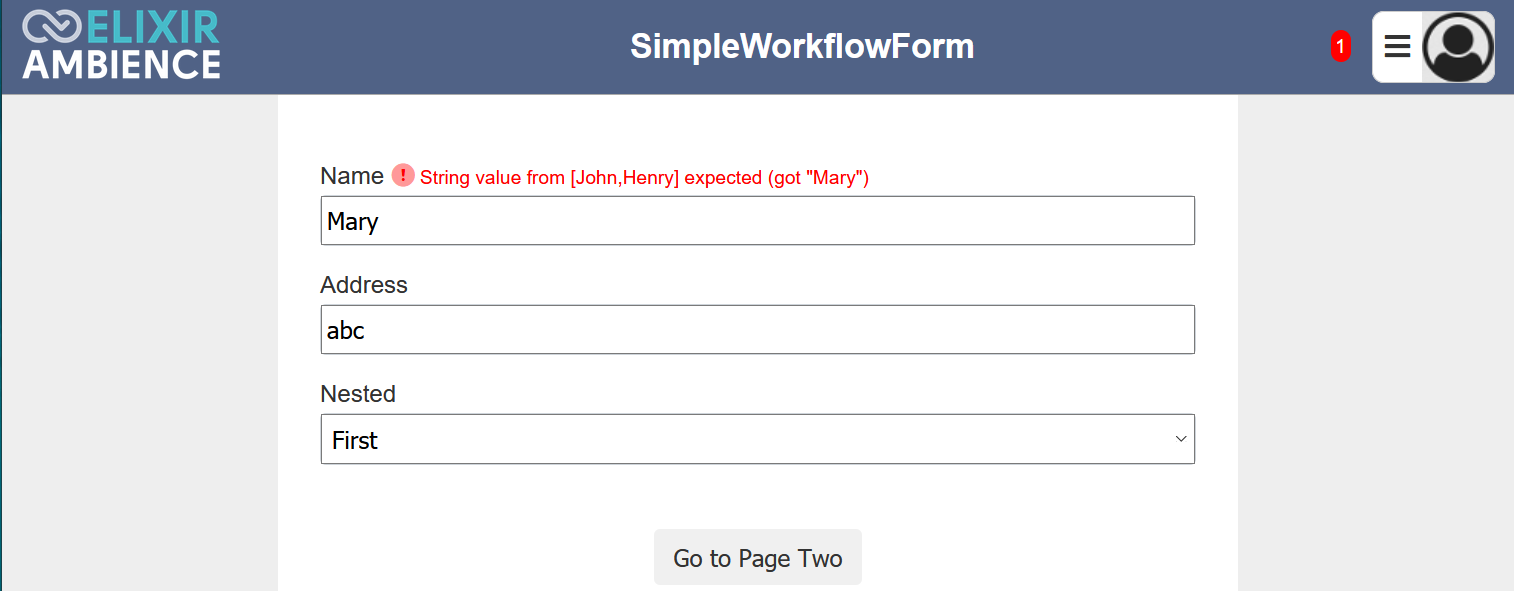
This will allow you to check and verify the form.