
Form with Form Launcher
This is an example on how to create a simple form with form launcher component that launches another form. It requires the use of the following modules:
- ETL
- Workflows
- Forms
- Themes
Create ETL
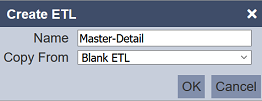
In the ETL module, create a new ETL chainset named Master-Detail.
Define two chains in the Master-Detail ETL.

Left the steps blank for the time being.
Create Workflows
In the Workflows module, create two workflows.
For the first workflow, name it Master.
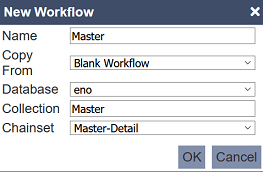
Selects eno as the database, Master as the collection and selects Master-Detail chainset in the dialog box.
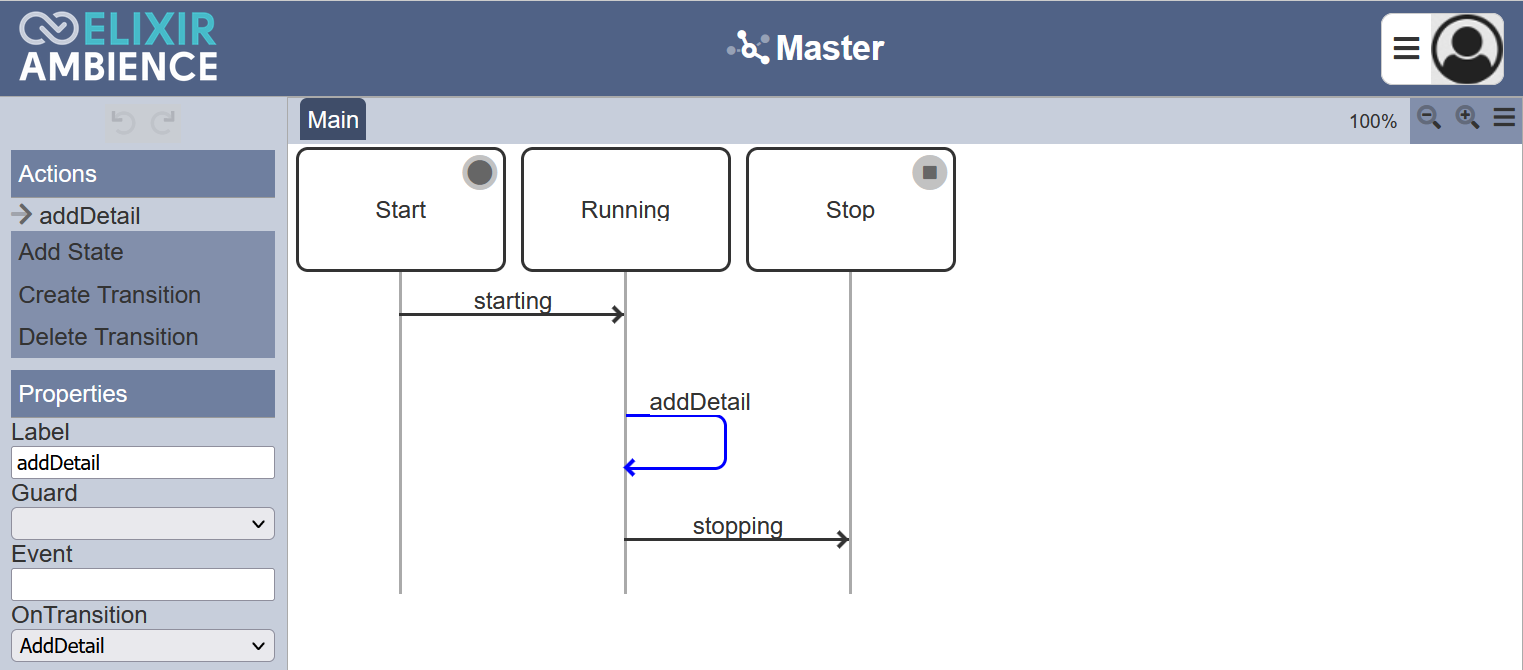
In the Master workflow, add a new transition named addDetail. In the “OnTransition” field property, selects AddDetail ETL.
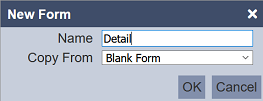
For the second workflow, name it Detail.
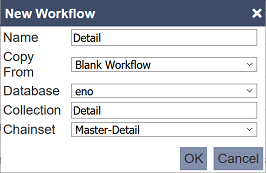
Selects eno as the database, Detail as the collection and selects Master-Detail chainset in the dialog box.
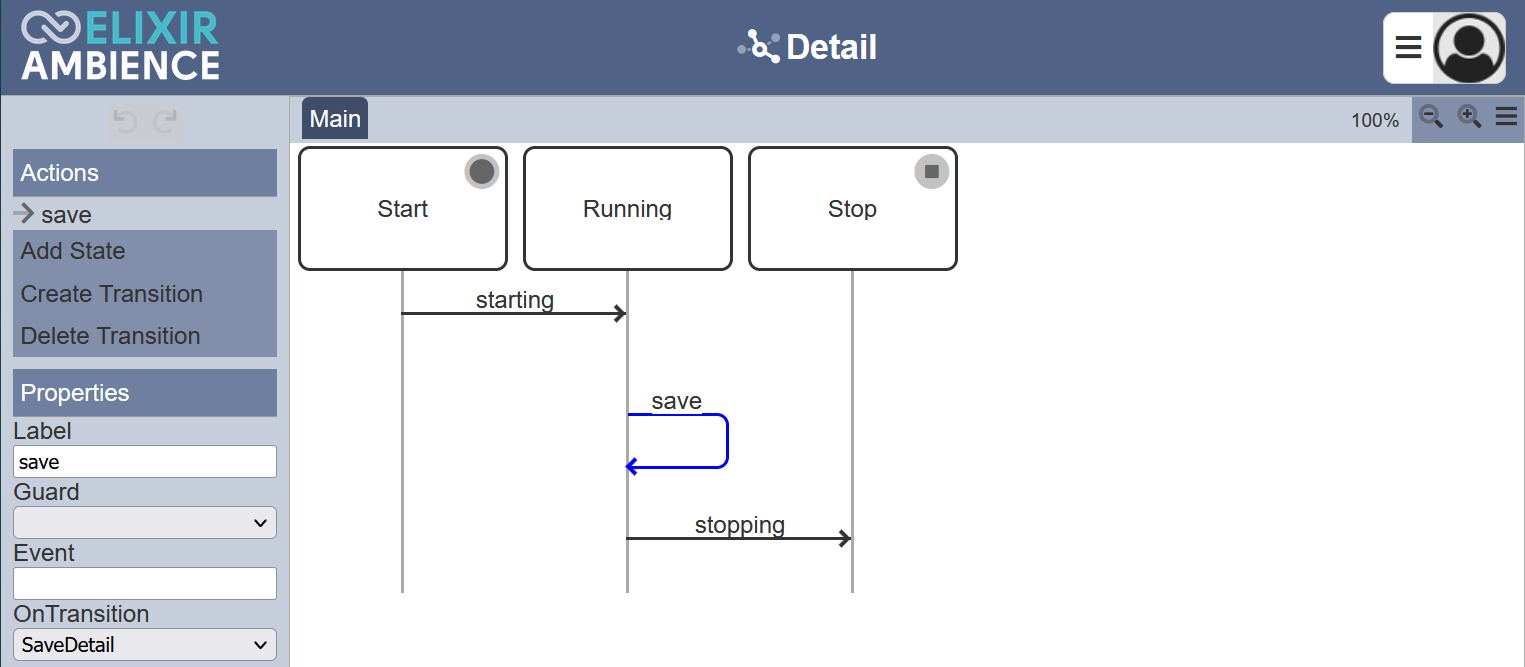
In the Detail workflow, add a new transition named save. In the “OnTransition” field property, selects SaveDetail ETL.
Create Forms
In the Forms module, creates two forms, namely Detail and Master.
Form Detail
For the first form, name it Detail. This form allows you to enter details of movies.
In the Form tab, create a single-page form.
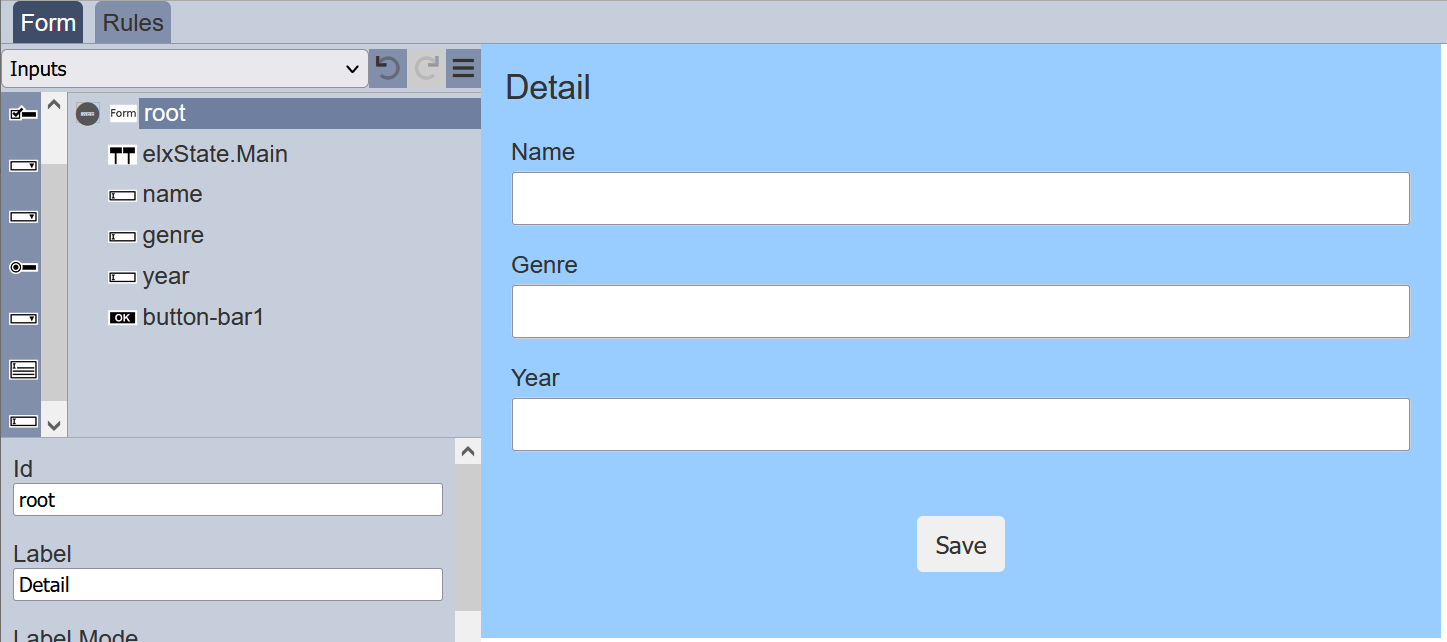
Ensure the “elxState” field uses the value “Main” to align with the Main page in the workflow created earlier. Set up the page as per the screenshot above. The “Save” button is defined as [Save]save so that it will trigger the save transition in the Detail workflow.
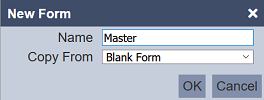
Form Master
For the second form, name it Master.
In the form tab, create a single-page form.
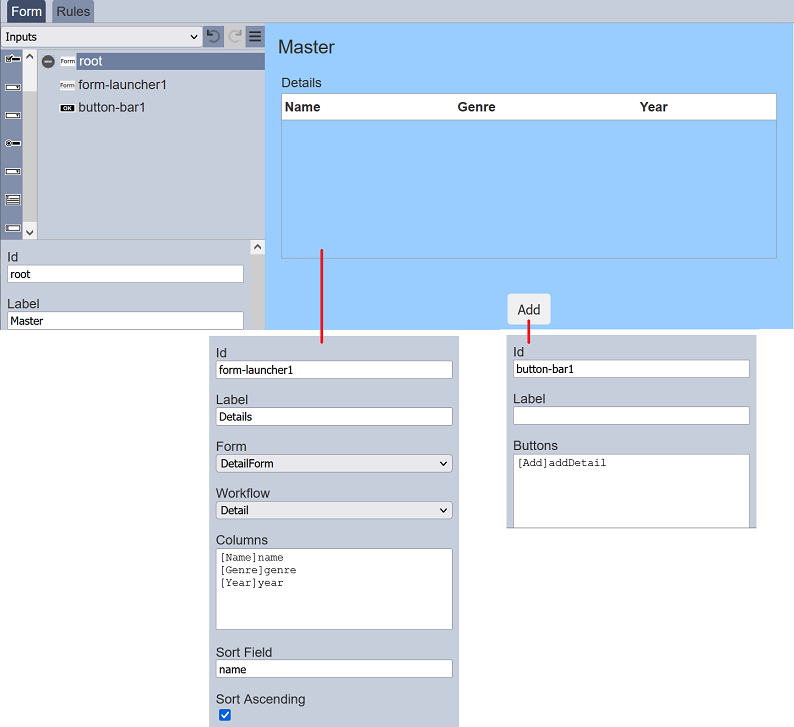
Set up the page as per the screenshot above.
In the Form Launcher component, the “Form”, “Workflow” and “Columns” fields in the form-launcher1 corresponds to the ids from the Detail form. The “Sort Field” defines “name” as the field used for sorting the list of details and is sorted in ascending order as defined in the “Sort Ascending” field.
The “Add” button is defined as [Add]addDetail so that it will trigger the addDetail transition in the Detail workflow.
Testing Form IDs
To get the instance of the Master form and workflow, in the Master Form Designer page, click on the  icon top row of the page and select “Run Form” option.

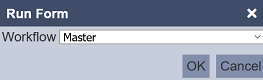
The “Run Form” dialog box will appear. Choose “Master” in the “Workflow” field and click on the “OK” button.
The Master form is generated in another tab. Copy the URL from the address bar. Below is an example.
http://localhost:1740/form-runtime/e6ff3721-aa21-4712-b45e-d4fef9e2fab9/
d002bfe6-f332-4203-b621-0f8726748d01/28b69d13-2a1d-4c7e-a3c0-a12a1b787f5d/index.html
In the Ambience folder, go to the “web” sub-folder. Create a new file named master-detail.html. Key in the following code and replace your URL in place of the placeholder below.
<!DOCTYPE html>
<html>
<head>
   <meta http-equiv="refresh" content="1; URL=/form-runtime/.../.../.../index.html" />
 </head>
 <script>
    window.location.href = "/form-runtime/.../.../.../index.html"
 </script>
 <body>
    This page should redirect to the Master-Detail form.
 </body>
 </html>
In the browser address bar, key in http://localhost:1740/master-detail.html. It will redirect you to the Master form.
Storing Redirect
You can store the redirect to the Themes module. This way, even if the Ambience is updated, as long as the same MongoDB database is unchanged, the redirect will still work. To do so, remove the master-detail.html file from the “web” folder.
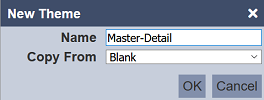
In the Themes module, create a new theme and name it Master-Detail.
Click on the “Upload” button at the upper right corner of the page.

In the “Upload” page, browse to the location of the master-detail.html file. Left the “Path” field empty (i.e., top level). Click on the “Save” button to save the file.
Go back to the Themes management page. Click on the “Enable” icon under the “Actions” column corresponding the Master-Detail theme.

You can try key in http://localhost:1740/master-detail.html into the address bar of your browser. The Master form page will appear.
Upload ETL
Go to the ETL module to add steps to the two ETL chains that were created earlier.
In the ETL module, select the Master-Detail ETL chainset.
AddDetail Chain
Select AddDetail under the “Chains” column. In this ETL chain, you will add a Set elxRedirect ETL to redirect instruction to the response, causing the form to jump to a different location. There are two such ETLs, one is under the Workflow category, while the other in the Form category.
Using Set elxRedirect in Workflow Category
In the “Steps” column, click on the “+” icon to add the required step into the chain.

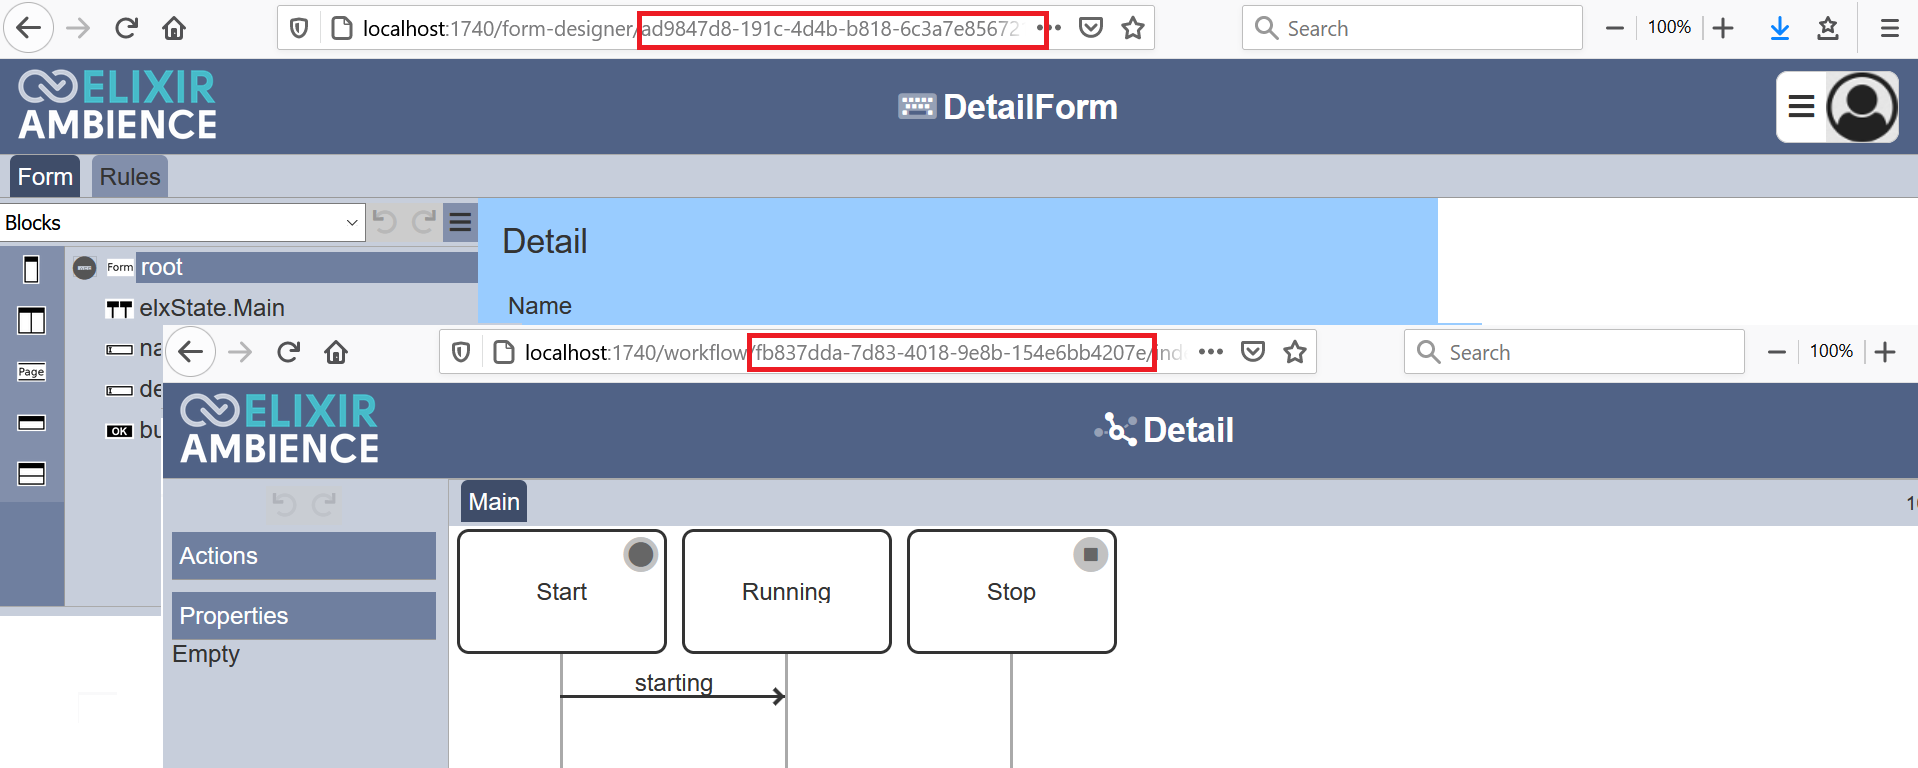
In the “URL” field, key in /form-runtime/<Form ID>/<Workflow ID>/create.html, where <Form ID> is the ID of the Detail form and <Workflow ID> is the ID of Detail workflow. These IDs can be found in the address bar when editing.
The Set elxRedirect ETL redirects to the create.html to add new details.
Using Set ElxRedirect in Form Category
In the “Steps” column, click on the “+” icon to add the required step into the chain.
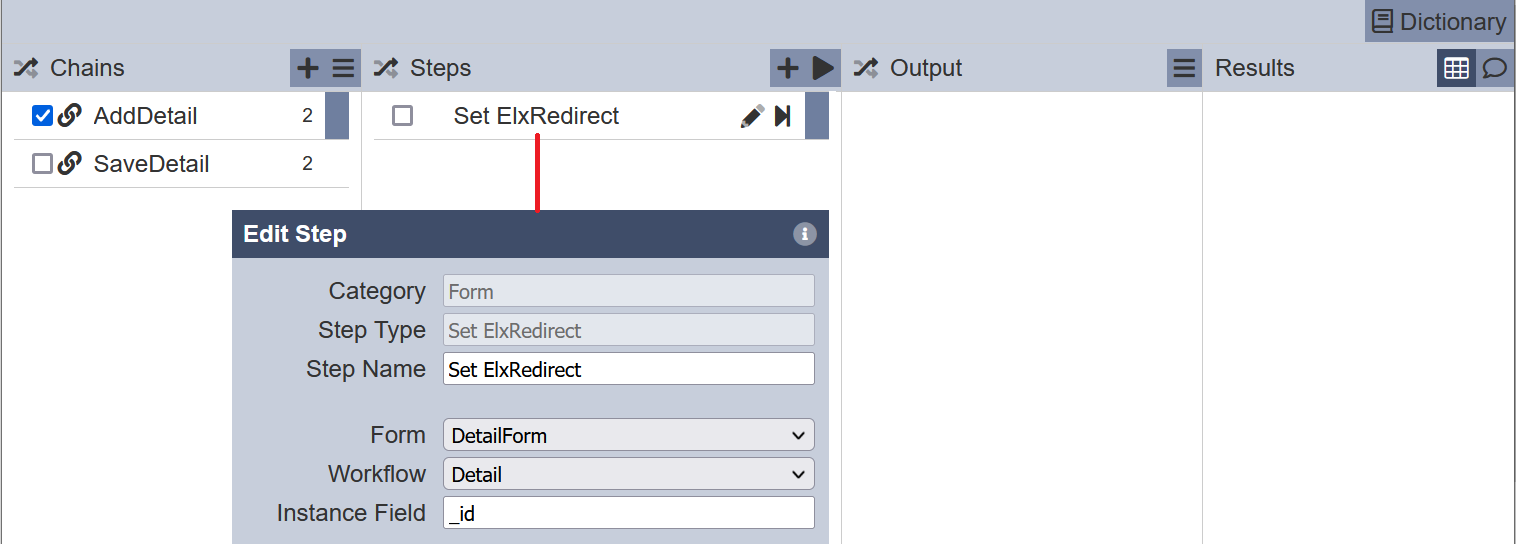
This ETL defines the form nad workflow to be used and the instance field, such is _id.
SaveDetail Chain
In the Master-Detail ETL chainset, select the SaveDEtail under the “Chains” column. In the “steps” columnm click on the “+” icon to add two steps into the chain.
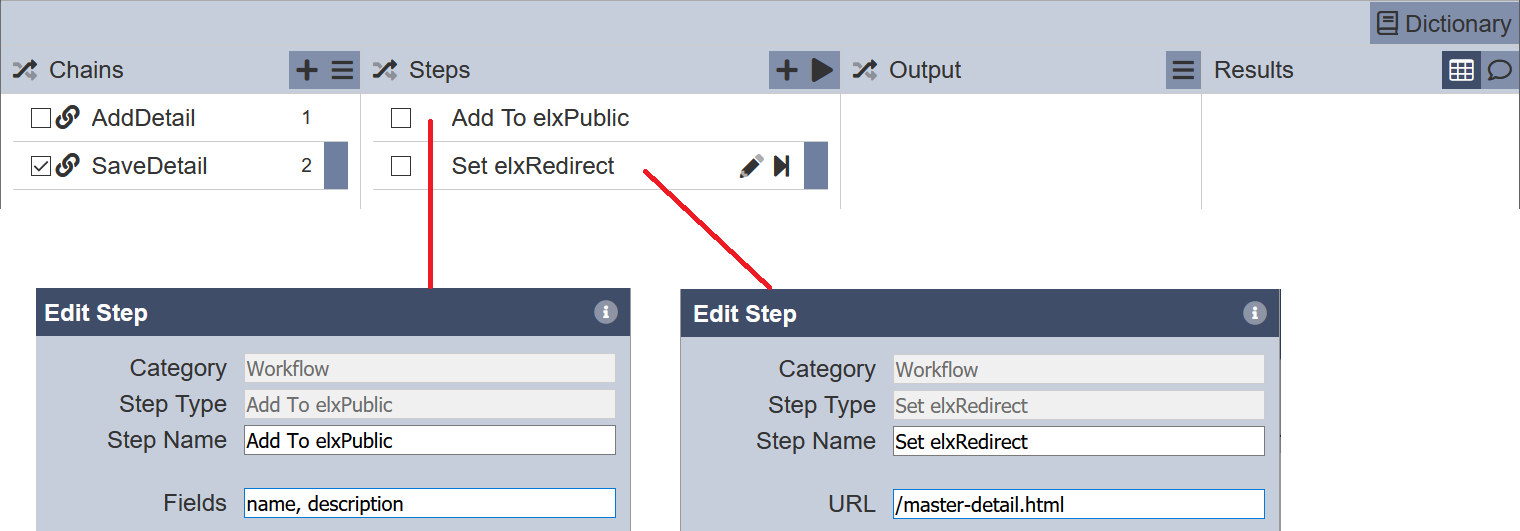
The Add To elxPublic ETL stores the entered data from the form and the Set elxRedirect ETL redirects to the top level master-detail.html link.
Testing Forms
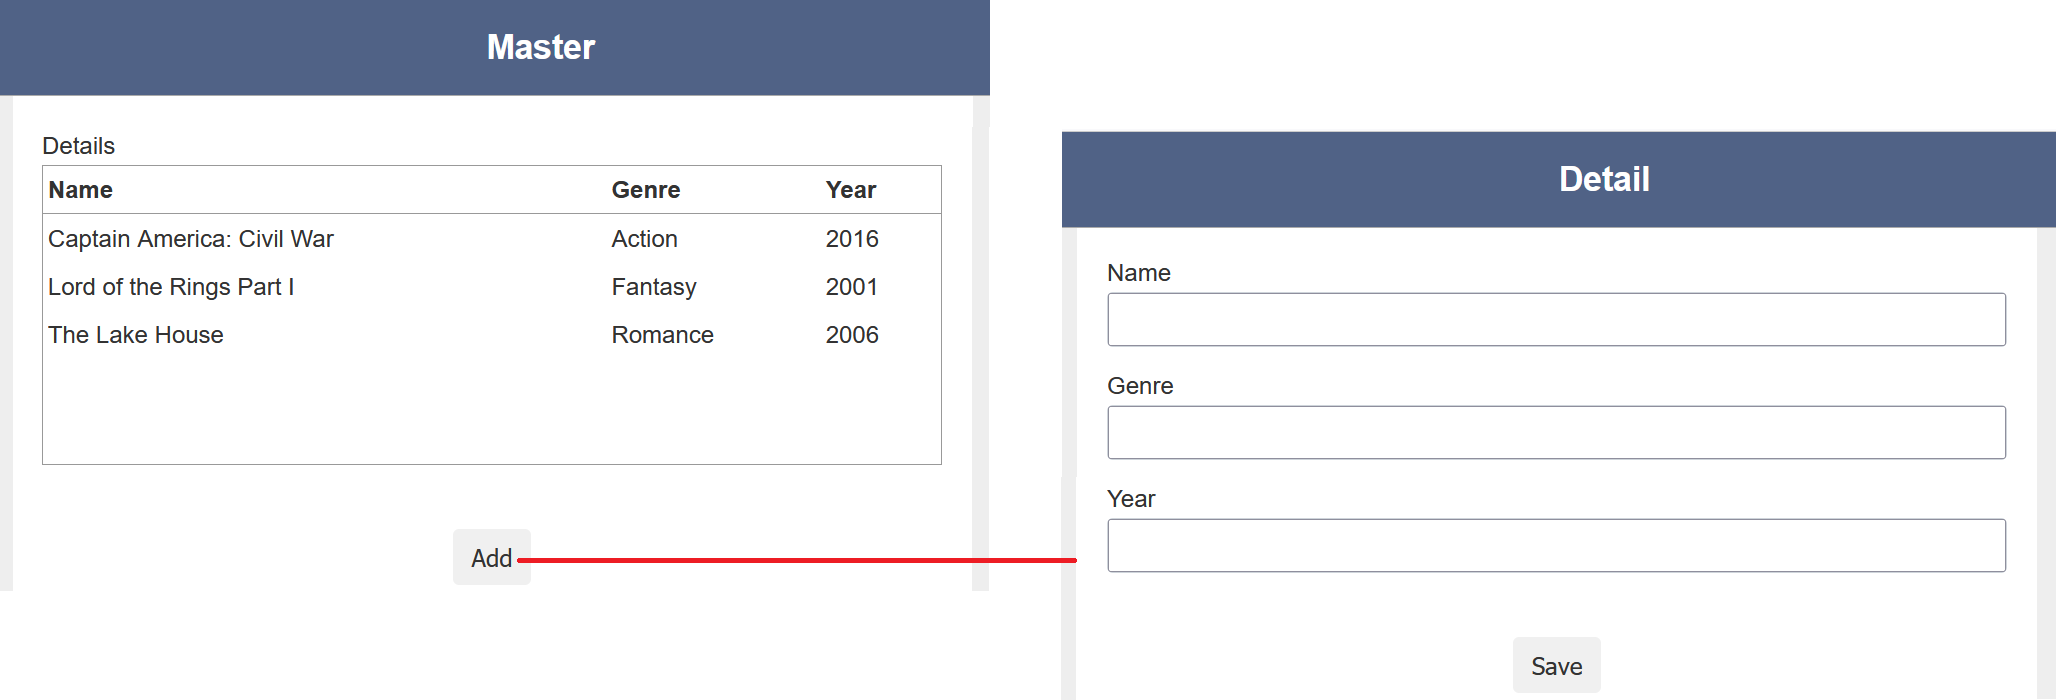
Test this example by visiting the http://localhost:1740/master-detail.html link. Any details added prior will be displayed in the Master form. To add more details, click on the “Add” button in the Master form to launch the Detail form. Add some details and click on the “Save” button.
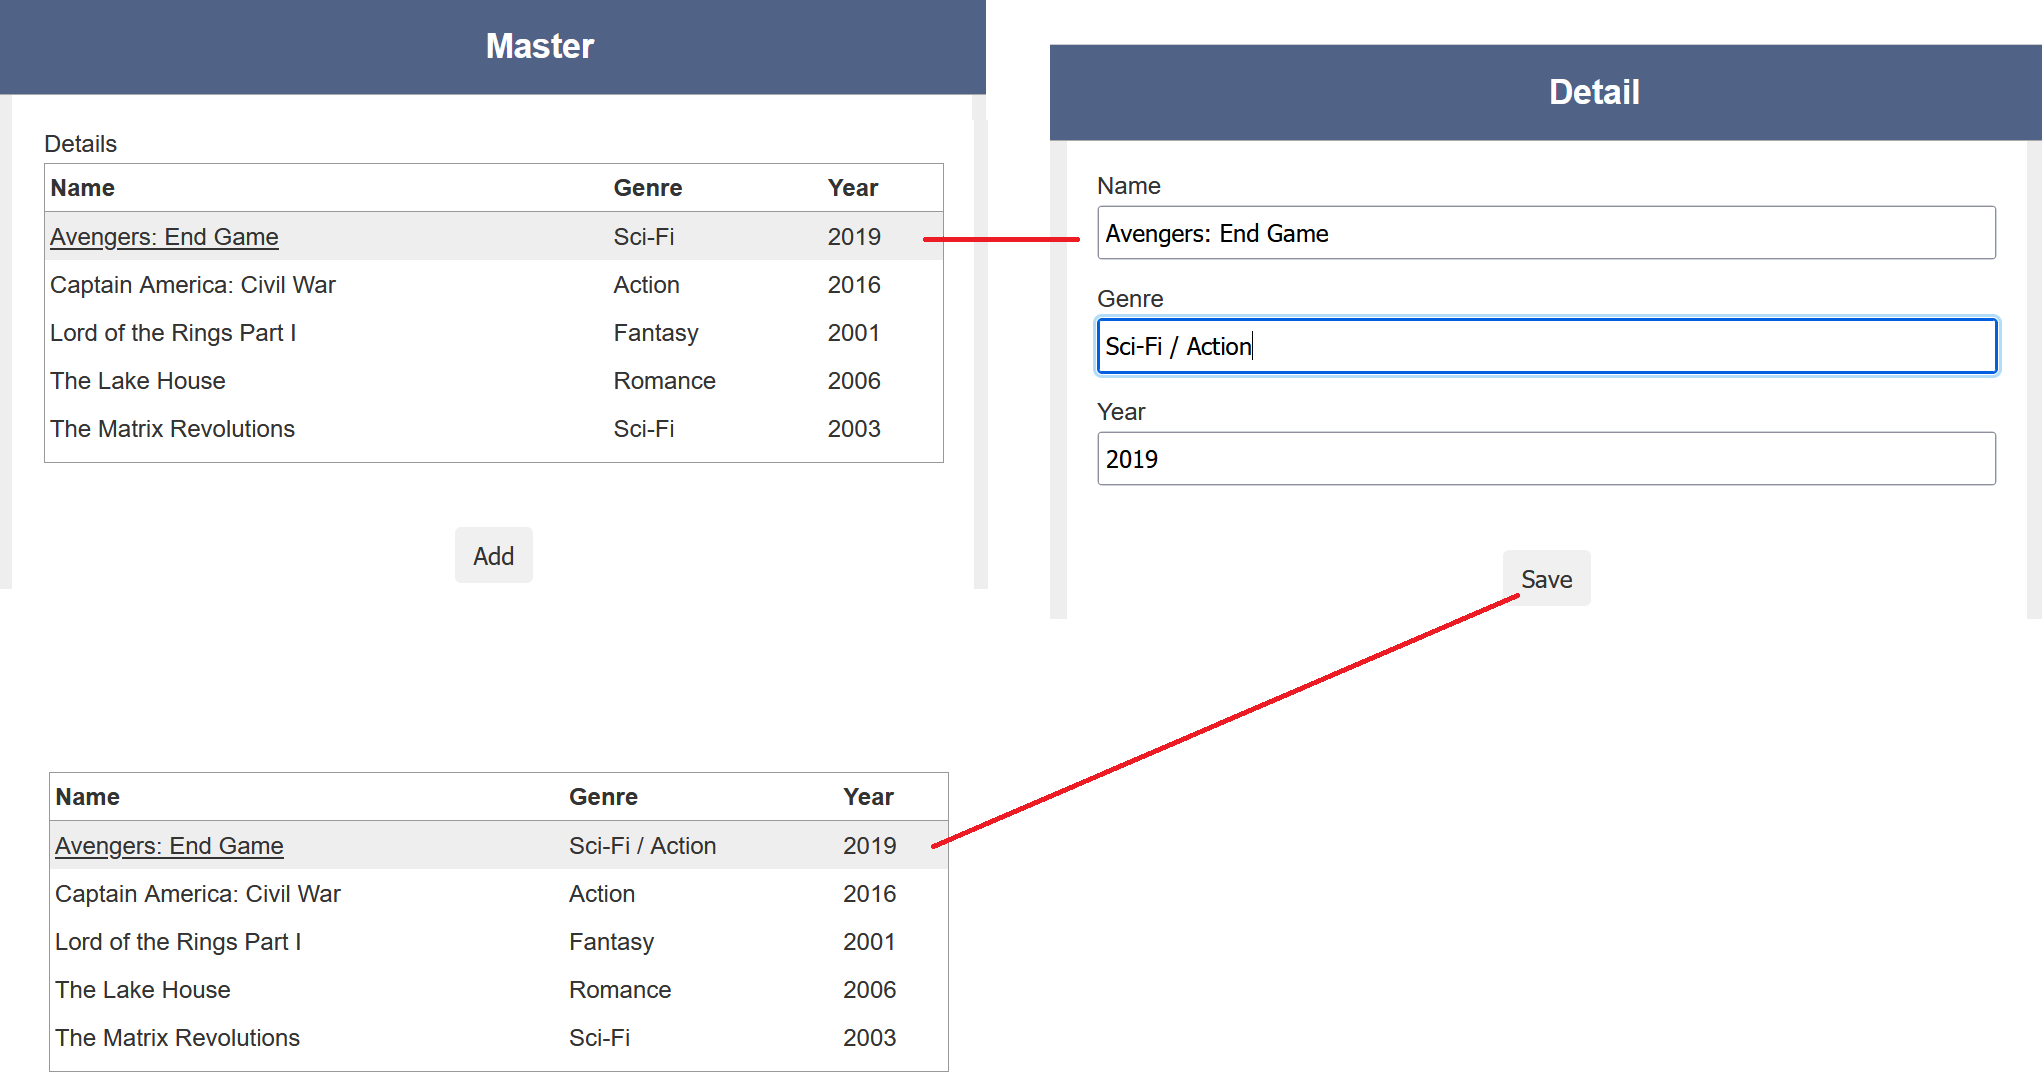
To edit the details, click on the desired row to launch the Detail form. Edit as required and click on the “Save” button to save the changes.
Points to note:
- There is only one
Masterform instance. You should not keep running “Run Form” on theMasterform to create new forms. Only one is needed. Therefore, remember the IDs and create a redirector so the same form can be easily retrieved. - The
eno:Mastercollection will only have one record in it, whereas theeno:Detailcollection will have a record for every detail being created. - Use
/form-runtime/<FormID>/<WorkflowID>/create.htmlto create a new record and show the form for that record.