
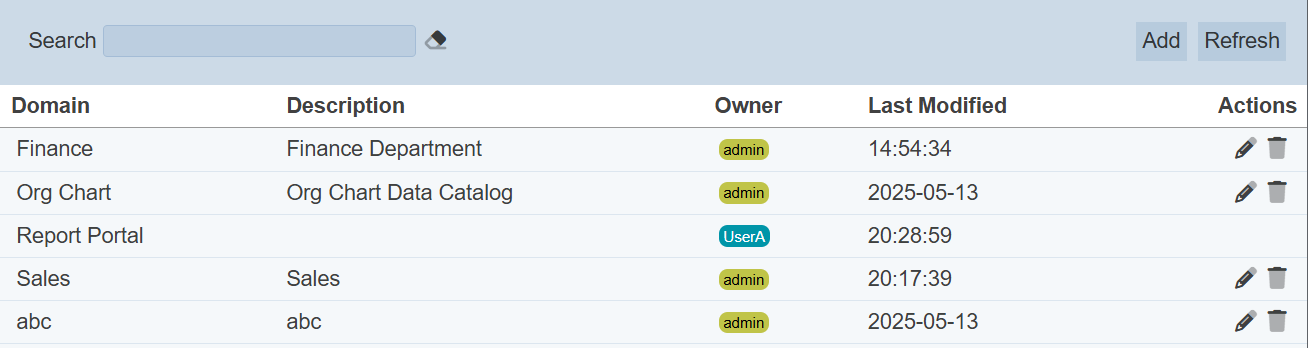
Business Glossary
The Business Glossary allows users to define the centralized collection of standardized business terms and definitions that ensures consistent understanding and usage of data across an organisation. This helps to ensure consistent understanding and communication across data users in the organisation.
Add Business Glossary
To add a Business Glossary, click on the “Add” button at the upper right corner of the page.

The “Add Domain” dialog box will appear.
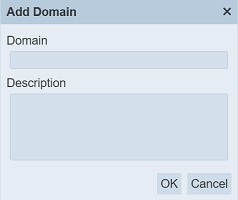
Add a unique name in the “Domain” field. This field must be unique and is case-sensitive. Provide a brief description for the new domain in the “Description” field.
Click on the “OK” button to create the new domain. To abort, click on the “Cancel” button.
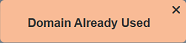
If no domain name is provided or if the name already exists, the relevant error message will appear.

Upon successful creation of the new Business Glossary, it will be added to the list.
Edit Business Glossary
To edit the Business Glossary, click on the  “Edit” icon under the “Actions” column corresponding to the desired Business Glossary.

The “Edit Domain” dialog box will appear.
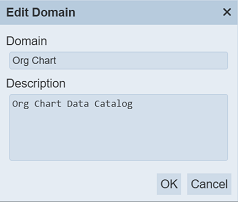
Edit as desired and click on the “OK” button to save the changes. Do note that the “Domain” field must be unique.
Do note that if you are not the owner of the Business Glossary, the icon will not appear.
Open Business Glossary
To open a Business Glossary, click on the name of the desired Business Glossary under the “Name” column.
The “Term” page will appear.
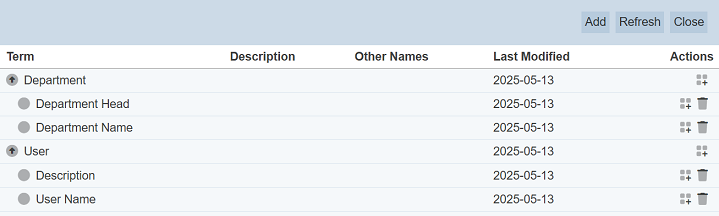
During initial creation, this page is empty.
Add Term
This function allows user to add a term to the Business Glossary created in the previous page.
A “Term” is a glossary entry that formally defines a data-related concept for the organisation. Its purpose is to create a shared, unambiguous vocabulary so that all users (e.g., business users, analysts, data engineers, compliance teams, etc.) talks about data in the same way.
To add a term, click on the “Add” button at the upper top corner of the page.

The “Add Term” dialog box will appear.
| Field | Description | Mandatory | Constraint |
|---|---|---|---|
| Term | Unique name assigned to the term. | Y | Any text (case-sensitive) |
| Description | Brief description of the term. | N | Any text |
| Other Names | Defines other name for the term. More than one can be added. |
N | Any text (case-sensitive) |
Key in a unique name for the term in the “Term” field. Provide a brief description for the new Term in the “Description” field.
To add another name to the Term, click on the “Edit Other Names” icon on the right of the “Other Names” field. The “Edit Other Names” dialog box will appear.
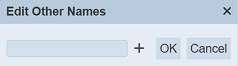
Key in a name in the textbox. If this is the only name to be added, click on the “OK” button to add the new name. To add more names, click on the “+” icon in the dialog box to add a new name.
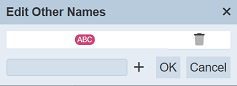
Repeat the above until the desired names are added.
To remove any name, click on the  “Delete” icon next to the name.
Click on the “OK” button to save the names.
If the name already exist or no name is provided, the relevant error message will appear.


Once the term is successfully added, the term will be added in the Term page.
Add Sub Term
This function allows user to add a sub-term to the term created prior.
To add a sub term, click on the  “Add Sub Term” icon under the “Actions” column corresponding the desired term.

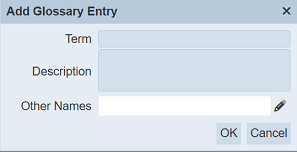
The “Add Glossary Entry” dialog box will appear.
See Add Term for more details.
Once the term is successfully added, the sub-term will be added beneath the parent term.

Click on the  “Expand” or
  “Collapse” icons on the left of the term to show/hide the sub-terms.
Delete Term
This function allows user to delete a term or sub-term. Do note that there are two default terms that cannot be deleted. They are the “Department” and “User”.
To do so, click on the “Delete” icon under the “Actions” column corresponding the desired term or sub-term.
There is an option to undo the deletion. A notification with an “Undo” button appears right after clicking on the “Delete” icon.
Upon clicking on the “Undo” button, the deleted term is restored and is added back to the list of terms.
Refresh Term
After performing actions on the browser/tab, the list is reloaded to display the list of reports. The manual “Refresh” button is available and is particularly useful if you have opened multiple pages and are making changes in these pages.
The “Refresh” button is found on the upper right corner of the page. Clicking on it reloads the list of terms.
Close Term Page
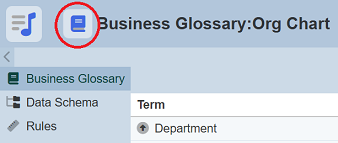
To close the Term page, click on the “Close” button at the upper right corner of the page.
Alternatively, user can click on the “Business Glossary” icon at the upper left of the page.
Delete Business Glossary
To delete a Business Glossary, click on the “Delete” icon under the “Actions” column corresponding the desired Business Glossary.
There is an option to undo the deletion. A notification with an “Undo” button appears right after clicking on the “Delete” icon.
Do note that if you are not the owner of the Business Glossary, the icon will not appear.
Refresh Business Glossary
After performing actions on the browser/tab, the list is reloaded to display the Business Glossary. The manual “Refresh” button is available and is particularly useful if there are others making changes on the same page.
The “Refresh” button is found on the upper right corner of the page. Clicking on it reloads the list.
Search Business Glossary
The search bar appears on the upper left corner of the page.

This provides an easy way to search through the list. It is case-insensitive and displays records that have the entered search value in any of the values of the fields below:
- Domain
- Description
- Owner
- Last Modified
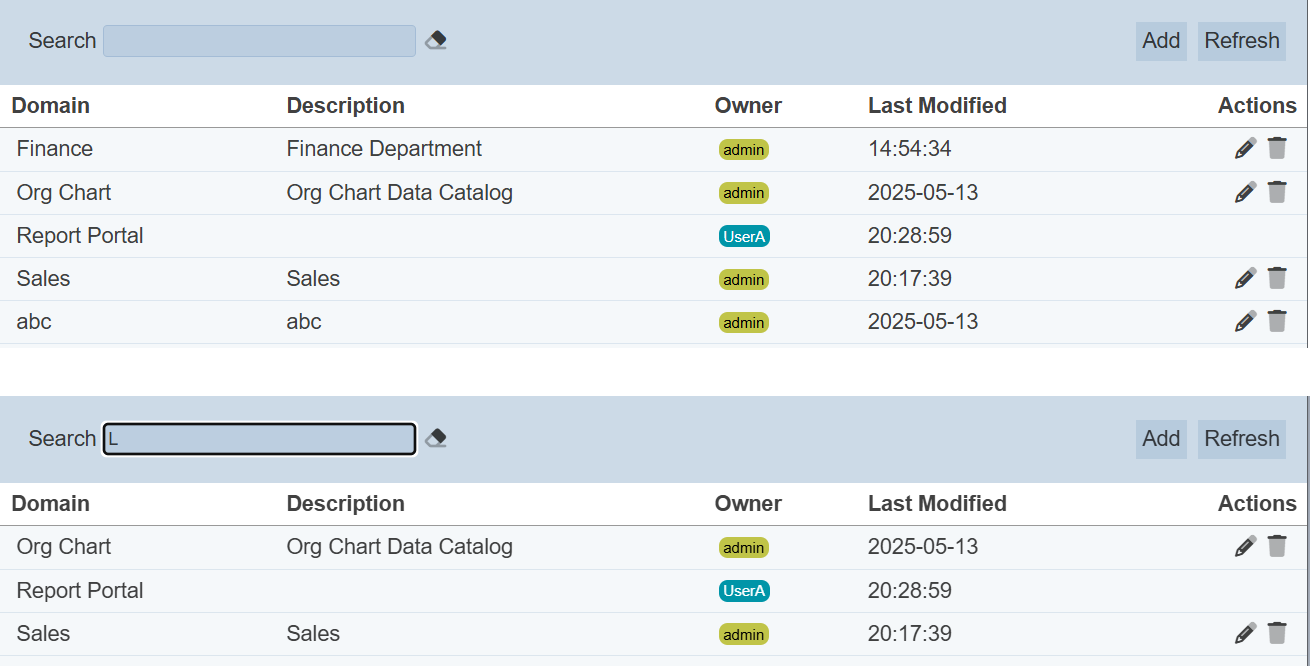
Alternatively, you can click on the any owner under the “Owner” column to aid the search for the records in the page.

In the example above, Business Glossary that contains the letter “L” and owner “admin” are shown.
These two search methods can be combined together, with each criteria separated by a comma.