
Example
This section provides an example on how to create a CMS web site. In this example, a web site is built to provide a brief description on four countries; namely Brazil, Canada, Germany and UK. One page for each country.
Below are the steps:
- Add resources (e.g., png files)
- Create group
- Create and design template
- Create and design pages
- Setup Button
- Preview pages
- Add start page
- Create snapshot
- Create site
Add Resources
A web site need resources, such as pictures or graphics to be used in the web site. In this case, the images of the national flags of the countries, as well as the image of a globe need to be uploaded as resources.
To add the resources, go to the Resources tab and click on the “Upload” button on the upper right corner of the page.
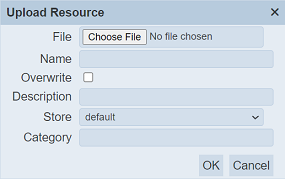
Drag and drop the desired resource file onto the “Drop File Here” area or browse to the location of the resource by clicking on the “Choose File” button. By default, the filename (along with file extension) is used in the “Name” field. Change it to a desired name. In the “Store” field, select “default” is the file size is small, otherwise select “default-large”. Click on the “Run” button to upload the file.
Repeat the same steps for the other images.

Create Group
Next, create a group for the web pages.
To add a group, go to the Groups tab and click on the “Add” button at the upper right corner of the page.
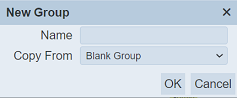
The “New Group” dialog box will appear. Key in an appropriate name for the group in te “Name” field, in this case, the group is named “Countries”. Use the default value for the “Copy From” field and click on the “OK” button to create the new group.
We will add the start page into the group at a later stage.

Create and Design Template
In this example, four pages are to be created, one page for each country. To ensure consistency, a template will be used for these pages.
To create a template, go to the Template tab and click on the “Add” button at the upper right corner of the page.
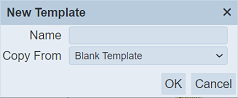
The “New Template” dialog box will appear. Key in an appropriate name for the template in te “Name” field, in this case, the group is named “CountryTemp”. Use the default value for the “Copy From” field and click on the “OK” button to create the new template.
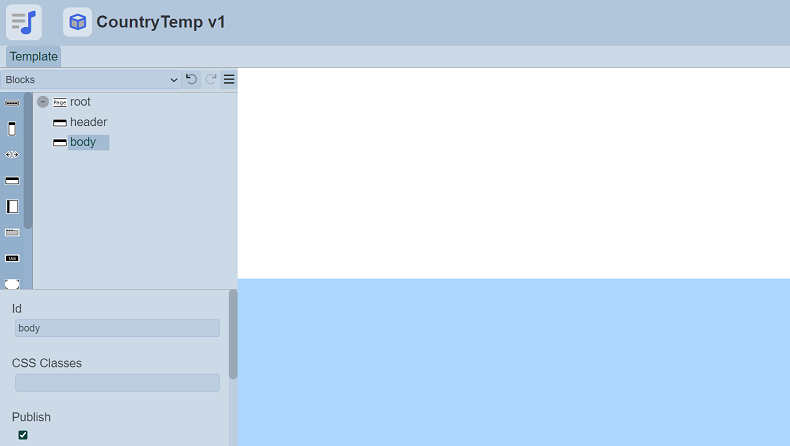
Upon successful creation of the template, the Template Designer is launched with a blank template.
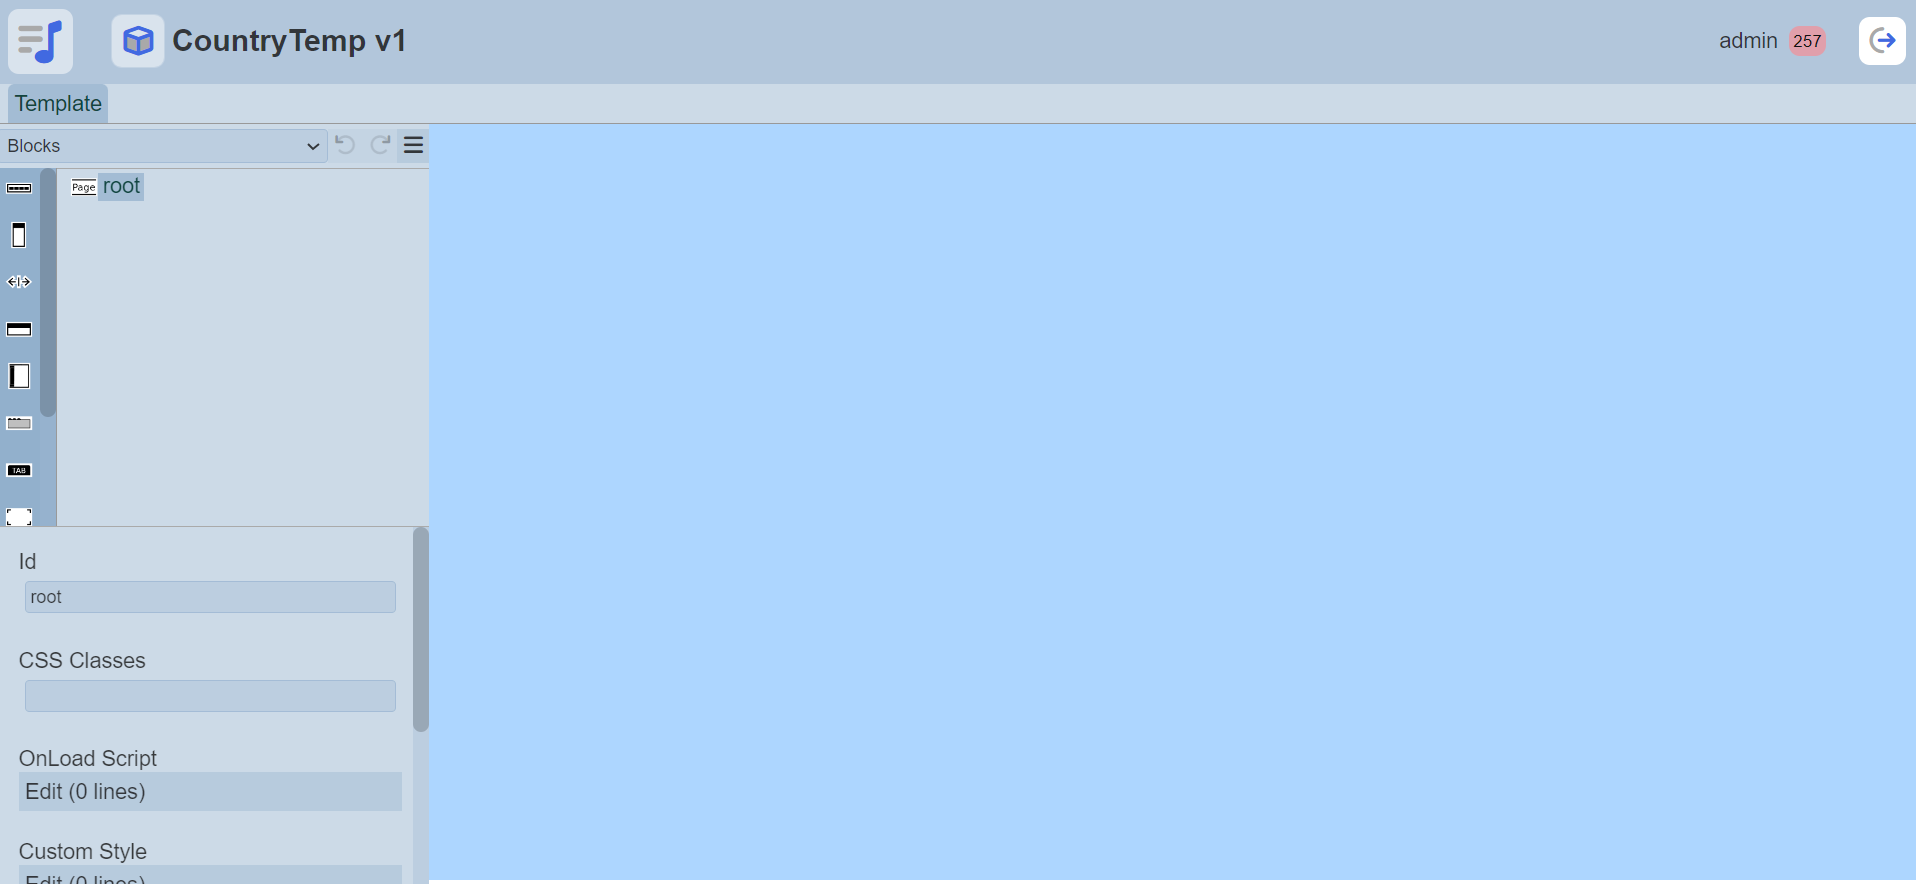
For this template, a header and a content body are required. The header will contain a title with an image and some buttons to switch between the pages. The body will contain the content of the country.
From the Blocks option, drag and drop two Row components. Rename the “Id” field for first Row component as header and the second Row component as body.
Setup Header
Title and Image
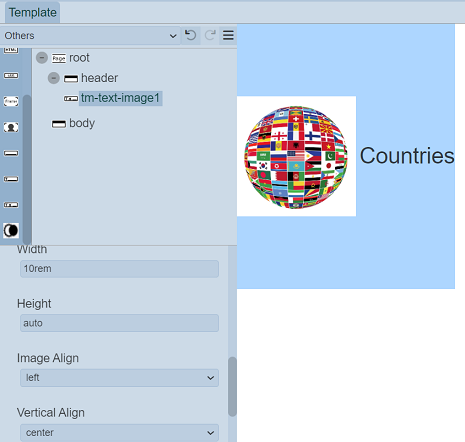
Select Others option from the top row and add a Text Image component onto the header. A title and an image will be added into the Text Image component. In the “Text” property of the Text Image component, click on the “Edit” field to display the text editor.

In the text editor, key in Countries and click on the “Save” button to add the text. Increase the size of the text to 30px in the “Size” field under “Font”.
In the “Image” property, select the values for the globe image.

Set the size of the image to 10rem in the “Width” field and align the text to the middle of the image by setting the “Vertical Align” field to center.
Selection Menu
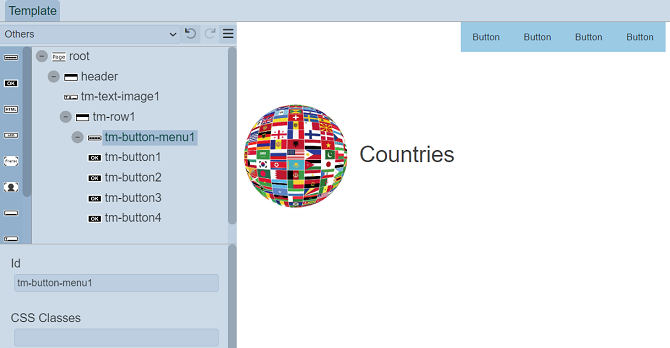
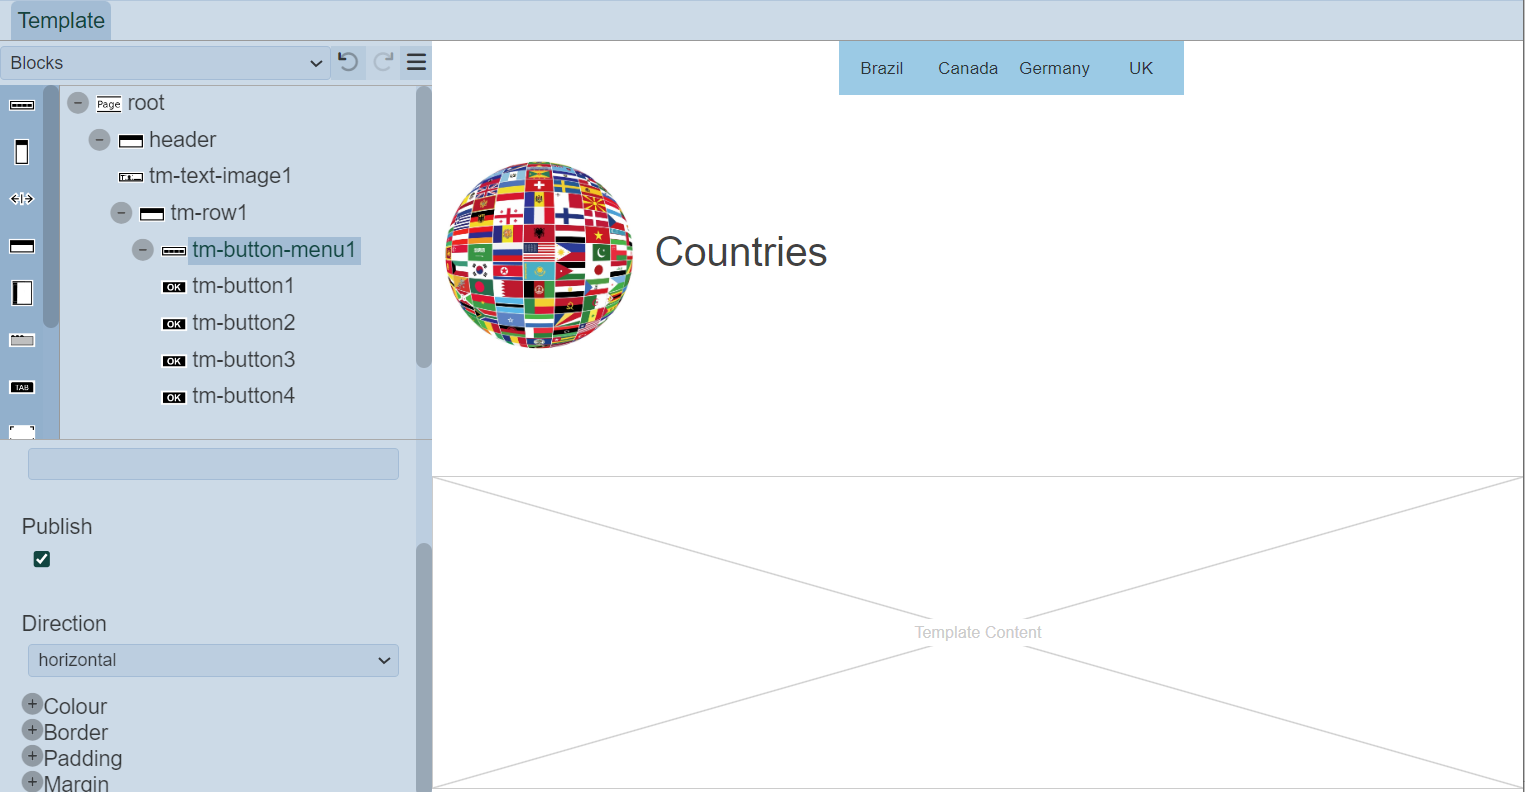
Select the Blocks option at the top row. Drag and drop a Row component below the Text Image component. This Row component is used to contain the buttons to switch between the pages. In the “Maximum Height” field, set to 40px.
Next add the Button Menu component from the Menu option at the top row, onto the Row component.
From the Others option, drag and drop four Button components onto the Button Menu component. These buttons will eventually be linked to the different pages (or countries). These links will be added later.
Setup Body
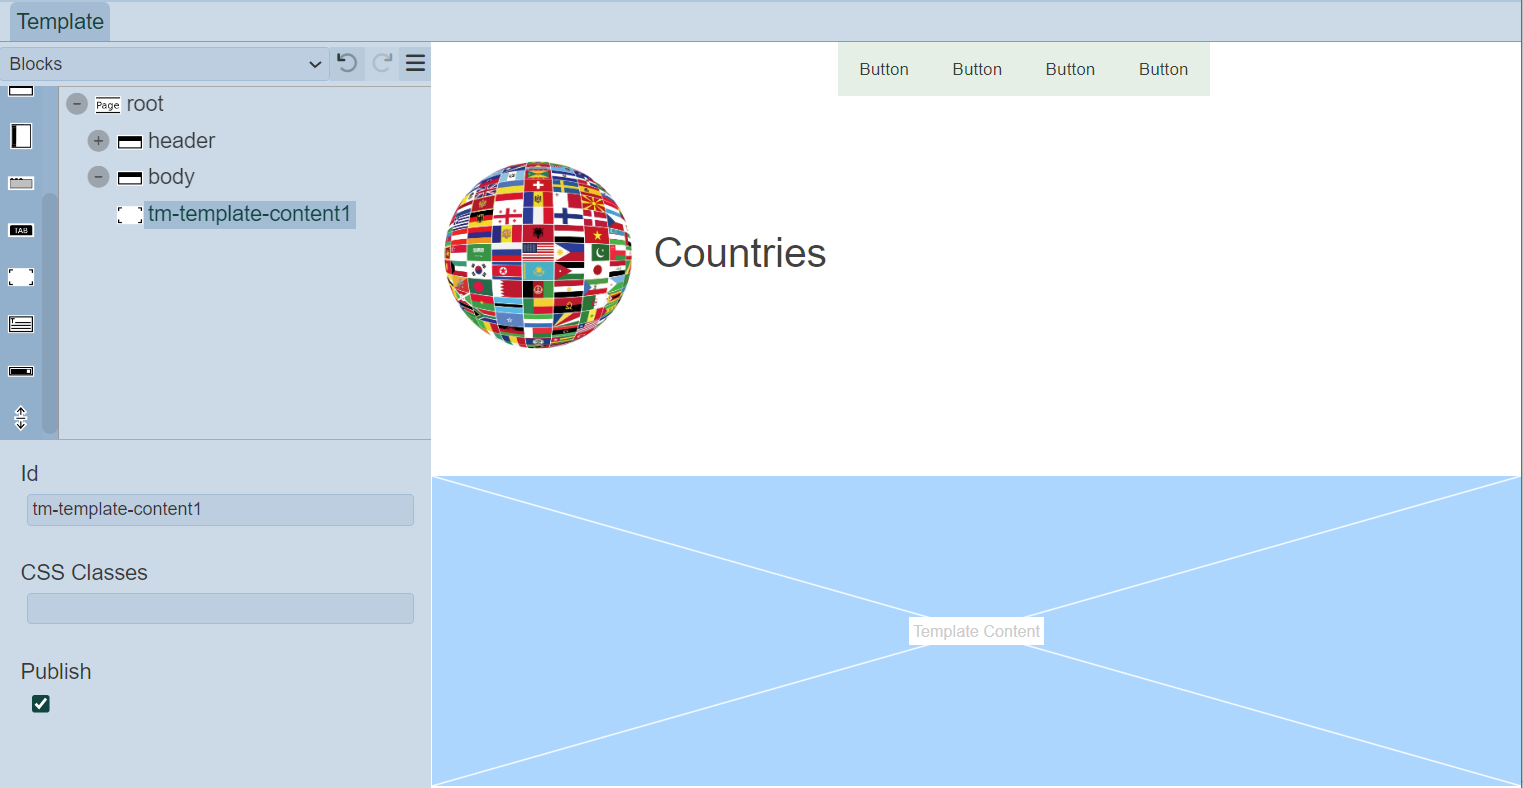
From the Blocks option, drag and drop the Template Content component onto the body component. This acts as a placeholder for the content to be added in the pages.
Create and Design Page
Now the template is ready for the pages to be created. Each page is similar and each represents one country.
Go to the Pages tab and click on the “Add” button at the upper right corner of the page. The “New Page” dialog box will appear.
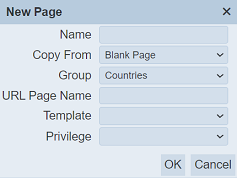
In the “Name” field, key in “Brazil”. Select the desired group (in this case Countries) in the “Group” field. The “URL Page Name” field allows you to define the name of the page that will appear in the URL. In this case, key in brazil. In the “Template” field, select CountryTemp, which is template created above.
The “Privilege” field allows you to restrict the access of this page to those users that are granted the selected privilege. If no privilege is selected, all users can access this page.
Click on the “OK” button to create the page. The Page Designer will be launched.
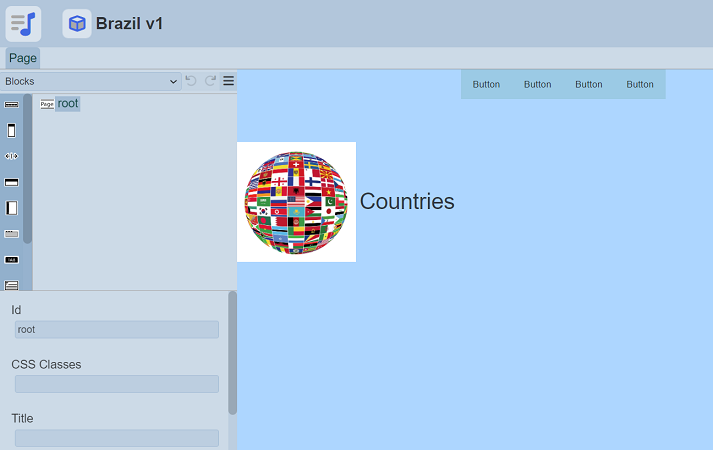
The page will show a title, an image and some buttons.
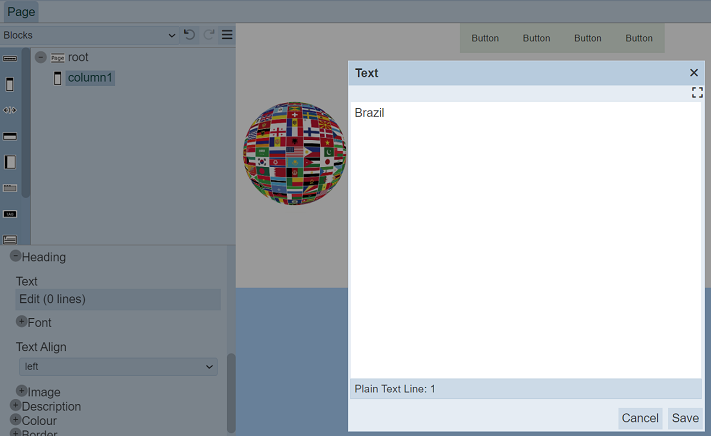
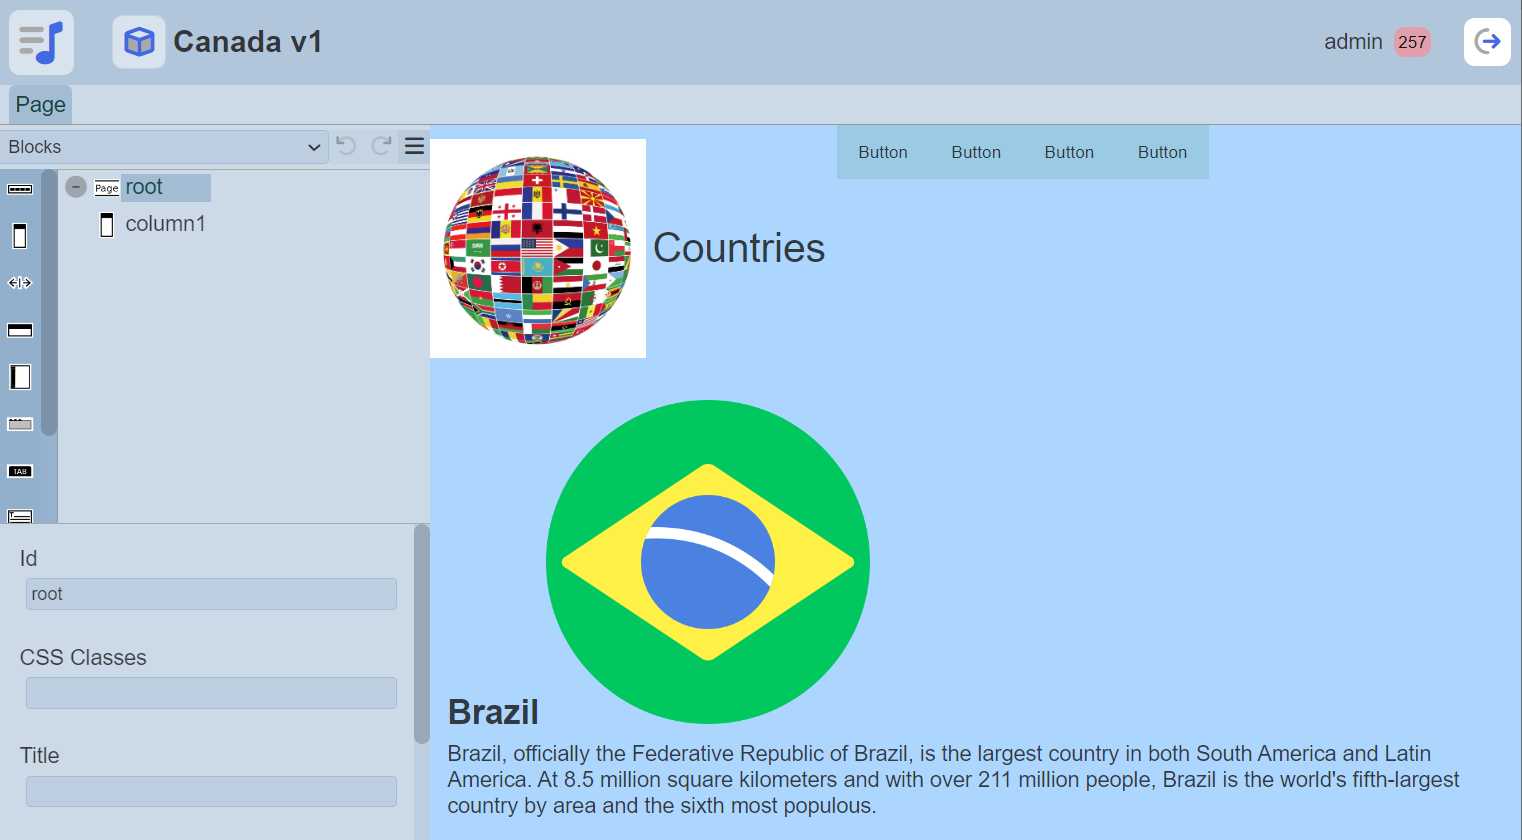
To begin, drag and drop a Column component from the Blocks option onto the root. In the “Heading” property, click on the “Text” field to display the text editor. In the text editor, key in Brazil and click on the “Save” button. This text will serve as the title for the component.
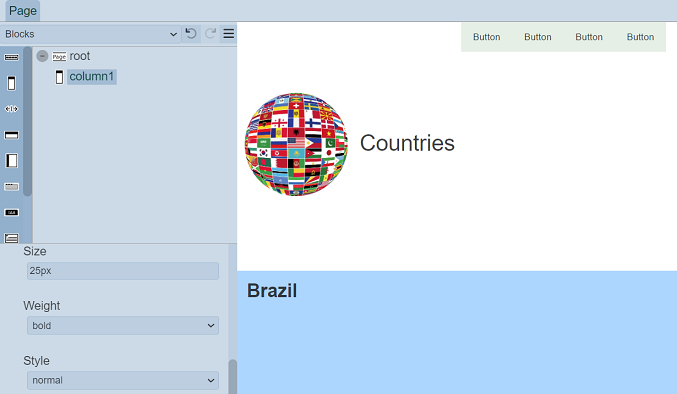
Set the font size to 25px in the “Size” field and select bold in the “Weight” field under the “Font” property.
Under the “Image” property, select the Brazil flag image. Set the size of the image to 15rem in the “Width” field.
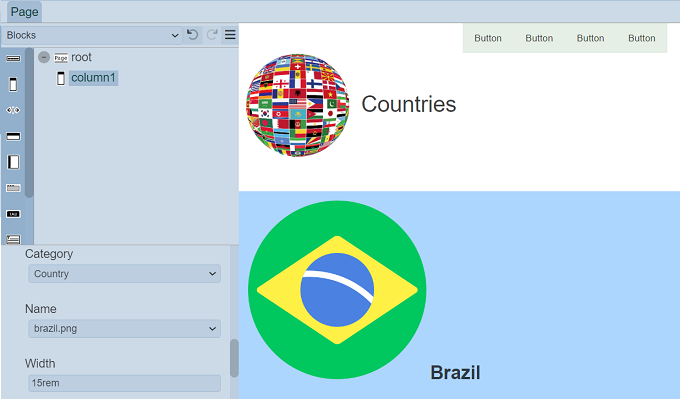
To set the image on the right-hand side, scroll down and find the “Image Align” field and select right from the drop-down list.
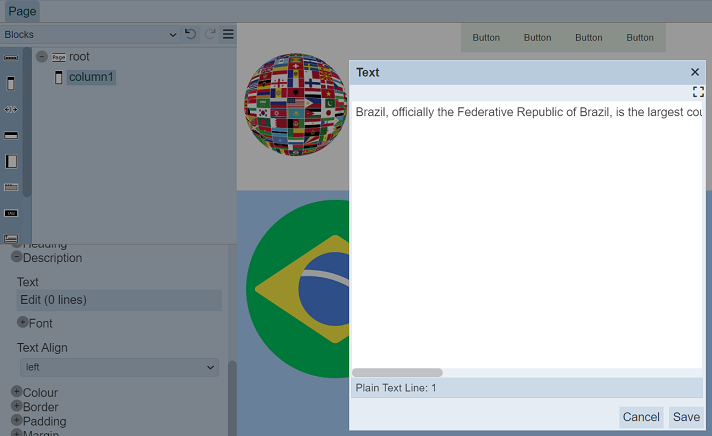
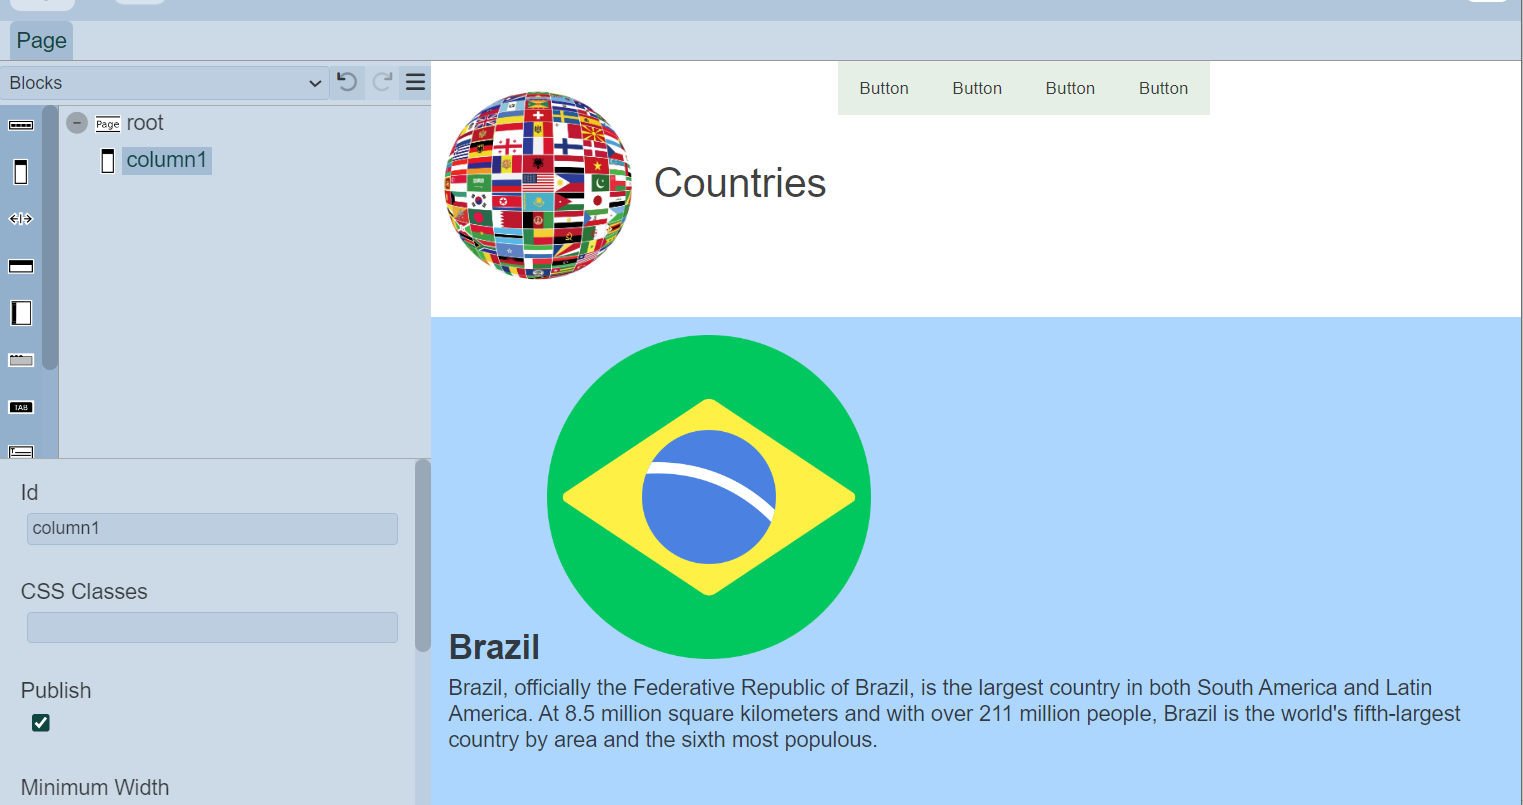
In the “Description” property, click on the “Text” field to display the text editor. In the text editor, key in the description for the country and click on the “Save” button.
The title, image and the description are now added onto the page.
To preview the page, click on the  “More Actions” icon at the top row and select the “Run Page” option.

Add New Pages
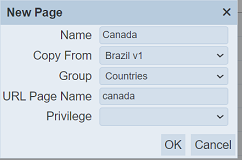
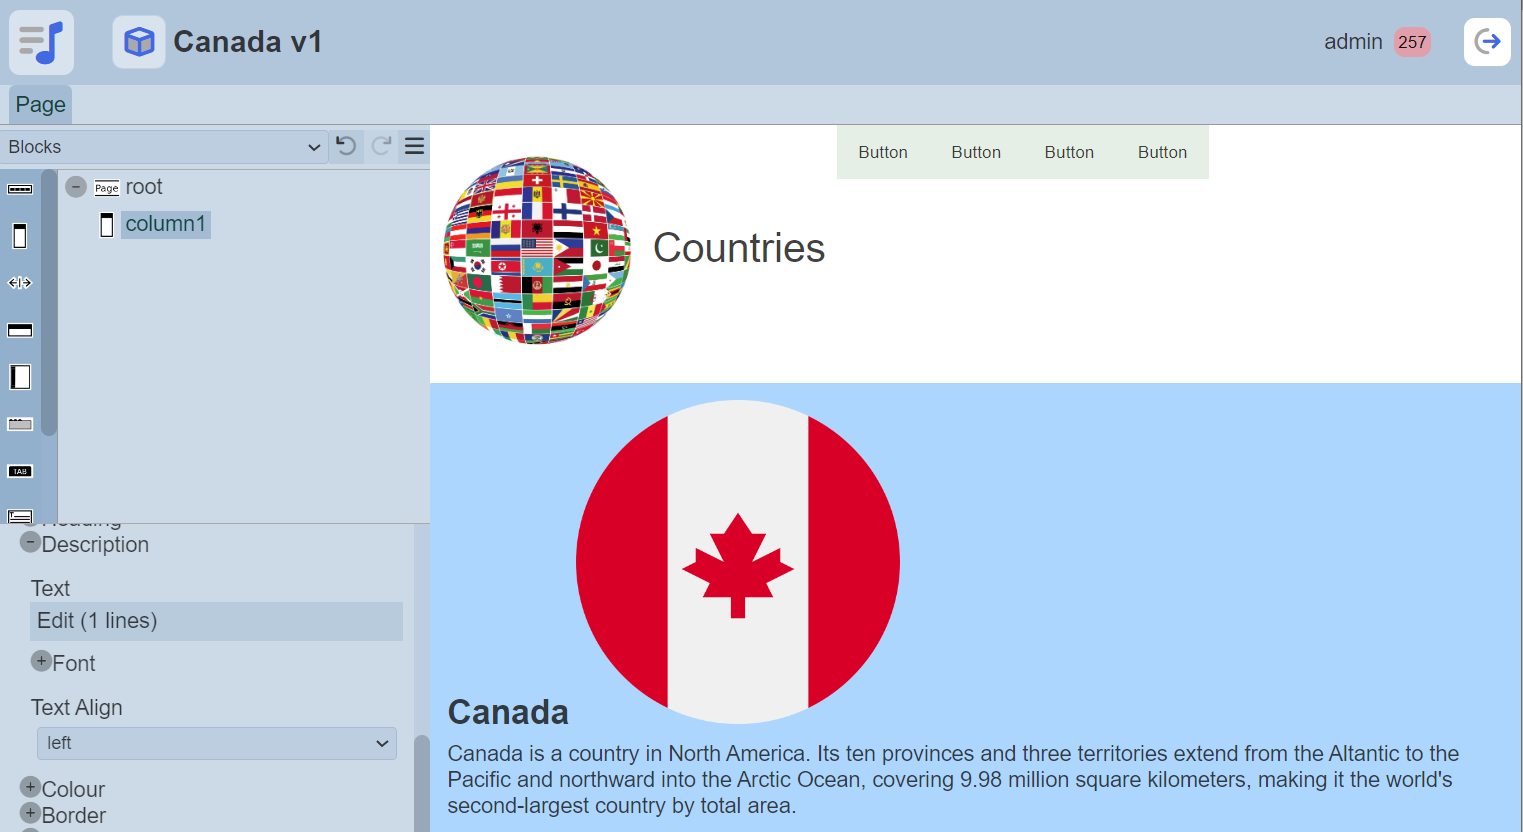
To add the other pages, go to the Pages tab and add another page, let’s say Canada. In the “New Page” dialog box, key in the Canada in the “Name” field. Select Brazil from the drop-down list in the “Copy From” field. This allows you to copy the properties of the Brazil page. Noticed that once Brazil is selected in the “Copy From” field, the “Template” field disappears from the dialog box as you do not need the template since you will be copying from the Brazil page. Key in canada in the “URL Page Name” field. Click on the “OK” button to add the new page.
The Page Designer will appear with the content of the Brazil page. Any changes to this page will not affect the original Brazil page.
Select the Column component to display its properties. You need to change the title, image and the description to those for Canada. In the “Heading” property, click on the “Text” field to display the text editor and change the text to Canada. In the “Image” sub-property, change the image to Canada image.
In the “Description” property, click on the “Text” field to display the text editor and change the description for Canada.
Repeat the same process for the other countries.
Setup Buttons
Once all pages are created, now the link for the buttons in the template can be set up.
In the last page, click on the “More Actions” icon at the top row and select the “Go to Template” option. This will launch the Template Designer and open the “CountryTemp” template.
Select the first button to display its properties. Under the “Href” property, in the “Type” field, select the page option to refer to the page created earlier. The fields below will change to allow you to select the desired page. In the “Page” field, the first item available is selected by default. In this case, Brazil is the first item. Match the value in the “Label” property with the item selected in the “Page” field. It will show the user which country the button will link to when clicked.
In the “Target” property, select the _self option. If the width of the button is not desired, you can change it in the “Width” property. In this case, change it to 4rem.

Repeat the same process for the other three buttons, one button for one country.
To make the buttons align to the right, select the Row component to display its properties. In the “Justify Content” property, select the right option.
Preview Pages
You can preview the pages to see how the pages looks like. Go to the Pages tab and open one of the pages.

Click on the icon at the top row and select the “Run Page” option. The page will be displayed in another tab. You can click on the buttons at the upper right corner of the page. They will link to the pages that were created earlier.
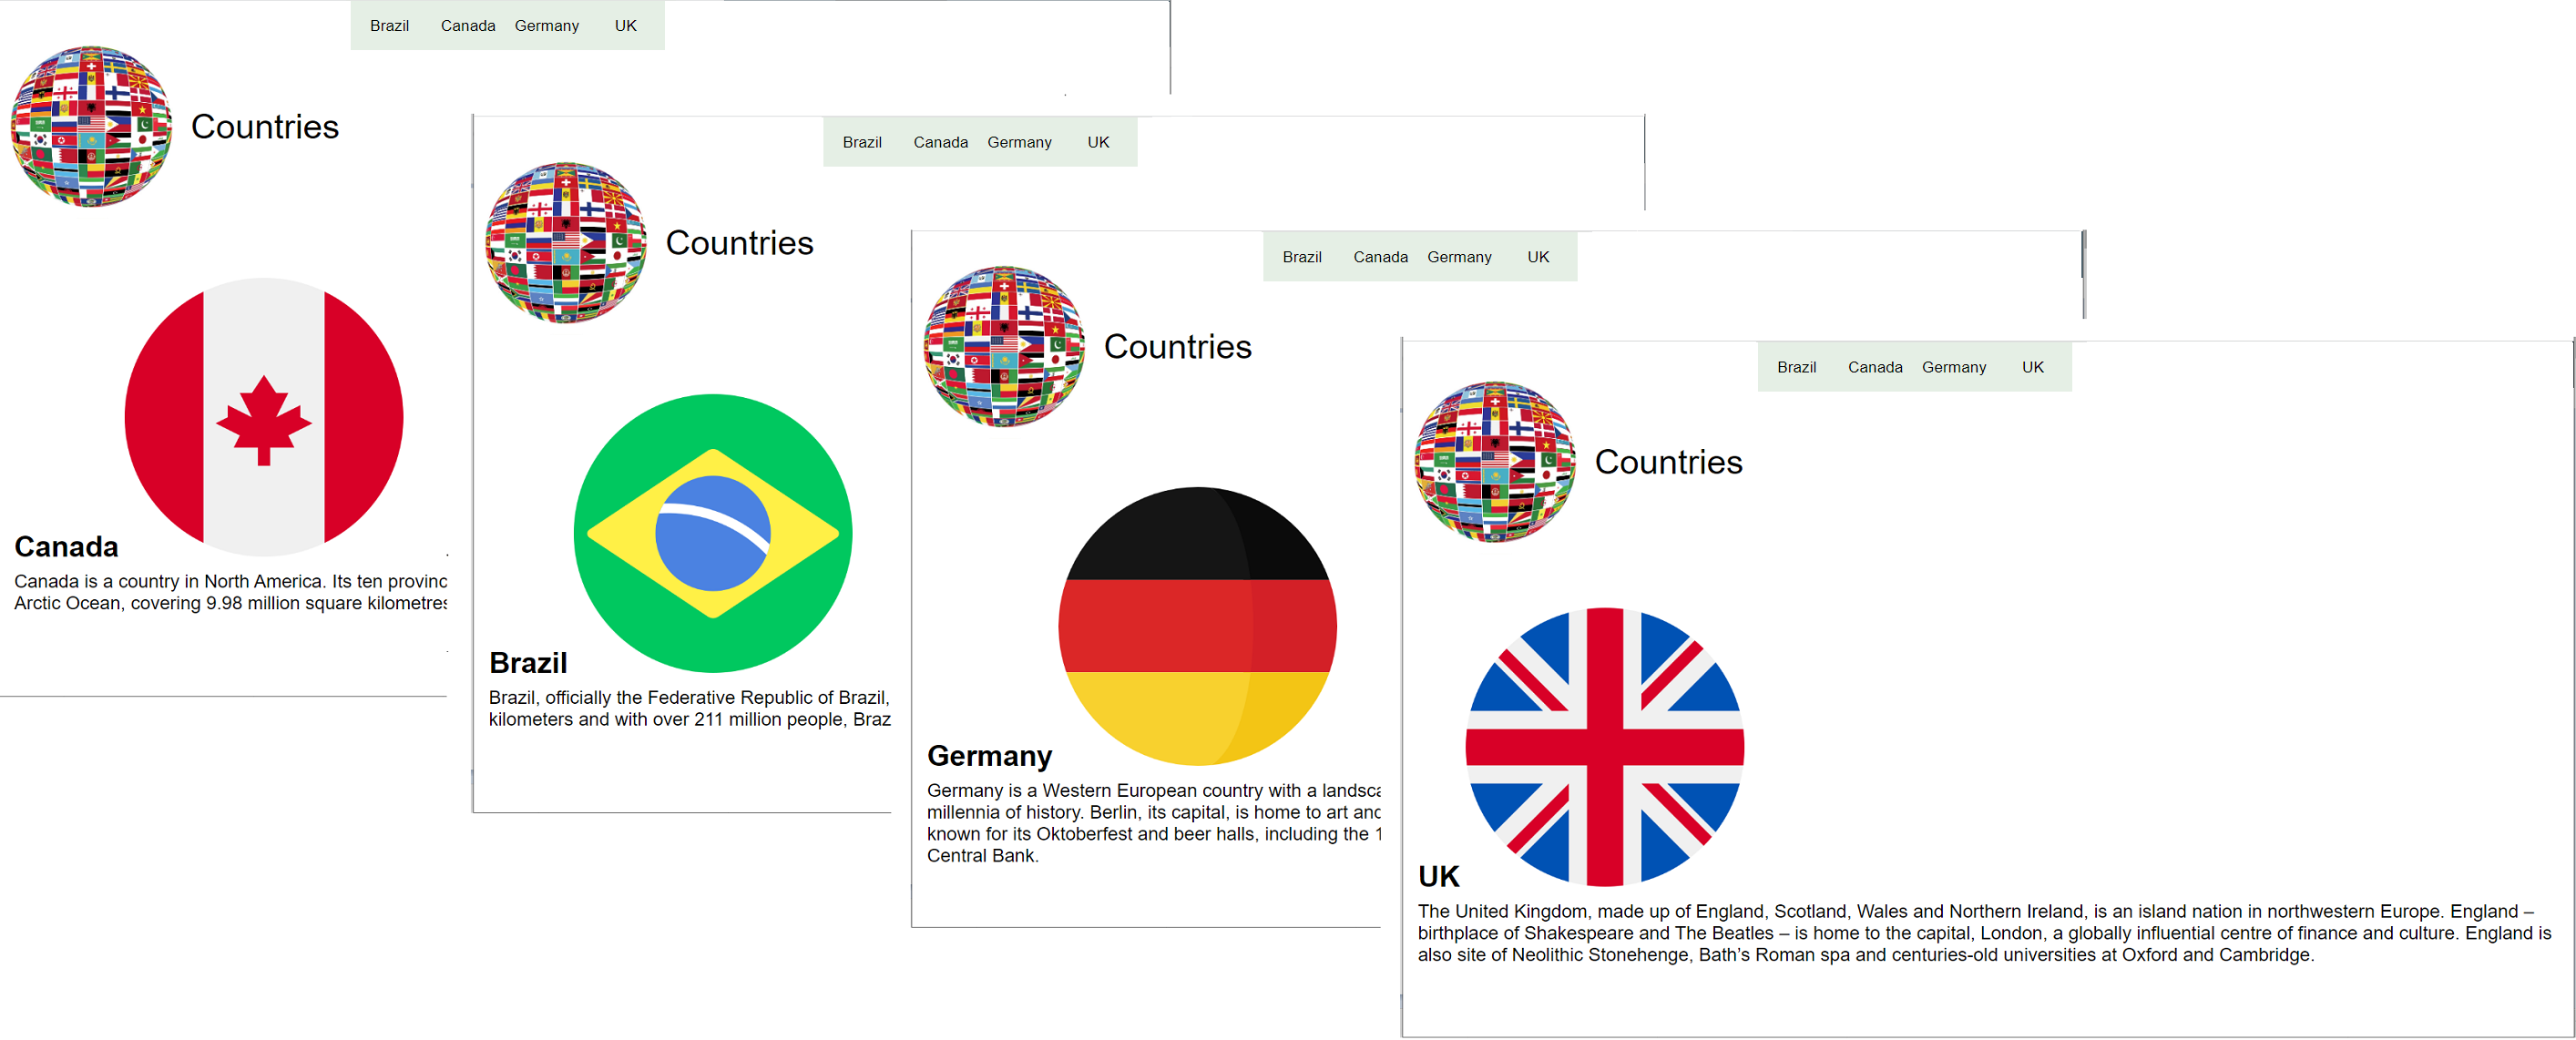
This allows you to test if the button menu is working.
Add Start Page
Now the pages are ready to be published. Every site needs a start page or a home page. This start page is defined in Group.
To define a start page, select “Groups” from the left panel and click on the  icon under the “Actions” column corresponding the “Countries” group.
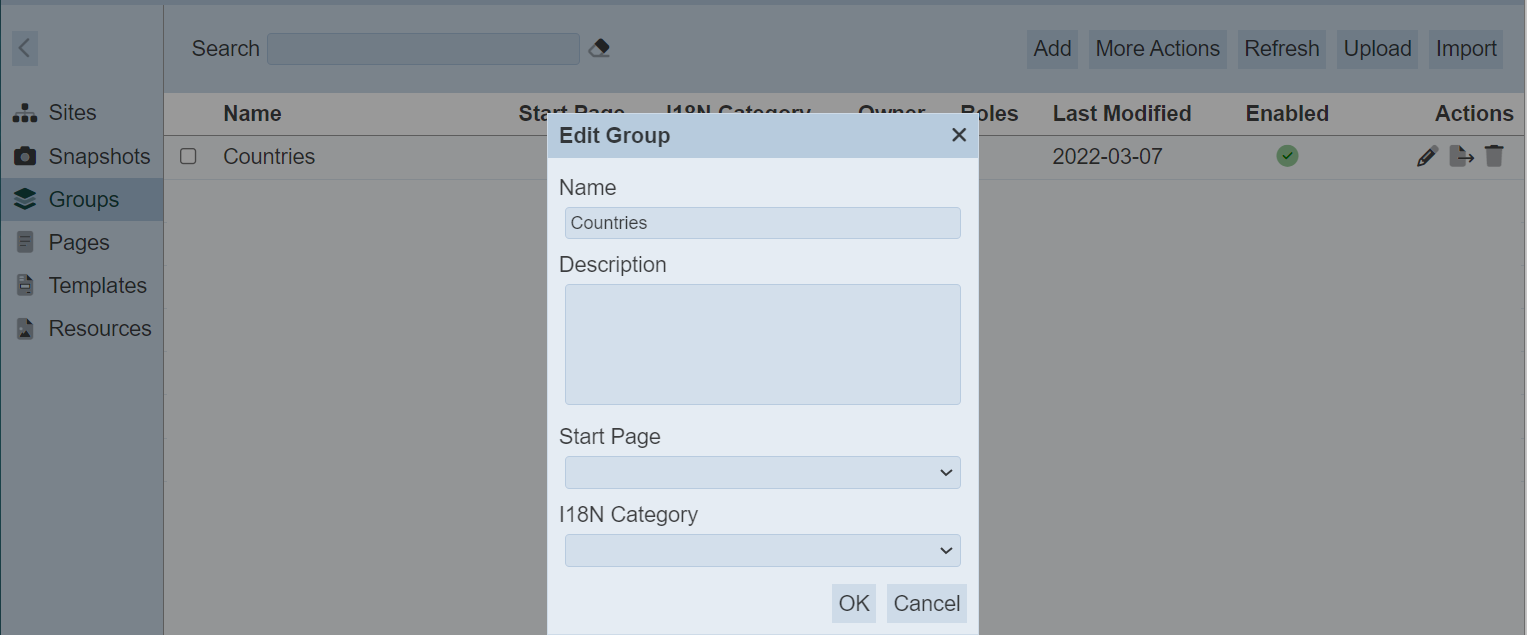
In the dialog box, select Brazil from the drop-down list in the “Start Page” field. Click on te “Save” button to save the change.
The start page will appear in the Groups management page.
Create Snapshot
Now the pages are ready to be published. Before publishing to a site, a snapshot is to be created. A snapshot will gather all resources and content required by the pages and store them in a binary store in a directory structure.
To create a snapshot, in the left panel, select “Snapshot”. Click on the “Add” button at the upper right corner of the page.
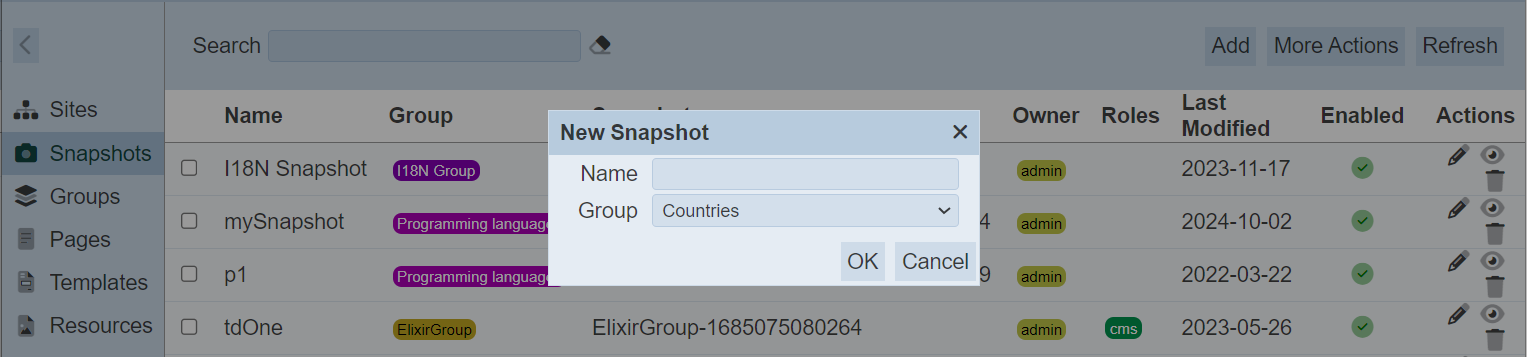
In the “Name” field, key in an appropriate name for the snapshot. In this case, let’s call it SS1. Select Countries in the “Group” field and click on the “OK” button to create the snapshot.

The first page that is displayed is Brazil, which is the defined start page. The URL at the top indicates that this is a preview.
Create Site
With the snapshot being created, a site can be created to publish the snapshot.
Select “Sites” from the left panel and click on the “Add” button at the upper right corner of the page.
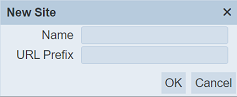
In the “Name” field, key in the desired name for the site and a URL prefix in the “URL Prefix” field. The URL prefix is name after the CMS path. Let’s name new site as Site1 and the prefix as s1. Click on the “OK” button to create the new site.
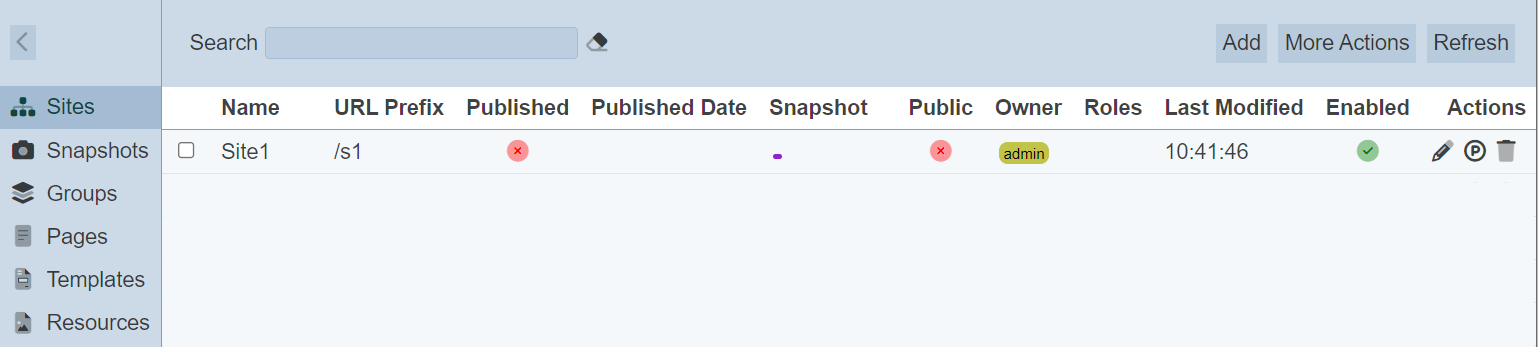
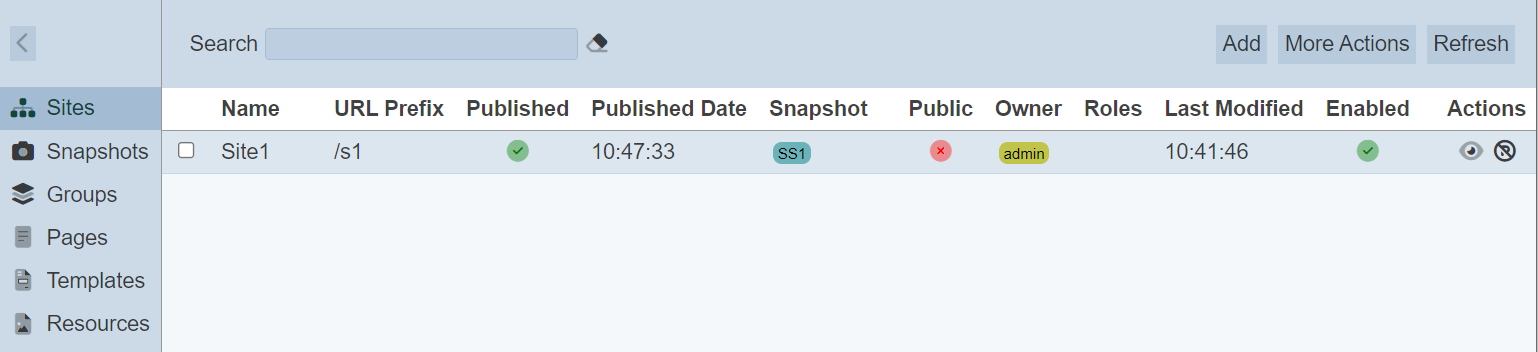
The new site is listed in the Sites management page. A red cross under the “Published” column indicates that the site is unpublished.
To publish, click on the  “Publish” icon under the “Actions” column.
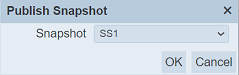
In the “Publish Snapshot” dialog box, select the desired snapshot from the drop-down list. In this case, select SS1. Click on the “OK” button to publish the snapshot. Now the snapshot is published and its content is in the cms folder in Ambience.
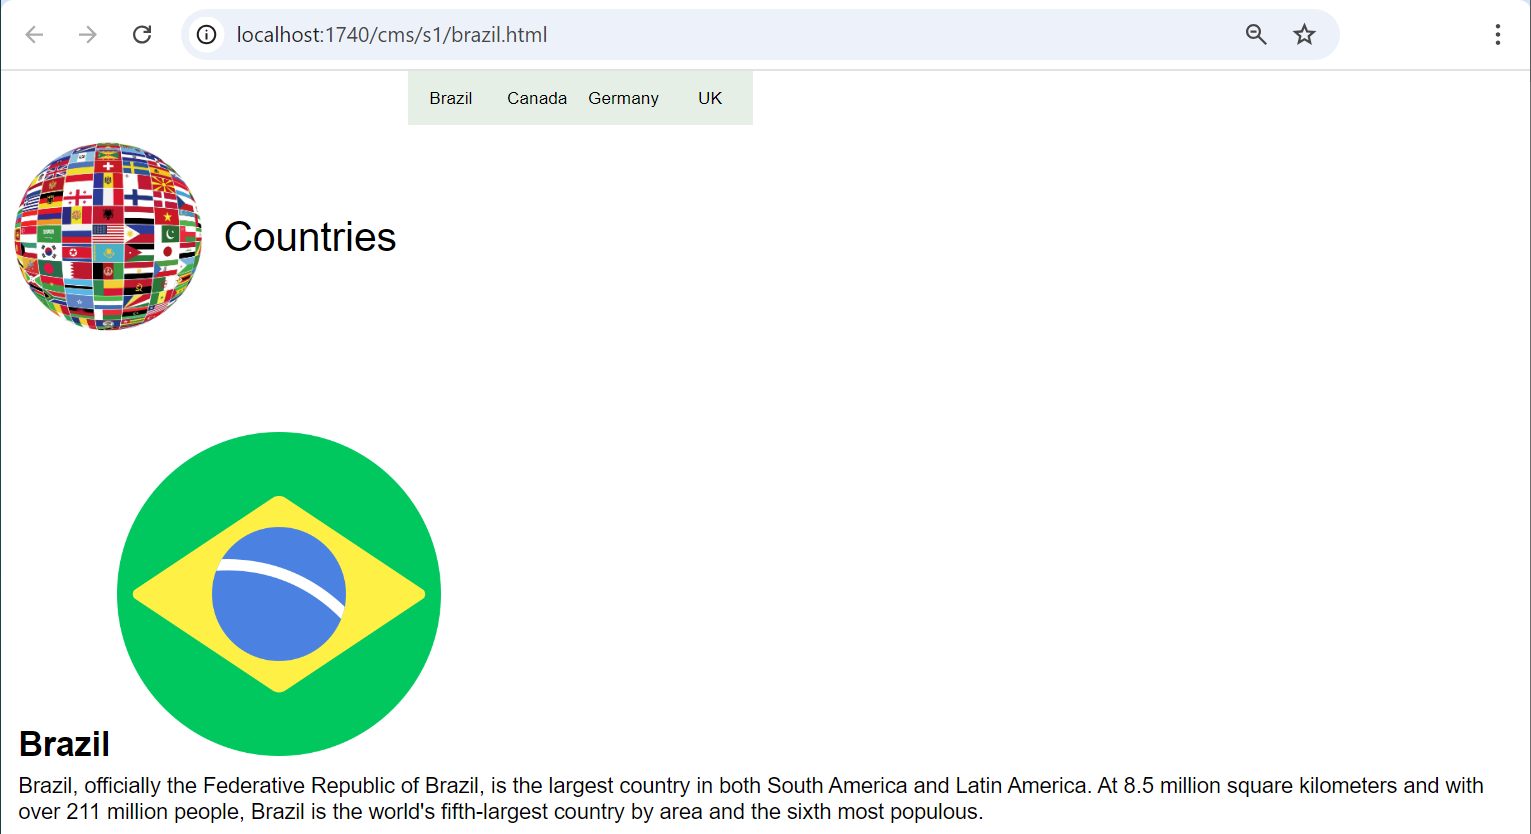
The address bar at the top shows the prefix s1 defined earlier.
Do note the once the site is published, it cannot be edited or deleted. You will need to unpublish it before you can edit or delete the site.
Once the site is unpublished, the cms folder will be emptied.