Internationalisation
When a form is created, it is created in one language. It may be required to be used in other countries, in other languages. Forms of different languages can be created for this purpose but it also causes another problem as the website that links to these forms need to recognise which form (with the relevant language) to use. To resolve this, the Internationalisation module can be used to define the wordings used in the form and present the same form in different languages based on the location of access.
List
Below is the list of IDs that can be used for the Internationalisation module.
- Components:
- dataset-checkbox.XXX
- dataset-chooser.XXX
- dataset-picker.XXX
- dataset-multi-select.XXX
- form-launcher.XXX
- validation.XXX
- HTML “HTML” field
- Common fields:
- <id>.append
- <id>.helpText
- <id>.placeholder
- <id>.prepend
where XXX is the component field.
Usage
Create Simple Internationalisation
In the example below, the organiser of a seminar needs to gather basic some information of the attendees. The attendees may be from different countries, speaking different languages.
A form is created to capture these information, such as name of company, country they are from and their names. The form need to be in different languages for the attendees to fill in their information.
Below is an example of the Form module using the translations in the Internationalisation module to generate the same form but in different languages.
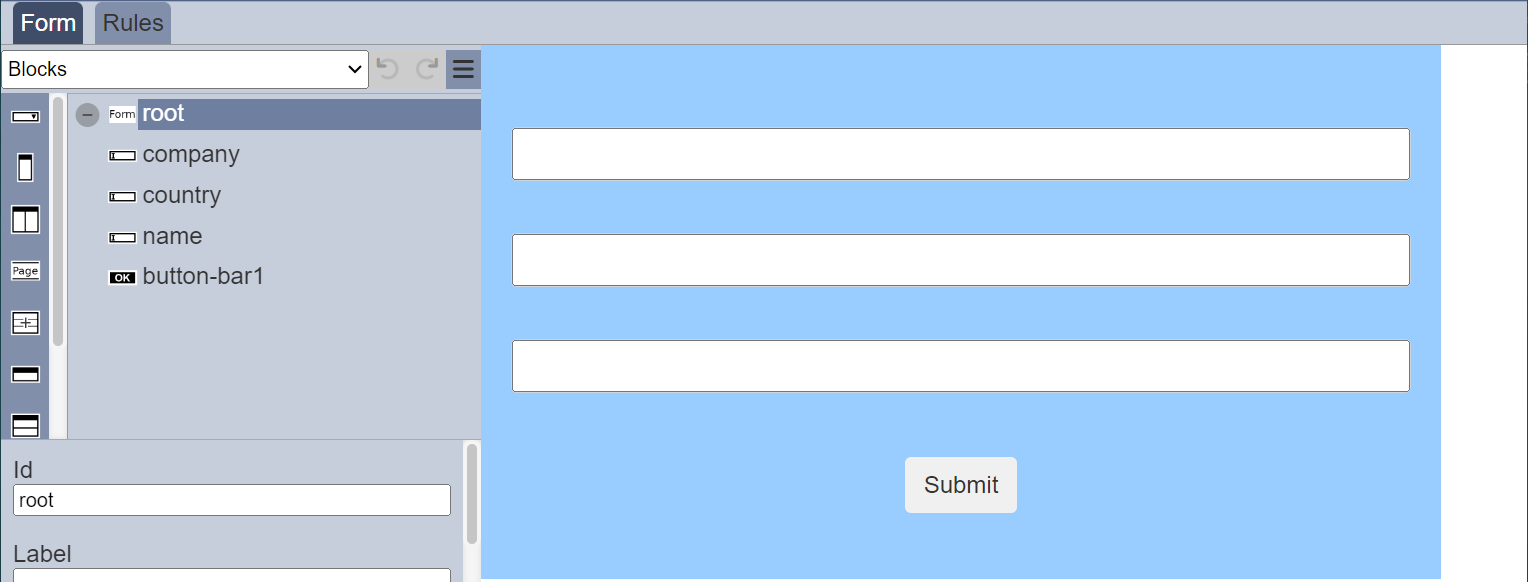
Create Form
First, create the form with three Text components and a Button Bar component. Change the Ids of the Text components as shown.
Create Translation
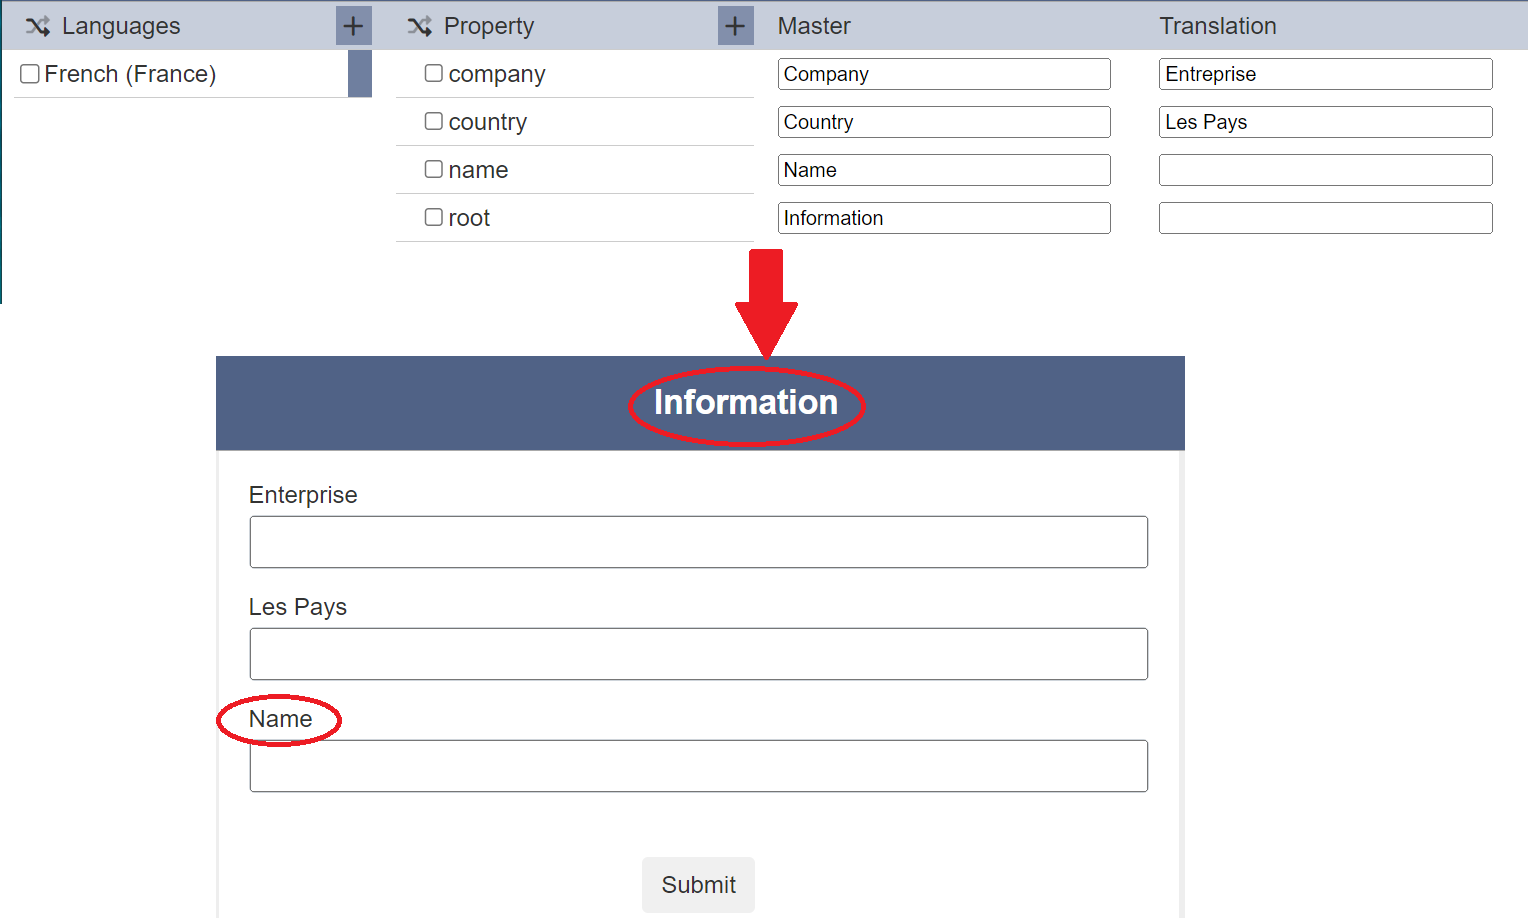
In the Internationalisation module, create a translation for the form. The Property panel list the IDs of the components in the form and the Master panel list the text to be diplayed.
![]()
Fill in the translation text in the Translation panel. If the Translation panel is empty, no translation will occur and the text in the Master panel will be used.
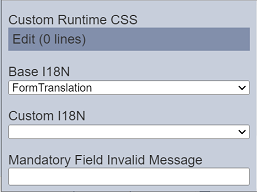
Edit Form
In the Form module, select the root component and scroll to the “Base I18N” field and select the translation created earlier from the drop-down list. Doing this will allow this base settings to be applied to many forms. If just this one form needs translation, select the translation from the drop-down list in the “Custom I18N” field.
Do note that the settings in “Custom I18N” field will override the settings in the “Base I18N” field. Below is how the lookup works at form runtime:
- Look in “Custom” (if defined) and use a translation as the label if found there, else
- Look in “Base” (if defined) and use a translation as the label if found there, else
- Retain original label as defined in form
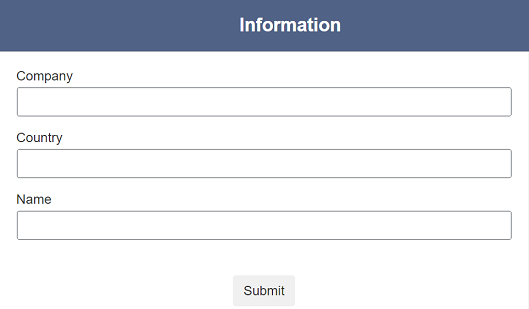
Run Form
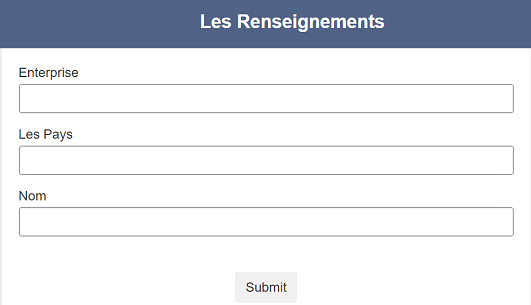
Run the form, by default, the browser is in English, the text on the form will appear in English.
Switch the browser to French and run the form again, the text will appear in French.
If any of the translation text are left blank, the master data in the Master panel will be used.
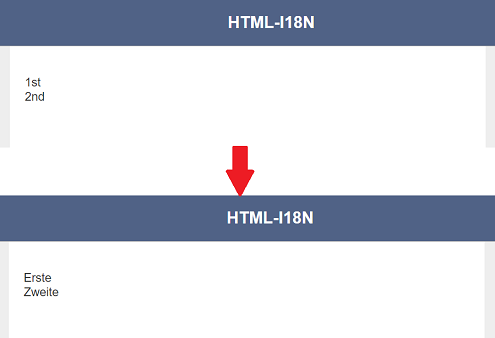
Using HTML Component
HTML component allows you to create content. For example, the HTML component has the following code in the “HTML” field:
<div>
  <div id="First"></div>
  <div id="Second"></div>
</div>
To internationalise the content in the HTML component, add the elx-form-i18n class to it. Edit the code as follows:
<div>
  <div id="First" class="elx-form-i18n"></div>
  <div id="Second" class="elx-form-i18n"></div>
</div>
In the Internationalisation module, add the properties, master text and translation.

The code in the HTML component will automatically do the lookup and present the internationalisation according to the language set in the browser.
In this example, the text is internationalised from English to German.