Forms
Description
A form allows you to enter, edit, or display data from a database (which can be a table or a query). You can use forms to control access to data (such as which fields of data are displayed) or perform certain actions (such as input to workflows).
The Forms module allows you to manage the forms, create and design the forms in the Form Designer. You can use this module individually to create forms to edit or enter into database. This module can also be used together with other modules, such as Workflows, ETL, etc. to create jobs or processes that perform a certain function (e.g., leave application, report generation, etc.).
Module Interface
| Interface | Description | Required Privilege |
|---|---|---|
| Forms | Allows access to Forms page. | mod-form |
| Forms | Allowed to edit form metadata. | mod-form-edit |
| Form Designer | Allows access to Form Designer page. | mod-form-designer |
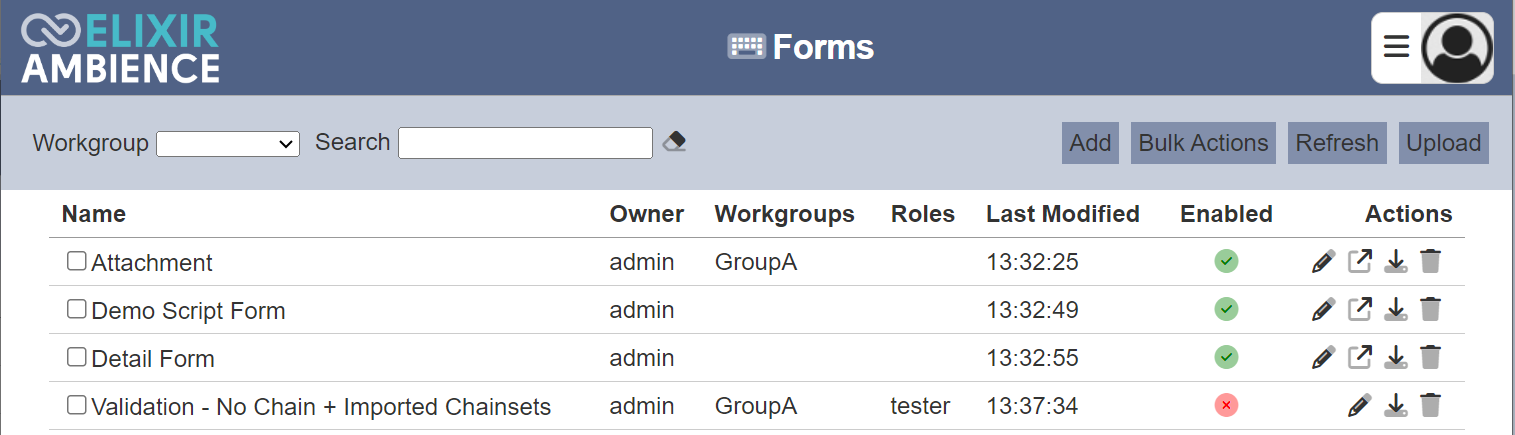
Add
This function allows you to add a new form.
To add a new form, click on the “Add” button at the upper right corner of the page.

The “Add Form” dialog box will appear.
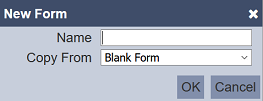
Key in an unique name for the new form in the “Name” field. In the “Copy From” field, you can select either a blank form or copy from an existing form from the drop-down list. Click on the “OK” button to add the new form. Click on the “Cancel” button to abort the action. If the name of the form already exist, an error message will appear.

Once the new form has been added, the Form Designer page will appear.
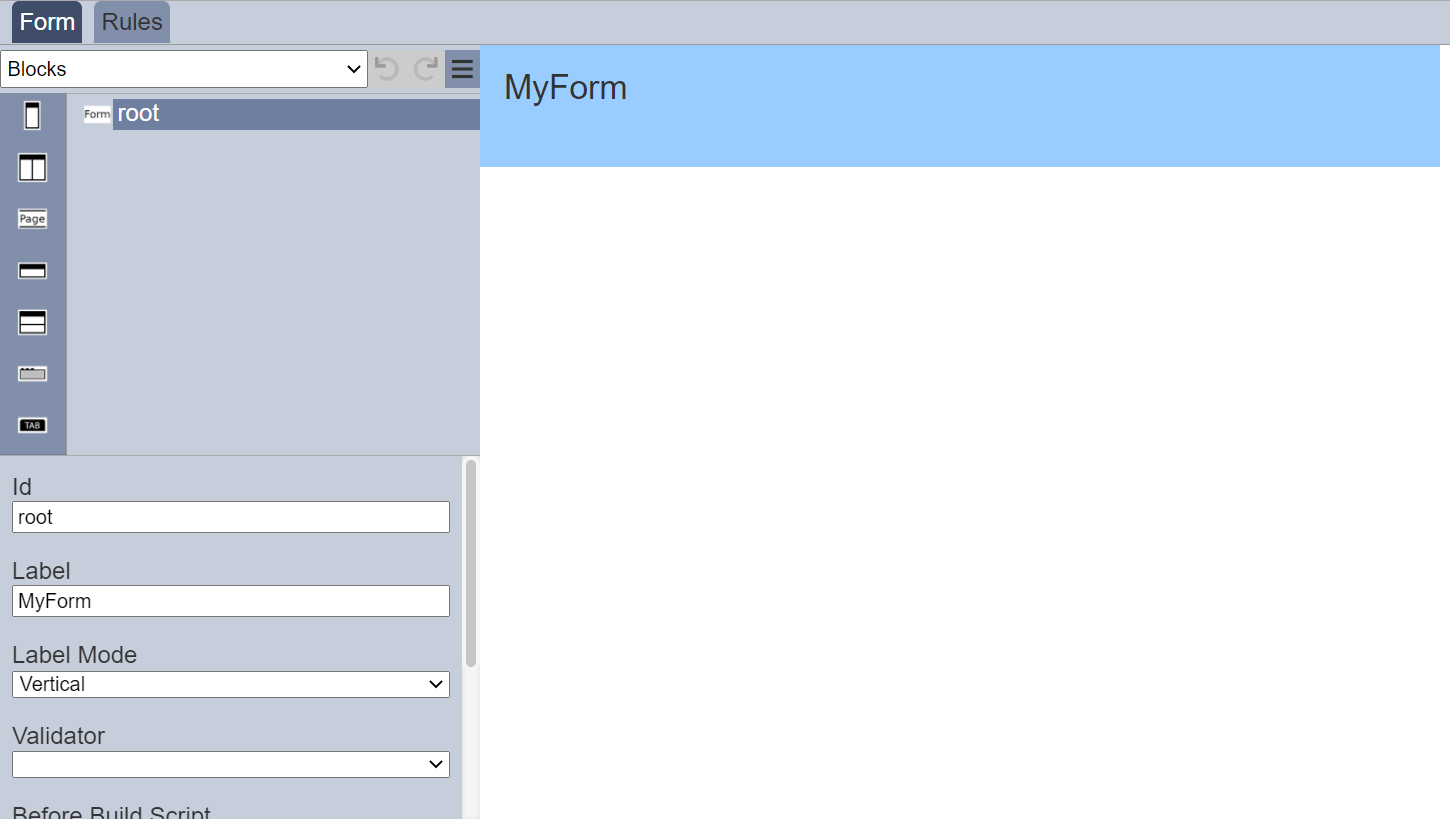
Refer to Form Designer for more details.
Do note that if an option is selected from the drop-down list for the “Workgroup” field at the top of the page, any form added to the management page will have the selected workgroup added to it. For example, if “Workgroup A” is selected, a new Form “Form-New” is added. “Form-New” will have “Workgroup A” added to its properties.
Bulk Actions
This function allows you to perform the same action on multiple forms.
To perform a bulk action, select one or more checkboxes next to desired forms. Click on the “Bulk Actions” button at the upper right corner of the page.
Select the desired action to perform from the list.
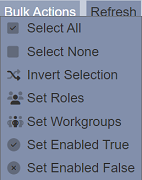
If no form is selected, only the first three options will appear, which allows you to either select all, select none or invert selection.
If the “Select Roles” or “Select Workgroups” option is selected, their respective dialog box will appear.
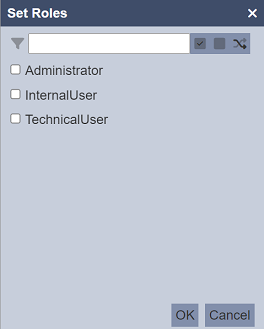
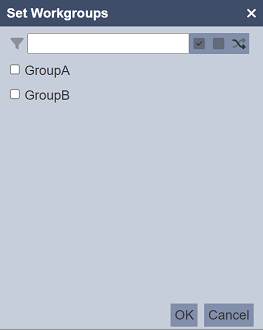
Select the desired roles or workgroups for the selected forms. Click on the “OK” button to set the roles/workgroups. You can use the search function at the top of the dialog box to search for the desired role/workgroup.
If the “Set Enable True” or “Set Enable False” option is selected, the selected forms will be enabled or disabled respectively.
Refresh
After performing actions on the browser/tab, the list is reloaded to display the list of forms. The manual “Refresh” button is available and is particularly useful if there are others making changes on the same page.
The “Refresh” button is found on the upper right corner of the page. Clicking on it reloads the list.
Upload
This function allows you to upload an existing form onto the Forms page.
To upload a form, click on the “Upload” button at the upper right corner of the page.
The “Upload Form” dialog box will appear.

Browse to the location of the form to be uploaded. The “Name” field uses the filename of the file selected by default. You can change the name as desired, then click on the “OK” button to upload the form. If the form already exist, an error message will appear.
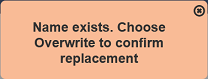
To overwrite an existing form, select the “Overwrite” field before clicking on the “OK” button.
Once the form is uploaded successfully, a notification will appear.

Edit
This function allows you to edit the properties of the form, such as name of the form, the roles that can access the form and to enable or disable the form.
To edit a form, click on the  “Edit” icon under the “Actions” column corresponding the desired form.

The “Edit” panel will appear.
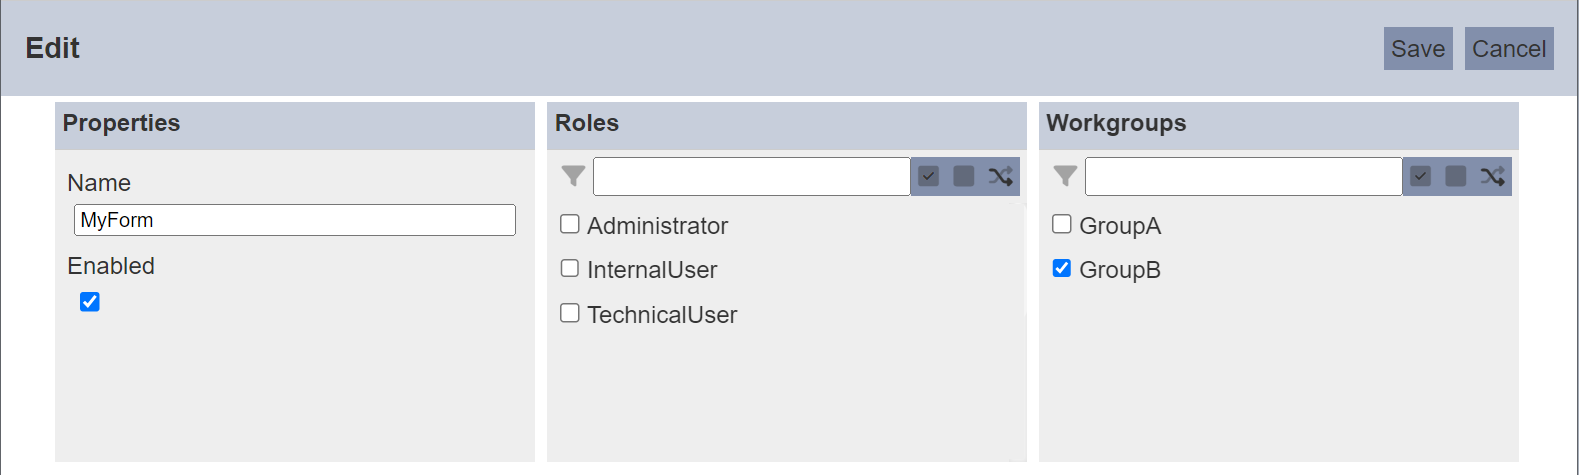
In the “Properties” section, you can change the name of the form. The name must be unique or an error message will appear. You can also enable or disable the form be selecting or de-selecting the “Enabled” field.
In the “Roles” section, you can select the roles that you wish to allow access to the form. Alternatively, you can search for the role by using the search function at the top of the section. There are options to select all, select none and invert selection by clicking on their respective icons next to the search function.
In the “Workgroups” section, you can select the workgroups that you wish to associate the form with. Alternatively, you can search for the workgroup by using the search function at the top of the section. There are options to select all, select none and invert selection by clicking on their respective icons next to the search function.
Do note that the available options that appear in the list, the user is either owner of the workgroups or is assigned a role listed in the workgroups. If the user is not the owner of any workgroup or not assigned any of the roles in a workgroup, no options will appear in the “Workgroups” section.
To save the changes, click on the “OK” button on the upper right corner of the panel. To abort the action, click on the “Cancel” button.
Open Form Designer
The Form Designer allows you to edit existing form.
To open the Form Designer, click on the  “Open” icon under the “Actions” column corresponding the desired form.
The “Form Designer” page will appear.
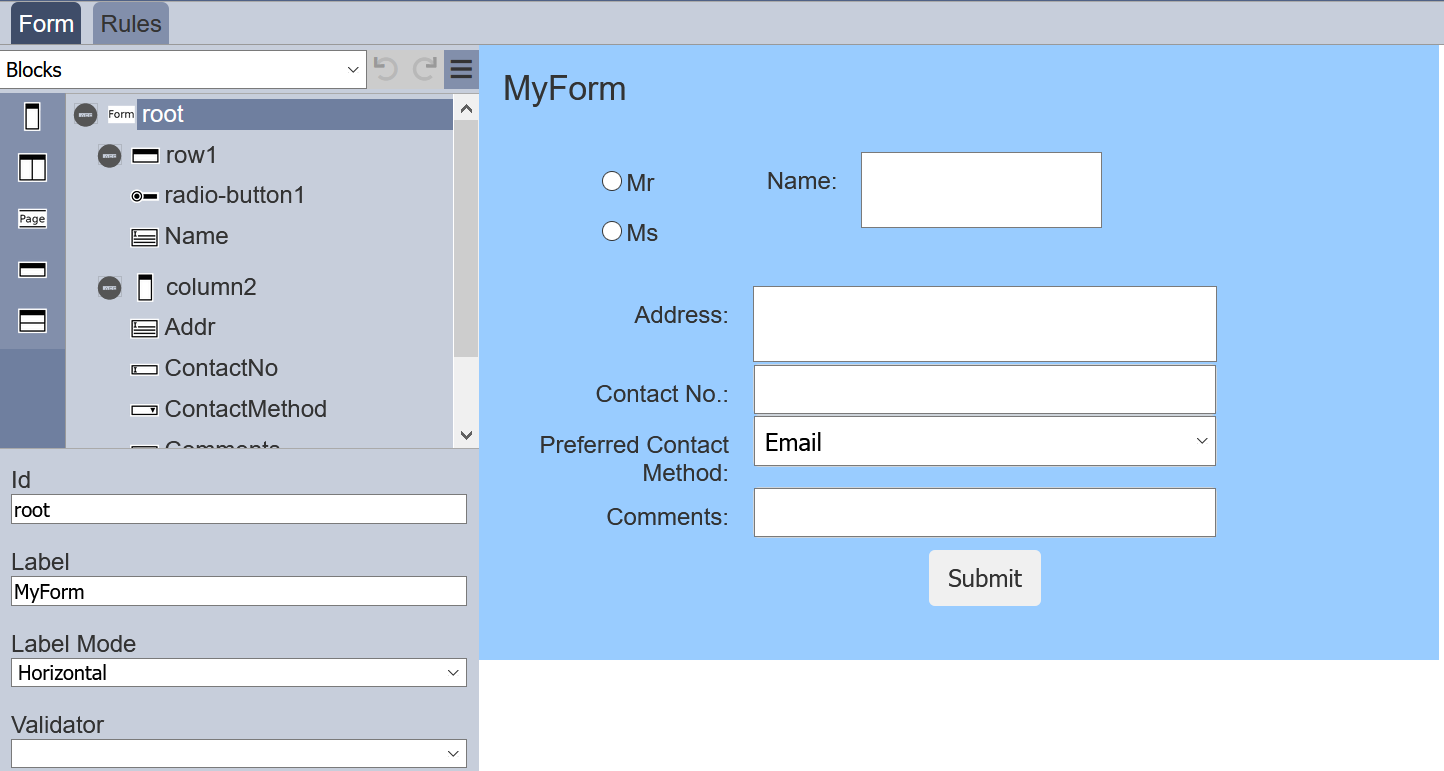
Refer to Form Designer for more details.
If the form has been disabled, you will not be able to open the form as the icon will be be available. You need to enable the form first.
Download
To download the form, click on the  “Download” icon under the “Actions” column corresponding to the desired form.
The downloaded form has the following filename format <filename>.form.json.
Delete
This function allows you to delete a form from the Forms page.
To do so, click on the  “Delete” icon under the “Actions” column corresponding the desired form.
There is an option to undo the deletion. A notification with an “Undo” button appears right after clicking on the “Delete” icon.
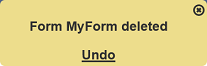
Upon clicking on the “Undo” button, the deleted form is restored and is added back to the list of forms. Do note that the notification will disappear after five seconds.
Workgroup
The “Workgroup” field at the top left corner of the page allows you to filter the forms associated with the selected workgroup.
Simply select the desired workgroup from the drop-down list and the forms associated with the selected workgroup will appear.

Do note that if there is no workgroup created in the Workgroup module, the “Workgroup” field will not appear.
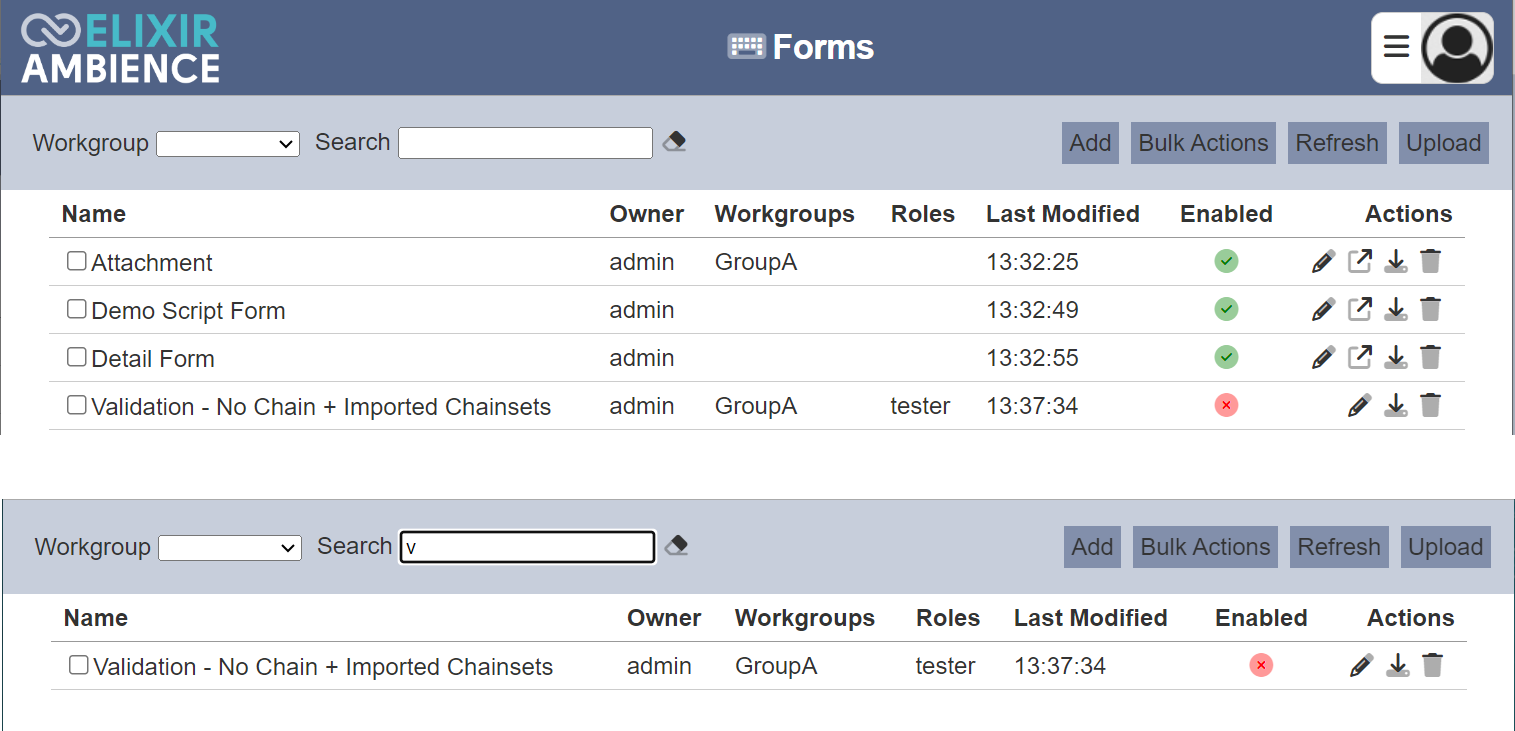
Search
There is a cross-field search function for the list of forms. It is located at the upper left corner of the page.

This provides an easy way to search through the forms. It is case-insensitive and displays forms that have the entered search value in any of the values of the fields below:
- Name
- Owner
- Roles
- Last Modified