
Setup Roles and Users
In the software, privileges are access rights to a particular module or functionality. A role is a set of privileges customized to perform a certain function. Roles or extra privileges are assigned to users. End-users will see roles but not privileges. The administrator can manage the users and roles using the following modules in the software:
-
Identities
-
Users
-
Roles
-
Privileges
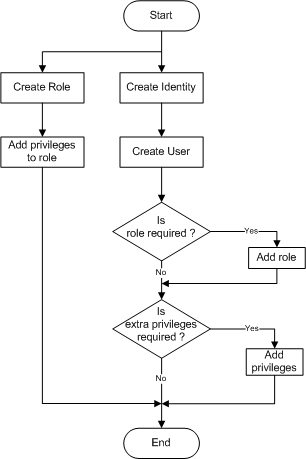
Below is the workflow for creating a user.
Privileges
The Privileges module provides a simple interface to manage privileges. Privileges are access rights to interface modules. By default, privileges used by all standard modules are listed. If there are custom modules, adding privileges used by those modules is to be done through this interface. Hence, most users will not need access to this module, except technical users and system administrators. Modules require certain privileges to be present, for example, mod-dashboard. If you delete mod-dashboard then nobody will be able to view dashboards. Therefore, it is not advisable to rename or delete any existing standard ones, only to create or manage new custom ones. Ambience modules will automatically recreate any required privileges when the server is next started. So, if a privilege is accidentally deleted (and too late to undo), you can recover by restarting the server. It is also a good idea to prefix custom modules with a unique prefix, for example, abc-custom-privilege, rather the use mod- to avoid clashes if future Ambience releases include new -mod- privileges. This module allows you to add, edit and delete privileges.
Add Privilege
Use the following steps to add a privilege:
-
Click on the
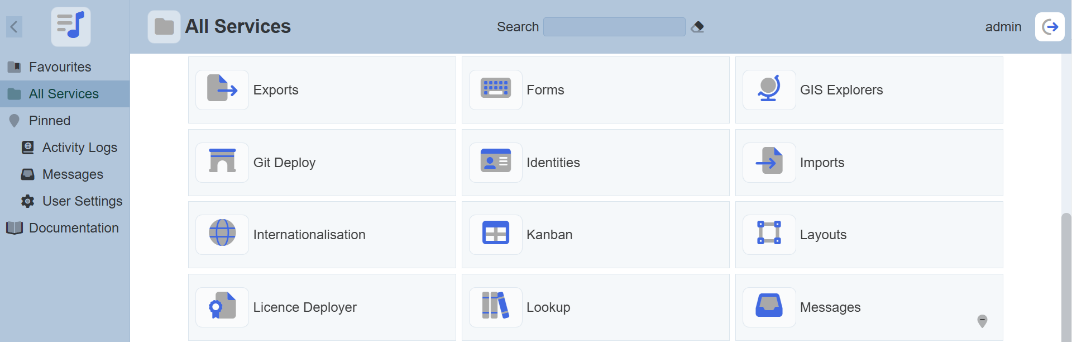
 “Elixir Ambience” icon on the upper left corner of the page and select “All Services”.
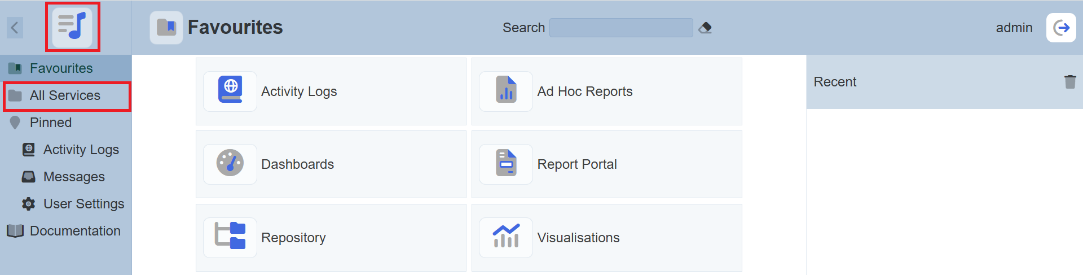
-
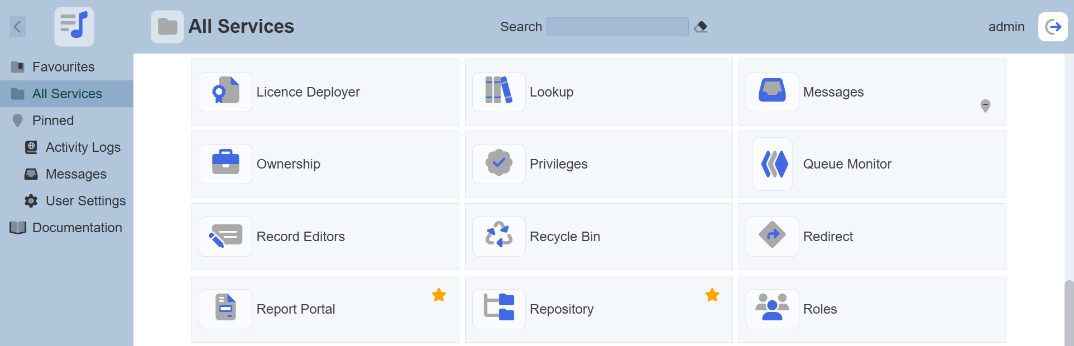
In the “All Services” page, select “Privileges” in the right panel.
-
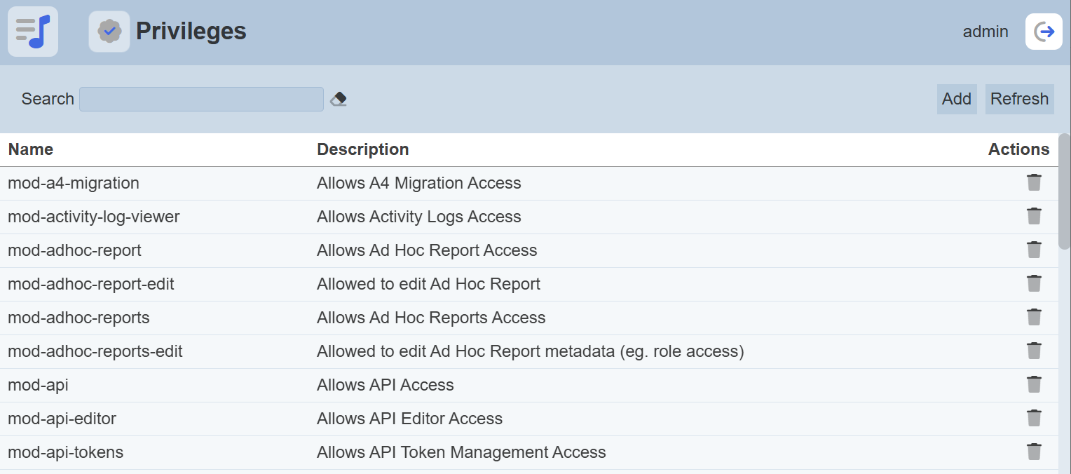
The “Privileges” page will appear.
-
Click on the “Add” button on the upper right corner of the page to add a new privilege.
-
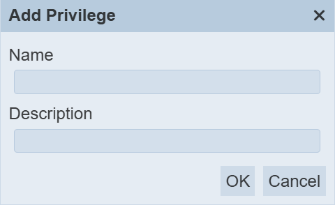
In the “Add Privilege” dialog box, key in the following:
-
“Name” field – Key in a unique name for the new privilege
-
“Description” field – Key in a brief description of the new privilege
-
-
Click on the “OK” button to add the new privilege.
Edit Privilege
Use the following steps to add a privilege:
-
In the “Privileges” page, click on the name of the privilege under the “Name” column.
-
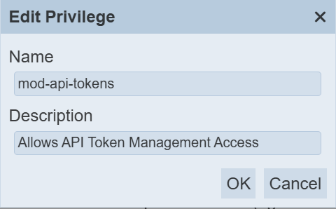
The “Edit Privilege” dialog box will appear.
-
Make the necessary change and click on the “OK” button to save the changes.
Delete Privilege
To delete a privilege, click on the  “Delete” icon under the “Actions” column corresponding to the desired privilege. There is an option to undo the deletion. A notification with an “Undo” button appears after clicking on the “Delete” icon.
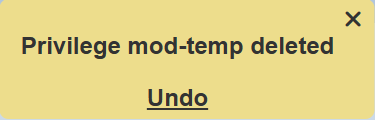
Upon clicking on the “Undo” button, the deleted user is restored and is added back to the list of privileges.
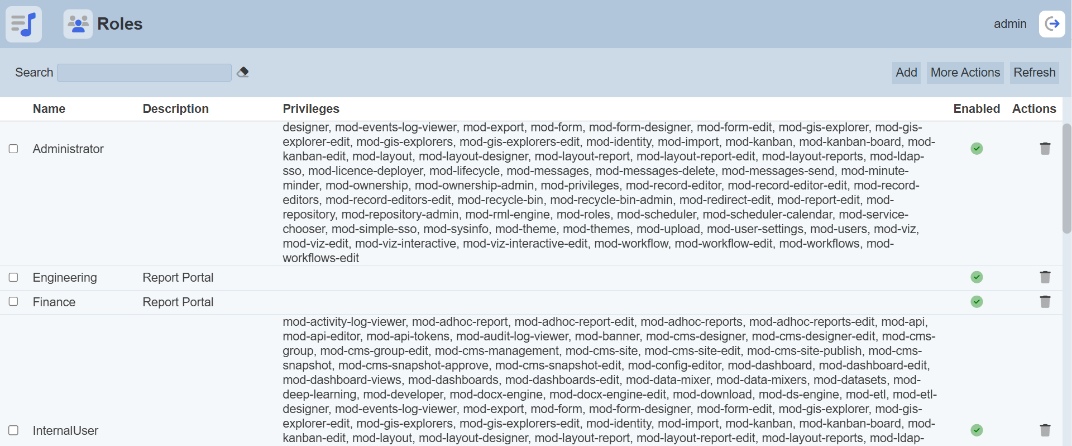
Roles
The Roles module provides a simple interface to manage user roles. Privileges or access rights to the different modules can be grouped together into roles. Adding a user to a role collectively grants the privileges to the said user. This is particularly useful and makes it easy to maintain when there are two or more users requiring the same set of privileges. The “Least Privilege” mindset should be considered from a server hardening point of view. It is best to define roles with the least privilege to do the job. For ease of setup and evaluation, the initial admin user is given all privileges, but this should be limited in any real-world deployment. However, ensure that one user does have permission to access Roles and Users modules, else it is possible to “lock yourself out” when nobody has sufficient privilege to configure roles. This module allows you to add, edit and delete roles.
Add Role
Use the following steps to add a new role:
-
Click on the
“Elixir Ambience” icon on the upper left corner of the page and select the “All Services”. -
In the “All Services” page, select “Roles” in the right panel.
-
The “Roles” page will appear.
-
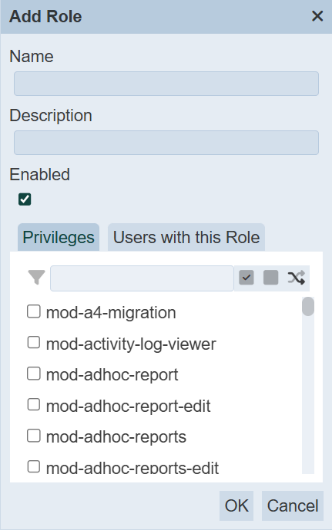
Click on the “Add” button on the upper right corner of the page to add a new role. The “Add Role” dialog box will appear.
-
In the dialog box, key in and select the following:
-
“Name” field – Key in a unique name for the new role
-
“Description” field – Key in a brief description for the new role
-
“Privileges” tab – Selects the desired privileges for the new role
-
“Users with this Role” tab – Selects the desired users for the new role
-
-
In the two tabs, you can use the search function at the top of each respectively section to search for the desired privilege or users. You can also use the “Select All”, “Select None” and the “Invert Selection” icons to aid your selection.
-
Click on the “OK” button to add the new role.
Edit Role
Use the following steps to edit a role:
-
In the “Roles” page, click on the name of the role to edit under the “Name” column.
-
The “Edit Role” dialog box will appear.

-
Make the necessary changes and click on the “OK” button to save the changes.
Delete Role
To delete a role, click on the “Delete” icon under the “Actions” column corresponding to the desired role. There is an option to undo the deletion. A notification with an “Undo” button appears right after clicking on the “Delete” icon.
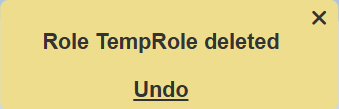
Upon clicking on the “Undo” button, the deleted user is restored and is added back to the list of roles.
Identity
People need to be identified (authenticated) before they can be authorised to use all the different modules in the software suite. If you already have an authentication system, such as an SSO, LDAP or Active Directory, then it is possible to use that as the authentication mechanism. However, if you do not have a mechanism, or want to keep the software separate, an identity module is provided which handles the authentication part of the login process. This identity management system is built upon OAuth2, which is what makes it possible to plug in alternate authentication providers. The Identities module provides a simple mechanism for authentication (determining who is logging in). The Users module provides the corresponding mechanism for authorisation (determining what each authenticated user can access). The Identities module provides a simple interface to manage user identities. Once the user identity has been created, it can be assigned roles and privileges through the Users module. The functions of the Identities module are:
-
Add identity
-
Upload a list of identities
-
Enable/disable identity
-
Edit details of identity
-
Reset password of an identity
Add Identity
Use the following steps to add an identity:
-
Click on the
“Elixir Ambience” icon on the upper left corner of the page and select the “All Services”. -
In the “Service Chooser” page, select “Identities” in the right panel.
-
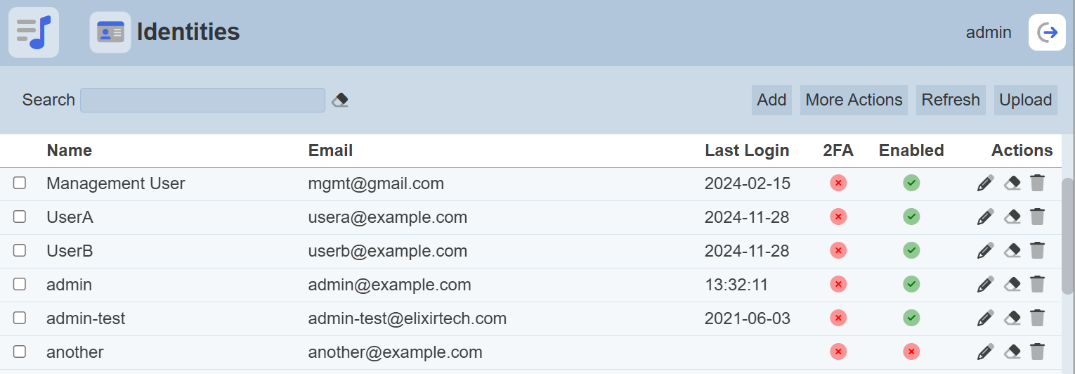
The “Identities” page will appear.
-
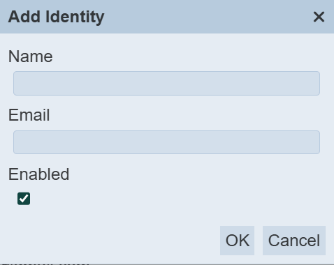
To add a new identity, click on the “Add” button at the upper right corner of the page. The “Add Identity” dialog box will appear.
-
In the dialog box, key in the following:
-
“Name” field – Key in a unique name
-
“Email” field – Key in an email of the new identity
-
“Enabled” field – Ensure it is selected
-
-
Click on the “OK” button to add the new identity.
Upload Identity
Instead of adding users one at a time, you can upload a list of users using a file. Use the following steps to upload identities:
-
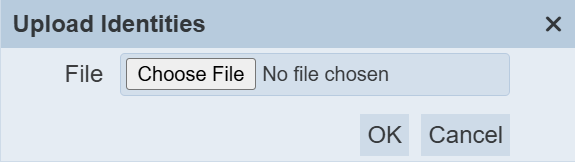
In the “Identities” page, click on the “Upload” button at the upper right corner of the page.
-
The “Upload Identities” dialog box will appear.
-
Browse to the location of the desired file and click on the “OK” button.
-
Upon successfully uploading, a notification will appear.

-
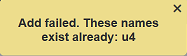
If there is any conflict during uploading, for example, identity already exist, an error message will appear and the action will be aborted.
Edit Identity
The “Edit” function allows you to change the details of the identity. Use the following steps to edit an identity:
-
In the “Identities” page, click on the name of the identity to edit under the “Name” column.
-
The “Edit Identity” dialog box will appear.

-
Make the necessary changes to the identity. You can also enable or disable the identity in this dialog box.
-
Click on the “OK” button to save the changes.
Delete Identity
You can remove a user from Ambience software by clicking on the “Delete” icon under the “Actions” column corresponding to the desired user. There is an option to undo the deletion. A notification with an “Undo” button appears right after clicking on the “Delete” icon.
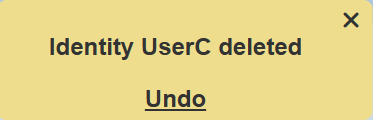
Upon clicking on the “Undo” button, the deleted user is restored and is added back to the list of users.
Reset Password
There are two ways to reset a user password. One is during login and the other using the Identities module. Use the following steps to reset password using login:
-
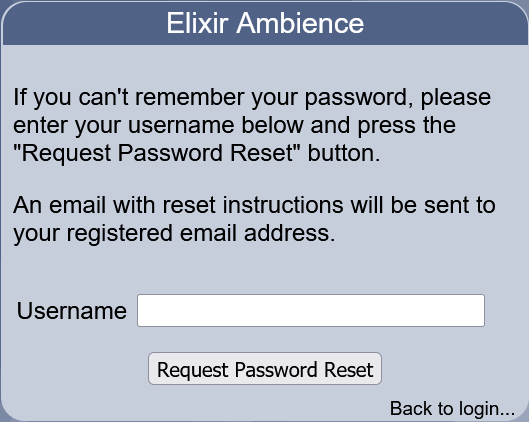
In the login dialog box, click on the “Can’t access your account?” link at the bottom right of the dialog box.

-
Key in the user name and click on the “Request Password Reset” button. To abort the action, click on the “Back to login…” link at the bottom right.
-
A notification will appear notifying the user of the change.

Use the following steps to reset password using Identities module:
-
In the “Identities” page, click on the
 “Reset Password” icon under the “Actions” column corresponding to the desired identity.
 -
A notification will appear to inform you that the password has been reset.
-
If the email server has been set up, an email will be sent to the user notifying them of the password reset and supplying them with the new randomly generated password.
When the user logs in with the randomly generated password, they will be forced to change the password immediately. This can be disabled by editing the setting in the Ambience “etc” folder, in the application.conf file.
elixir.Identity {
...
on-reset {
changePassword = false
}
}
Reset 2FA
If 2FA has been enabled and setup in the software, you can reset the 2FA of a user using the Identity module by clicking on the  “Reset 2FA” icon under the “Actions” column corresponding to the desired user. There is no undo for this action. The user will need to set up the 2FA again.
User
The Users module provides a simple interface to manage user authorization. Privileges or access rights to the different modules can be granted to a user in several ways:
-
Adding the user to a role that has those privileges
-
Adding those privileges directly to the user’s set of extra privileges
-
Both of the mentioned options
Privileges added through roles and extra privileges are both read in. For instance, if a user’s role only has the mod-dashboard privilege but the user has the mod-dashboard-edit privilege as an extra privilege, the user would benefit from both privileges. Users must be added through this module first before privileges can be granted. Suspending user access can also be done by disabling users. This action can easily be undone by enabling disabled users. Another option for assigning roles to existing users is to use the Roles module. There is no difference in the effect of role assignments between assigning roles to users through the Users module and assigning users to roles through the Roles module. The authentication (or login process) is managed separately (e.g. Identities module or externally). The name assigned to the user through the Users module should match the username used by the authentication mechanism to be able to successfully authorize the user. The functions of the Users module are:
-
Add user
-
Edit user
-
Change user’s name
-
Enable/disable user
-
Add/remove role
-
Add/remove extra privilege
-
Delete user
Add User
Use the following steps to add a user:
-
Click on the
“Elixir Ambience” icon on the upper left corner of the page and select the “All Services”. -
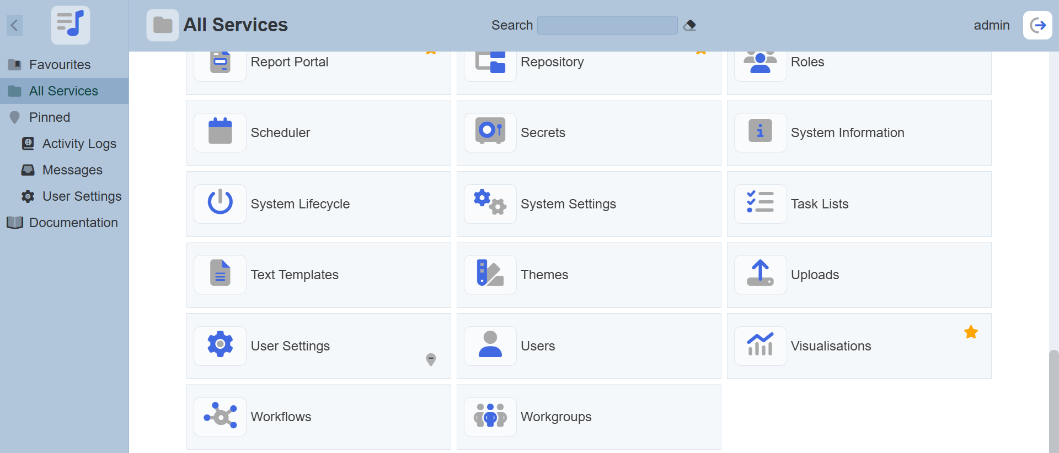
In the “Service Chooser” page, select “Users” in the right panel.
-
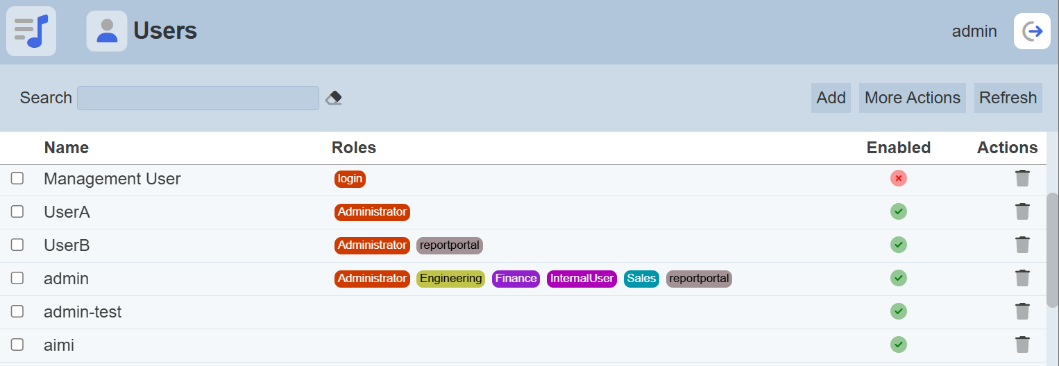
The “Users” page will appear.
-
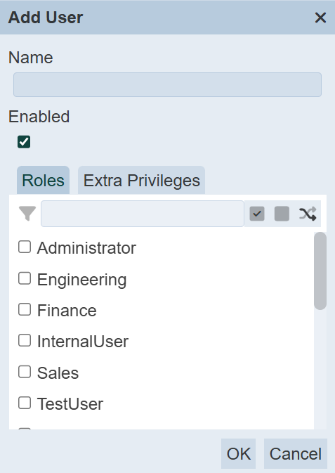
In the “Users” page, click on the “Add” button on the upper right corner of the page. The “Add User” dialog box will appear.
-
In the dialog box, key in and select the following:
-
“Name” field – Key in the username created in the Identities module
-
“Enabled” field – Ensure this field is selected
-
“Roles” tab – Selects the appropriate role(s)
-
“Extra Privileges” tab – Selects the appropriate privilege(s)
By assigning a particular role(s) to the user, the user will inherit all the privileges assigned to the role. If there is any privilege that the user requires but does not fall in the role assigned to the user, the administrator can add extra privileges to the user by using the “Extra Privileges” field. Use this sparingly.
-
-
In the two tabs, you can use the search function at the top of each respectively section to search for the desired privilege or users. You can also use the “Select All”, “Select None” and the “Invert Selection” icons to aid your selection.
-
The newly created user will be listed in the “Users” page.
-
If the email server has been set up, an email will be sent to the new user with a randomly generated password. The new user will need to change the password upon login.
If the email server has not been set up, the random password can be found in a text file in the “/mail” folder in the root directory.
Edit User
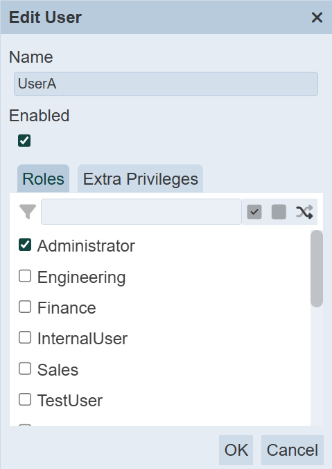
The administrator can edit the roles and privileges assigned to the user. Use the following steps to edit users:
-
In the “Users” page, click on the name of the user to edit under the “Name” column.
-
The “Edit User” dialog box will appear.
-
Make the necessary changes and click on the “OK” button.
Delete User
You can remove a user from the software by clicking on the “Delete” icon under the “Actions” column corresponding to the desired user. There is an option to undo the deletion. A notification with an “Undo” button appears right after clicking on the “Delete” icon.
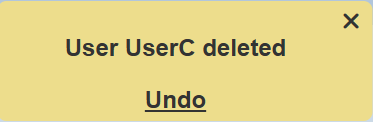
Upon clicking on the “Undo” button, the deleted user is restored and is added back to the list of users.
Change Password
Normal users will be prompted to change password on their first log in.

In the “Change Password” section, key in the old password and key in the new password twice. Hit the “Request Password Change” button. A verification panel will appear to request the user to key in the validation code.
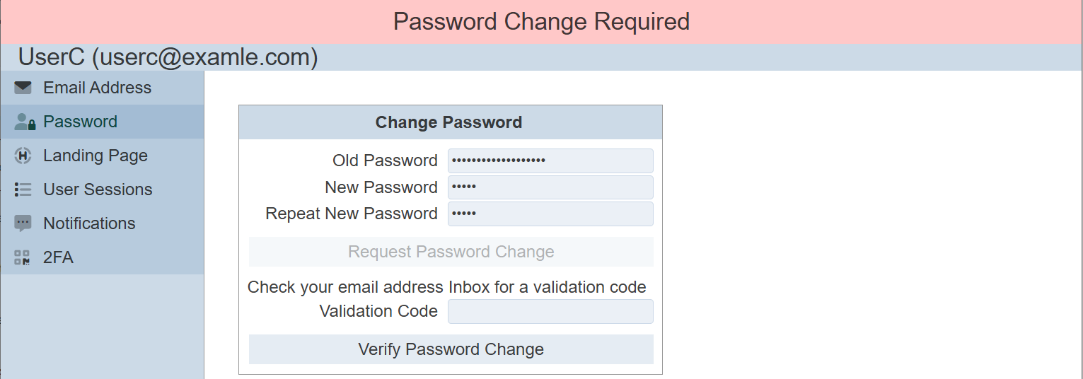
A validation code will be sent to the user’s email upon successful change password request. Key in the validation code and click on the “Verify Password Change” button. A message will appear to inform the user that the password change is successful.
After reloading, the Service Chooser page will appear. Two things to note:
-
If the “mod-no-force-password-change” privilege is granted to the user, the user does not need to change the password. Thus the “Change Password Required” screen will not appear when the user log in for the first time.
-
The validation code sent via email can be turned off in the “application.conf” file. This means that the password will be changed with no further verification when the user changes their password. Refer to Application Config File Guide for more information.