
Create ETL
The ETL module enables writing powerful and versatile high-level functions that can be used for various purposes including but not limited to:
-
ETL (extract, transform, load) for preparing and enriching data
-
Log monitoring
-
Report generation
-
Maintenance or cleanup
-
Sending notifications
-
Making external API calls
A record or item in the ETL interface is called a chainset. Each chainset can contain as many chains as desired. Each chain is made up of a set of steps. These steps are the building blocks in the ETL module. The ETL module allows you to perform the following:
-
Add ETL
-
Upload ETL
-
Delete ETL
-
Edit ETL
-
Open ETL Designer
-
Download ETL
Simple Calculation ETL
Below is an example of creating a very simple calculation ETL.
-
Click on the
 “Elixir Ambience” logo and select the “All Services” option in the left panel, then select “ETL” in the right panel.
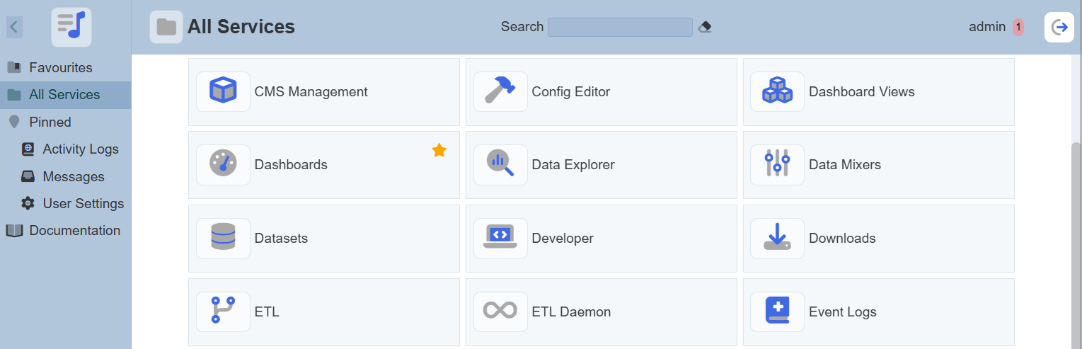
-
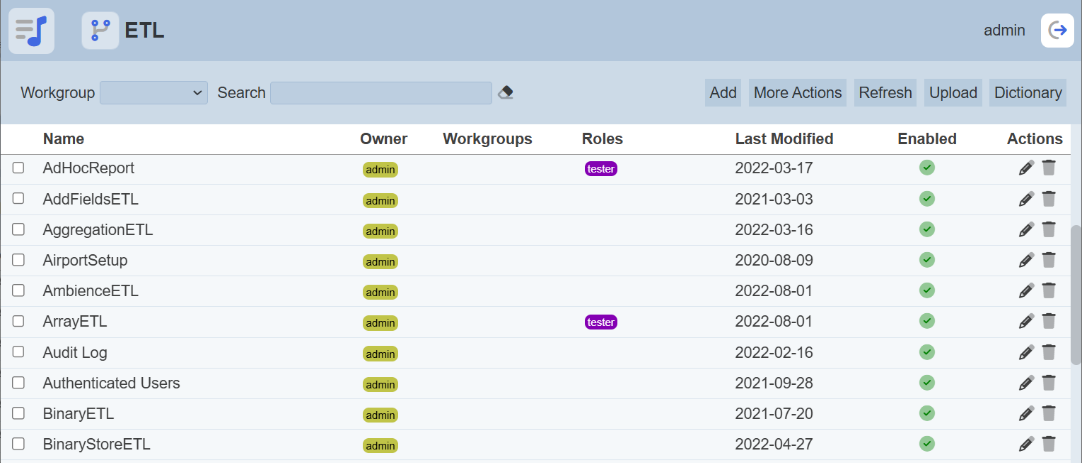
The ETL page will appear.
-
In the ETL page, click on the “Add” button on the upper right corner of the page. A dialog box will appear.
-
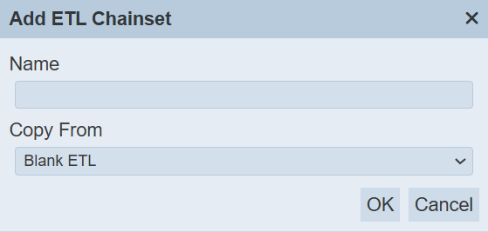
In the dialog box, key in and select the following:
-
“Name” field – Key in a name for the new ETL
-
“Copy From” field – Selects an existing ETL from drop-down list or a blank ETL (in this example, select “Blank ETL”)
-
-
Click on the “OK” button to save the changes.
-
The ETL Designer page appears.

-
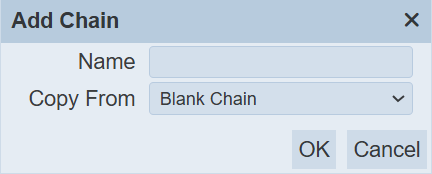
In “Chains” section, click on the “+” icon. The “Add” dialog box will appear.
-
In the dialog box, key in and select the following:
-
“Name” Field – Key in a name for the new chain
-
“Copy From” field – Selects an existing chain from the drop-down list or a blank chain (in this example, select “Blank Chain”)
-
-
Click on the “OK” button to save the changes. A message will appear upon successful saving the ETL.

-
In this example, two steps are required:
a. First step – Adds two JSON records
b. Second step – Creates a total by multiplying two fields in the JSON record
-
Add steps:
a. In the “Steps” section, click on the “+” icon. The “Add Step” dialog box will appear.
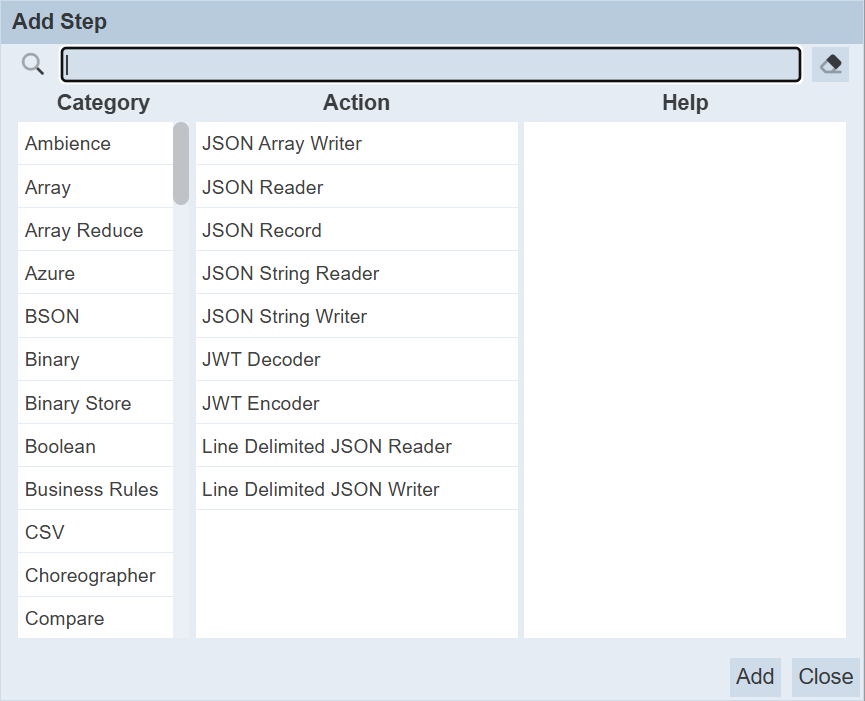
b. In the “Category” section, select “JSON”. The list of available actions will appear in the “Action” section. From the list of actions, select “JSON Record”.
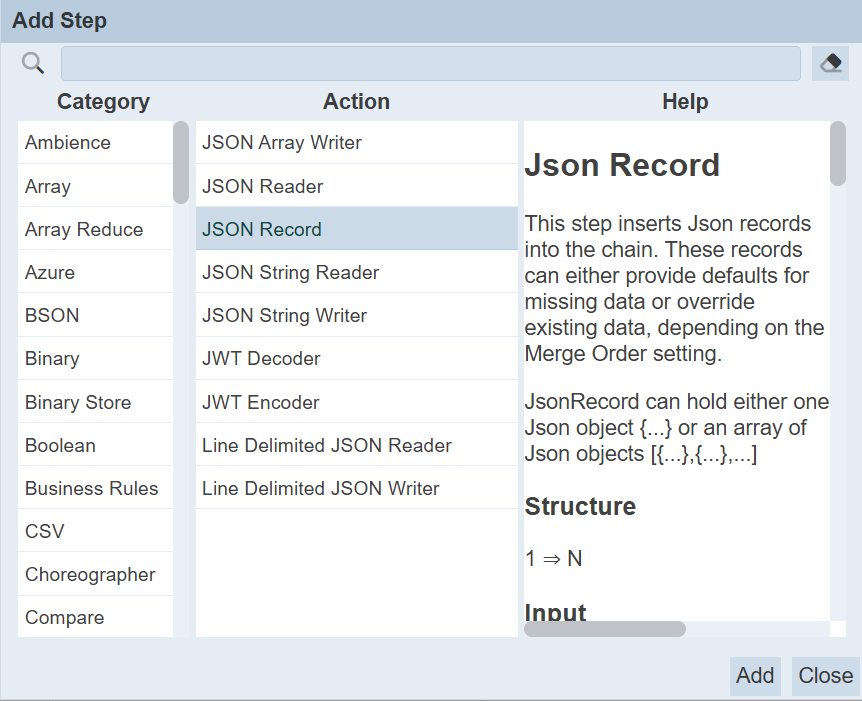
c. Click on the “Add” button to add the step. The new step is added in the background.
d. In the “Category” section, select “Decimal”, then select “Decimal Multiply Field” in the “Action” section.
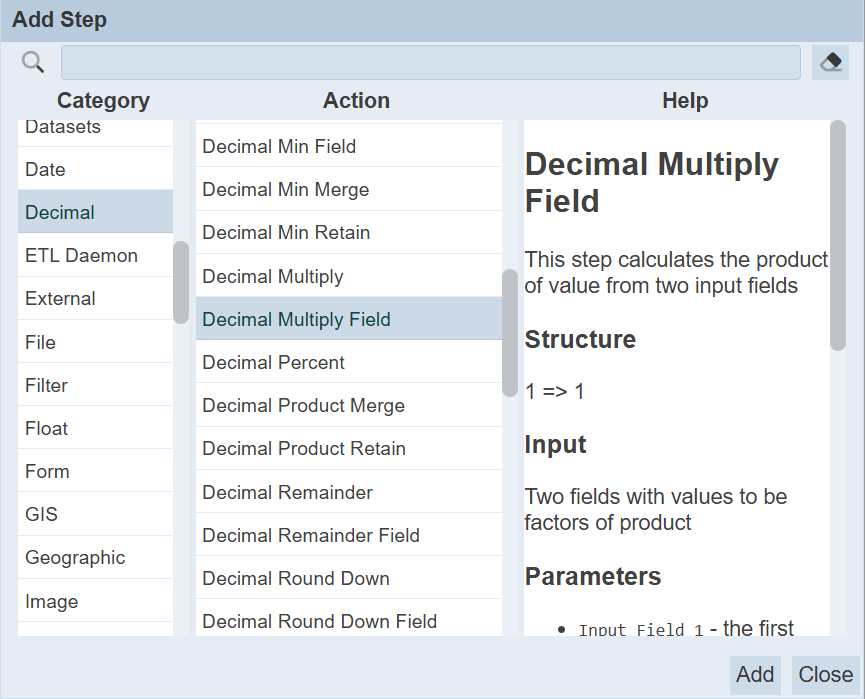
e. Click on the “Add” button to add the step. The new step is added in the background.
f. Click on the “Close” button to close the dialog box. Another dialog box “Edit Step” will appear.
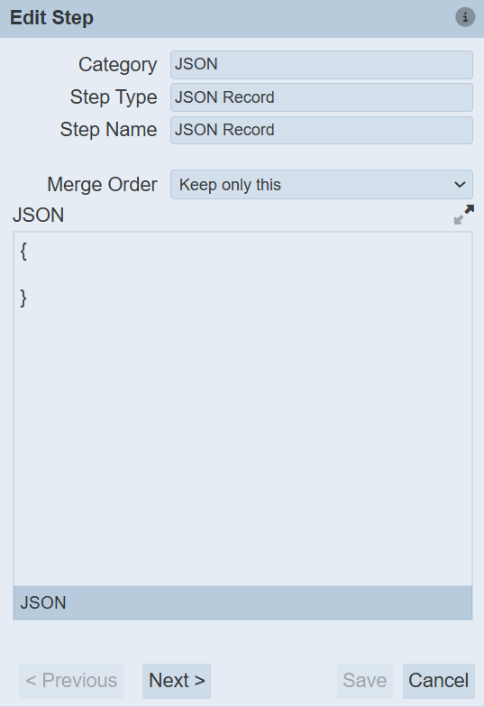
g. In the “JSON” section, key in the following:
[
{
"fruit" : "Apple",
"unit" : 10,
"cost" : 2
},
{
"fruit" : "Orange",
"unit" : 8,
"cost" : 5
}
]
h. Click on the “Next” button to go to the second ETL step.
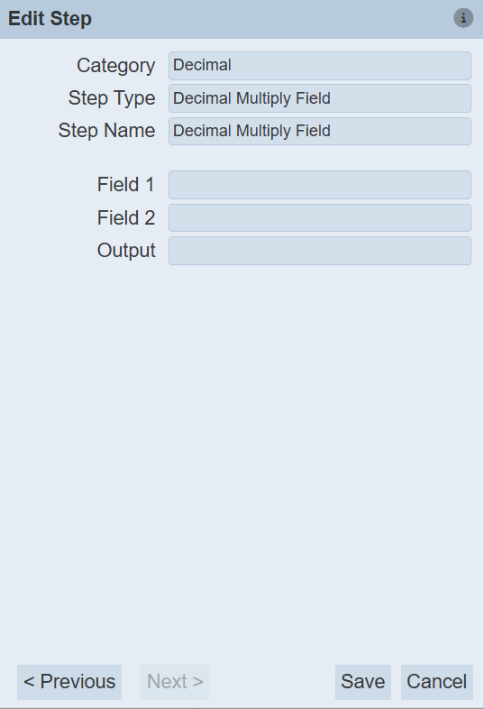
i. In the “Edit Step” dialog box, key in the following:
- "Field 1" field -- Key in "unit"

- "Field 2" field -- Key in "cost"

- "Output" field -- Key in "total"
j. Click on the “Save” button to save the step.
k. You can edit the step by clicking on the
 “Edit” icon. The “Edit Step” dialog box will appear.
In the "Edit Step" dialog box, you can switch between the first and second step by clicking on the "Previous" and "Next" buttons at the lower left corner of the dialog box. -
The first and second steps are now added to the chain.

-
To run the steps, select “Decimal Multiply Field” to display the available action icons next to it.

-
Click on the
 “Run to Step” icon of the last step to run the steps. By selecting the last step, you will run both steps sequentially. Or, you can select and run the steps individually and sequentially.
Another way is to click on the
 “Run Steps” icon to run all the steps in the chain.
 -
The outputs are displayed in the “Results” sections. The field “total” is added and it is the result of “unit” multiply by “cost”.

-
If you do not want to display “unit” and “cost” in “Results”, you can add another step to the chain to remove them.
a. In the “Steps” section, click on the “+” to add a new step.
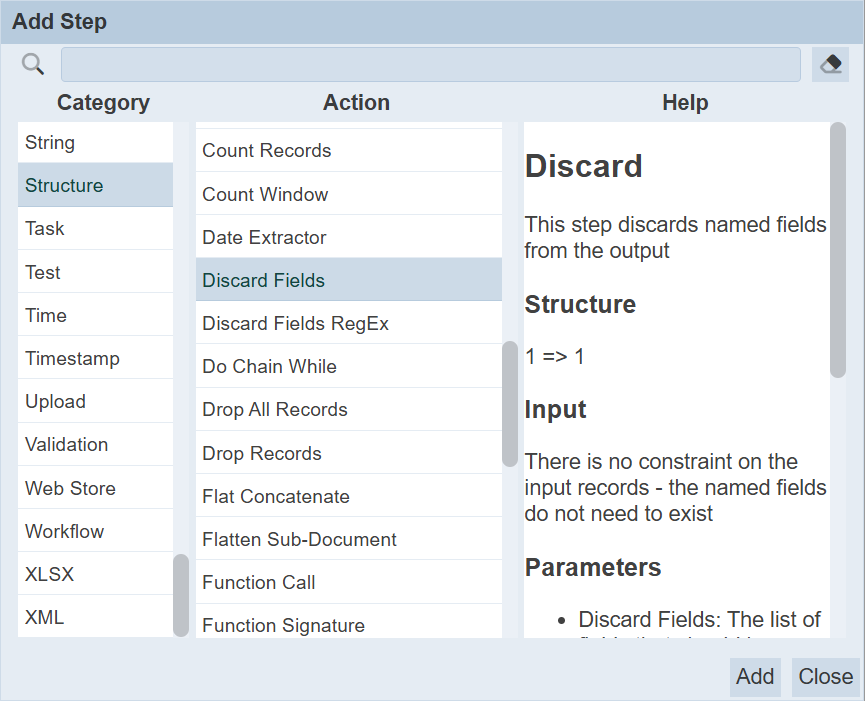
b. In the “Add Step” dialog box, select “Structure”, then select “Discard Fields”.
c. Click on the “Add” button to add the new step, then click on the “Close” button to close the dialog box. The “Edit Step” dialog box will appear.
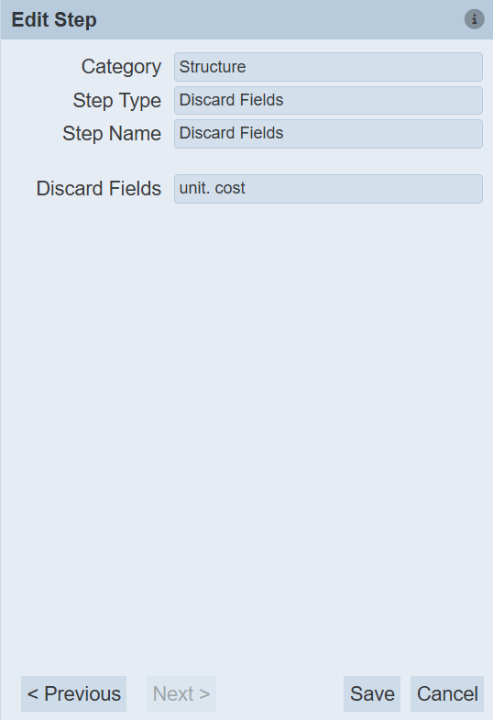
d. In the “Edit Step” dialog box, key in “unit, cost” into the “Discard Fields” field.
e. Click on the “Save” button to save the changes.
f. Select the newly added step and click on the
“Run Steps” icon. The result now displays the “total” field. 
MongoDB Read ETL
Below is an example of reading data from MongoDB.
-
Click on the
“Elixir Ambience” logo and select the “All Services” option in the left panel, then select “ETL” in the right panel. -
The “ETL” page will appear.
-
In the “ETL” page, click on the “Add” button on the upper right corner of the page. A “Create ETL” dialog box will appear.
-
In the dialog box, key in and select the following:
-
“Name” field – Key in a name for the new ETL
-
“Copy From” field – Selects an existing ETL from drop-down list or a blank ETL (in this example, select “Blank ETL”)
-
-
Click on the “OK” button to save the changes.
-
The ETL Designer page appears.
-
In “Chains” section, click on the “+” icon. The “Add” dialog box will appear.
-
In the dialog box, key in and select the following:
-
“Name” Field – Key in a name for the new chain
-
“Copy From” field – Selects an existing chain from the drop-down list or a blank chain (in this example, select “Blank Chain”)
-
-
Click on the “OK” button to save the changes. A message will appear upon successful saving the ETL.
-
In this example, two steps are required:
a. First step – Defines MongoDB
b. Second step – Read from MongoDB
-
Add steps:
a. In the “Steps” section, click on the “+” icon. The “Add Step” dialog box will appear.
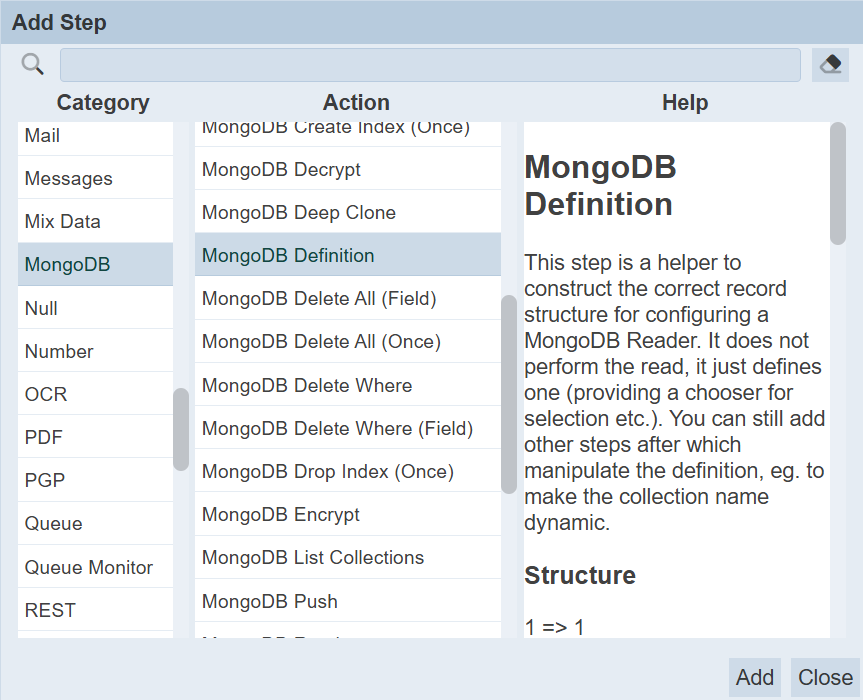
b. In the “Category” section, select “MongoDB”, then select “MongoDB Definition” in the “Action” section.
c. Click on the “Add” button to add the step. The new step is added in the background.
d. In the “Category” section, select “MongoDB”, then select “MongoDB Reader” in the “Action” section.
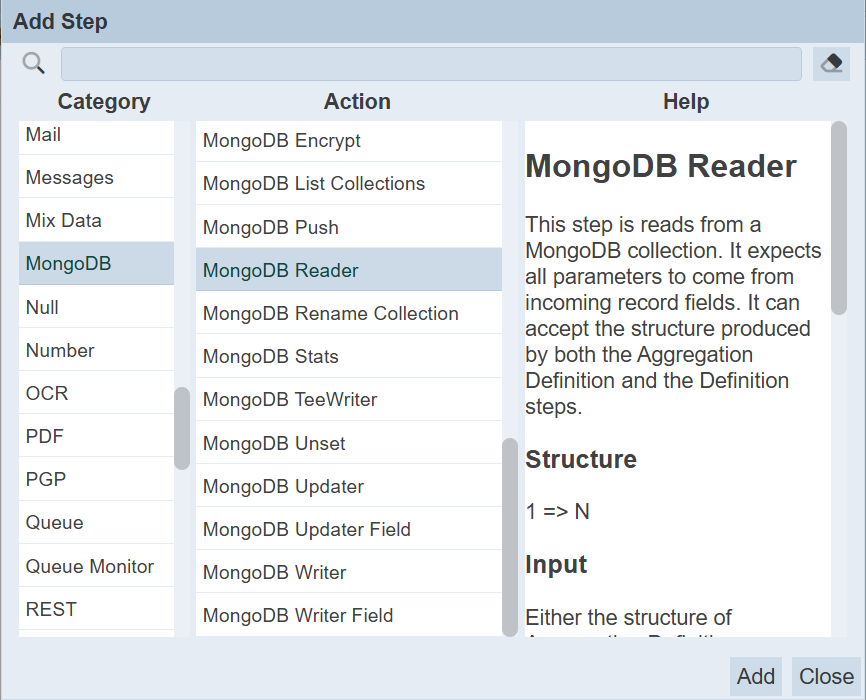
e. Click on the “Add” button to add the step. Click on the “Close” button to close the dialog box. Another dialog box “Edit Step” will appear.
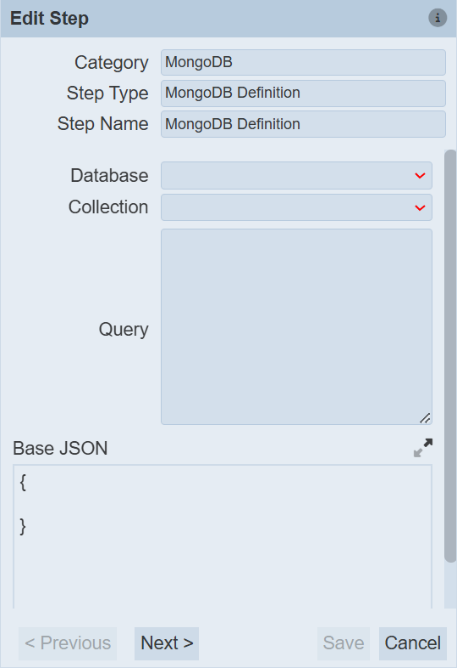
f. In the “Edit Step” dialog box, select the appropriate database and collection.
g. Click on the “Next” button to go to the second step.
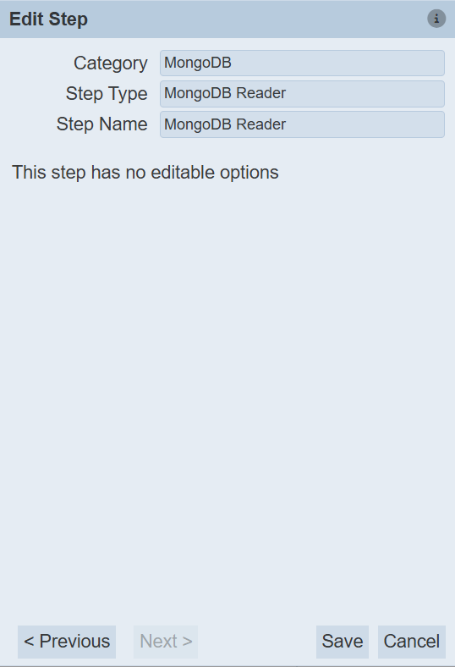
h. There are no editable options in this step. Click on the “Save” button to exit the dialog box.
-
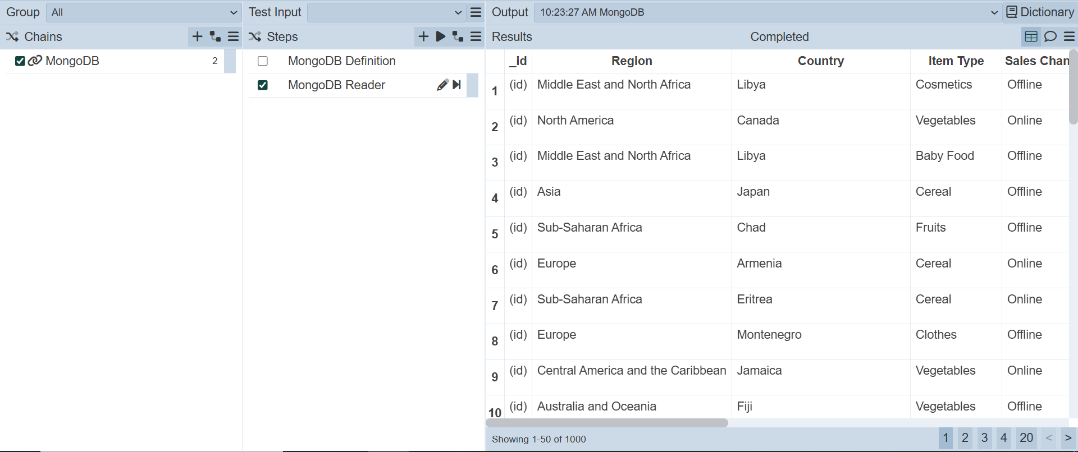
The first and second steps are now added to the chain.
-
To run the steps, click on the
“Run Steps” icon.
-
Alternatively, click on the
“Run to Step” icon of the last step to run the steps. By selecting the last step, you will run both steps sequentially. Or you can select and run the steps individually and sequentially. -
The outputs are displayed in the Results" sections.
Scheduler ETL
Ambience allows user to scheduler jobs for generating reports for example. It will be useful if an alert can be generated to inform the user that the scheduled job has been triggered. You can create an ETL to send an alert to the desired user(s). This ETL will be used in conjunction with the Scheduler in Ambience to perform the above function. This alert can be in two forms:
-
Via email
-
Via message to the Messages module to users within Ambience
Via Email
This method allows you to send an alert to any users, as long as their email addresses are defined in the step. Use the following steps to create a scheduler ETL via email:
-
Click on the
“Elixir Ambience” logo and select the “All Services” option in the left panel, then select “ETL” in the right panel. -
The “ETL” page will appear.
-
In the “ETL” page, click on the “Add” button on the upper right corner of the page. A “Create ETL” dialog box will appear.
-
In the dialog box, key in and select the following:
-
“Name” field – Key in a name for the new ETL
-
“Copy From” field – Selects an existing ETL from drop-down list or a blank ETL (in this example, select “Blank ETL”)
-
-
Click on the “OK” button to save the changes.
-
The ETL Designer page appears.
-
In “Chains” section, click on the “+” icon. The “Add” dialog box will appear.
-
In the dialog box, key in and select the following:
-
“Name” Field – Key in a name for the new chain
-
“Copy From” field – Selects an existing chain from the drop-down list or a blank chain (in this example, select “Blank Chain”)
-
-
Click on the “OK” button to save the changes. A message will appear upon successful saving the ETL.
-
For the via email method, two steps are required:
a. First step – Compose Mail
b. Second step – Send Mail
-
Add steps:
a. In the “Steps” section, click on the “+” icon. The “Add Step” dialog box will appear.
b. In the “Category” section, select “Mail”, then select “Compose Mail” in the “Action” section.
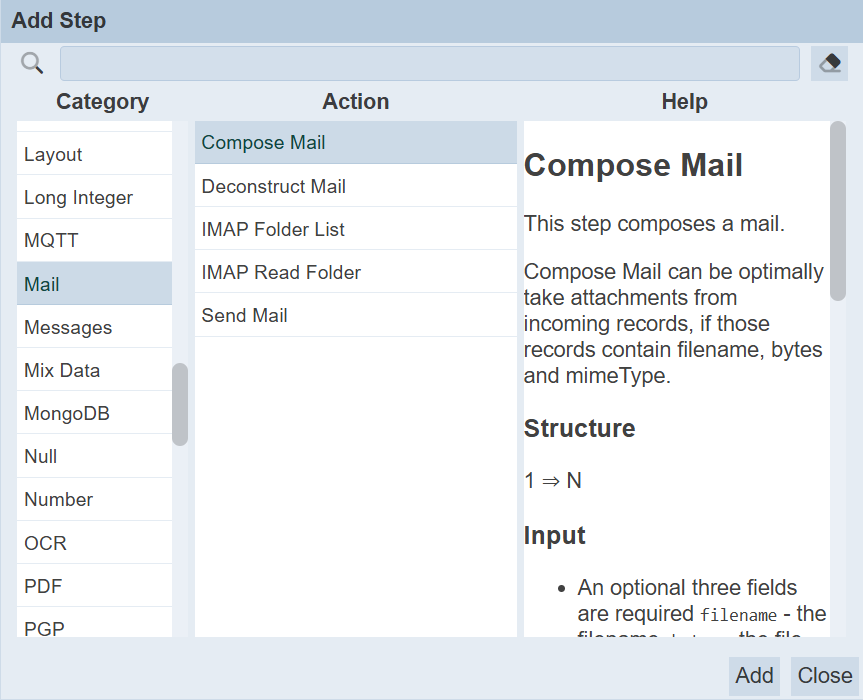
c. Click on the “Add” button to add the step. The new step is added in the background.
d. In the same “Category” section, select “Mail”, then select “Send Mail” in the “Action” section.
e. Click on the “Add” button to add the step. The new step is added in the background.
f. Click on the “Close” button to close the dialog box.
-
The “Edit Step” dialog box will appear. This “Edit Step” is for the first step “Compose Mail”.
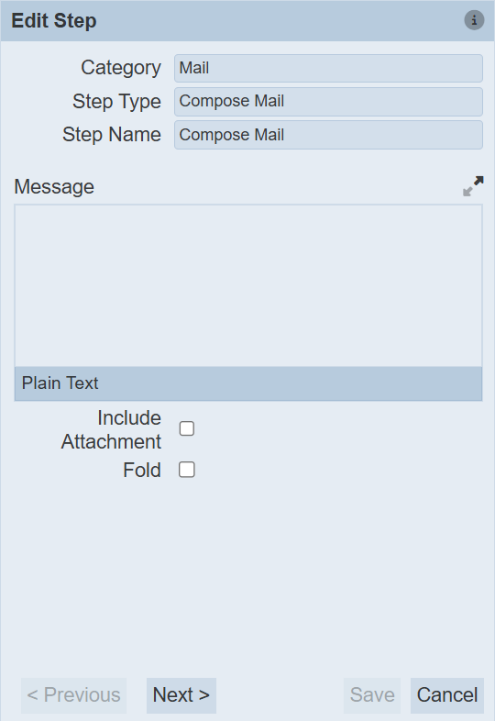
-
In the “Edit Step” dialog box, key in appropriate message for the email. You can also opt to include attachment.
-
Click on the “Next” button on the lower left corner of the dialog box to display the “Edit Step” for the second step.

-
In the dialog box, key in the appropriate email addresses and subject in the respective fields.
-
Click on the “Save” button to save the edits.
Via Message
This method sends an alert via message to the Message module to users within Ambience. Use the following steps:
-
Follow steps 1 to 8 from the Section 2.5.3.1 Via Email.
-
In the “Steps” section, click on the “+” icon. The “Add Step” dialog box will appear.
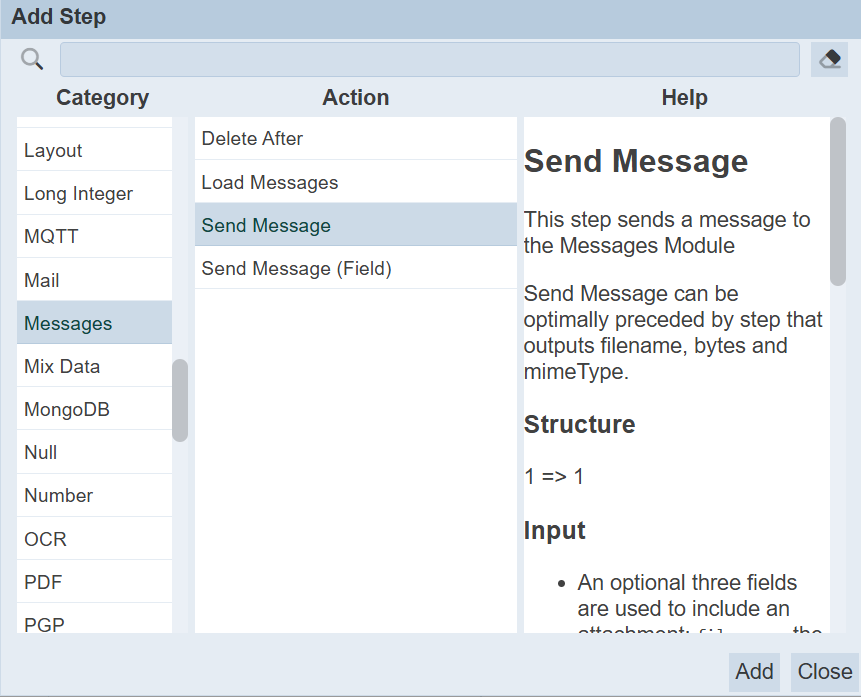
-
In the “Category” section, select “Messages”, then select “Send Message”.
-
Click on the “OK” button to save the step. The new step is added in the background. Click on the “Close” button. The “Edit Step” dialog box will appear.
-
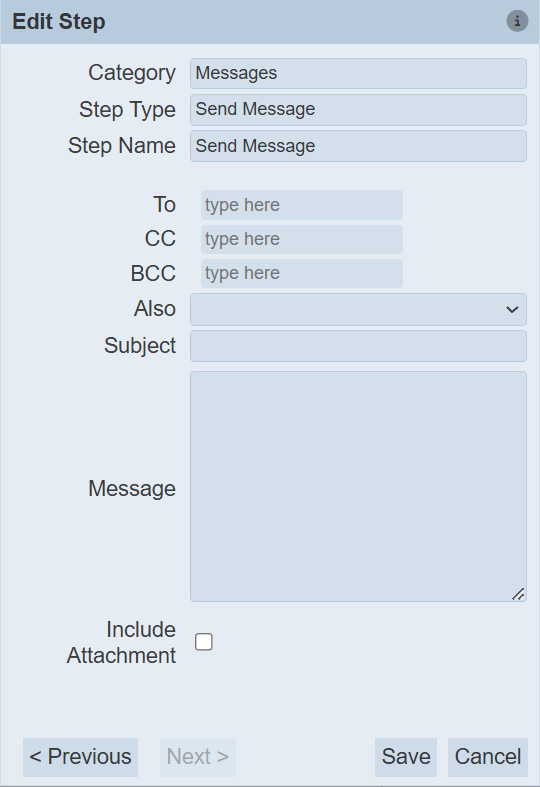
In the dialog box, select and key in the following:
-
“To” field – Selects the desired user from drop-down list
-
“CC” field – Selects the desired user from drop-down list
-
“BCC” field – Selects the desired user from drop-down list
-
“Also” field – Selects which group to include the current user from drop-down list
-
“Subject” field – Key in the appropriate subject title
-
“Message” field – Key in the appropriate message
-
“Include Attachment” field – Selects to include attachment
-
-
Click on the “Save” button to save the changes.