
Annex
Add User
There may be a situation where you need to add a user into Ambience. Use the following steps to add a user:
-
Click on the
 “Elixir Ambience” logo and select the “All Services” option in the left panel.
-
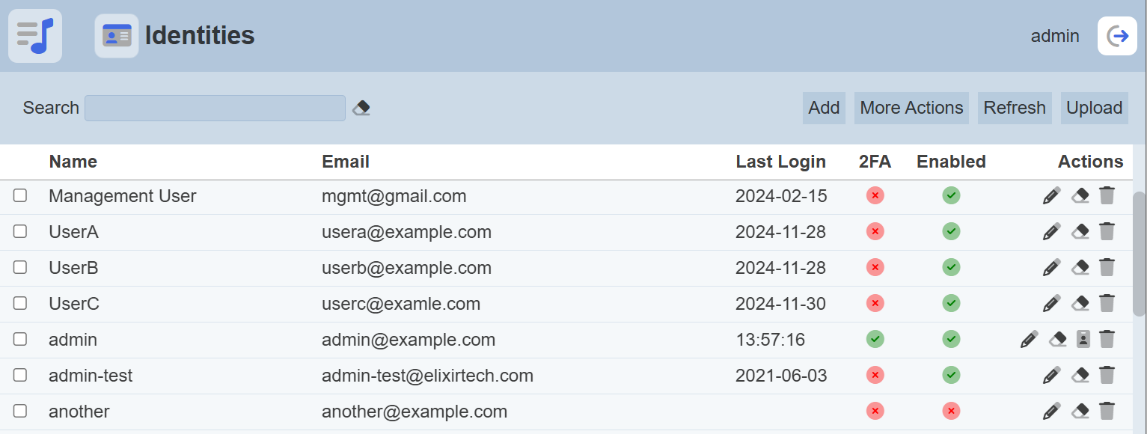
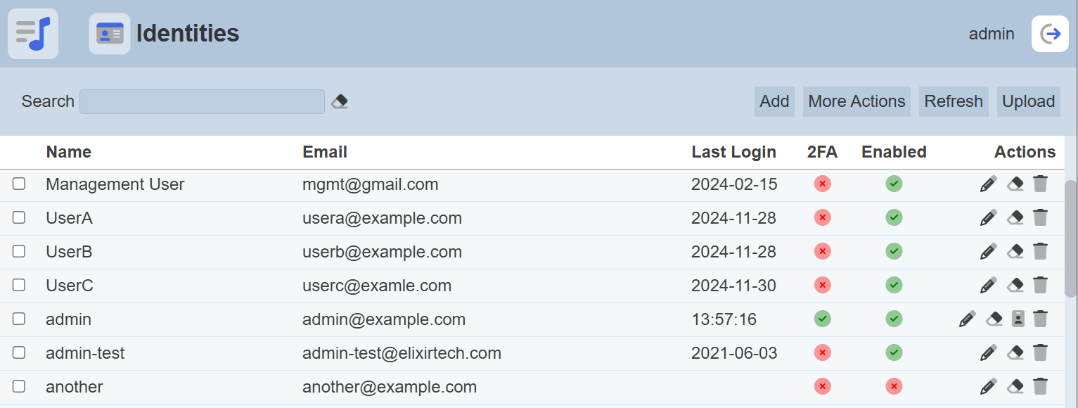
In the “Service Chooser” page, select “Identities” in the right panel. The “Identities” page will appear.
-
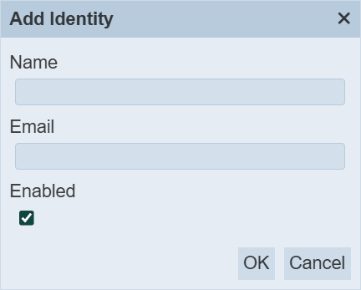
To add a new identity, click on the “Add” button on the upper right corner of the page. The “Add Identity” dialog box will appear.
-
In the dialog box, key in and select the following:
-
“Name” field – Key in a unique name
-
“Email” field – Key in the email of the new identity
-
“Enabled” field – Ensure this field is selected
-
-
Click on the “OK” button in the dialog box.
-
Click on the
“Elixir Ambience” logo on the upper left corner of the page and select “All Services” option in the left panel.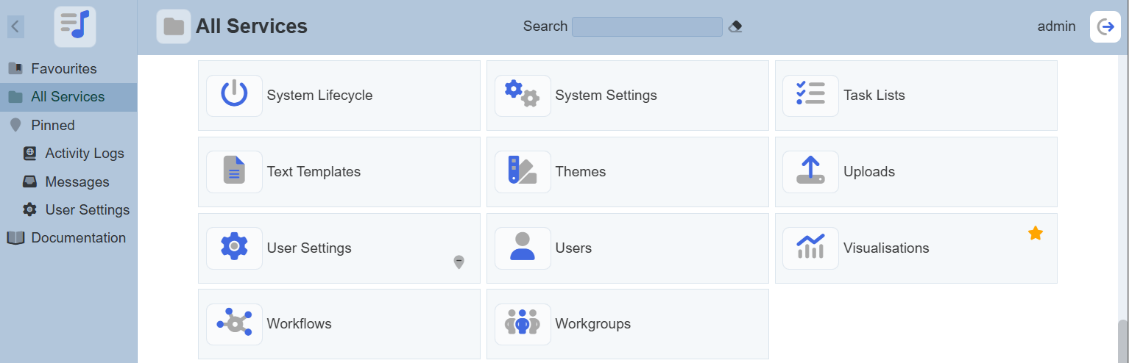
-
In the “Service Chooser” page, select “Users” in the right panel. The “Users” page will appear.

-
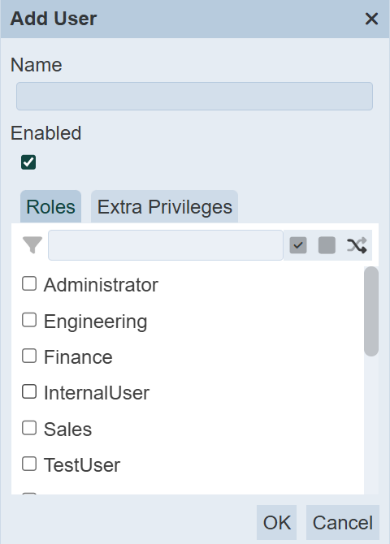
Click on the “Add” button at the upper right corner of the page.
-
Key in and select the following:
-
“Name” field – Unique name created in the Identities module in the “Name” field
-
“Enabled” field – Ensure this field is selected
-
“Roles” tab – Selects the appropriate role for the new user
-
“Extra Privileges” tab – Selects the appropriate privileges
-
-
Click on the “OK” button in the dialog box.
-
If the email server has been set up, an email will be sent to the new user with a randomly generated password. The new user will need to change the password upon login.
If the email server has not been set up, the random password can be found in a text file in the “/mail” folder in the Ambience root directory.
Change Password
For normal users, you will be prompted to change your password on your first log in.
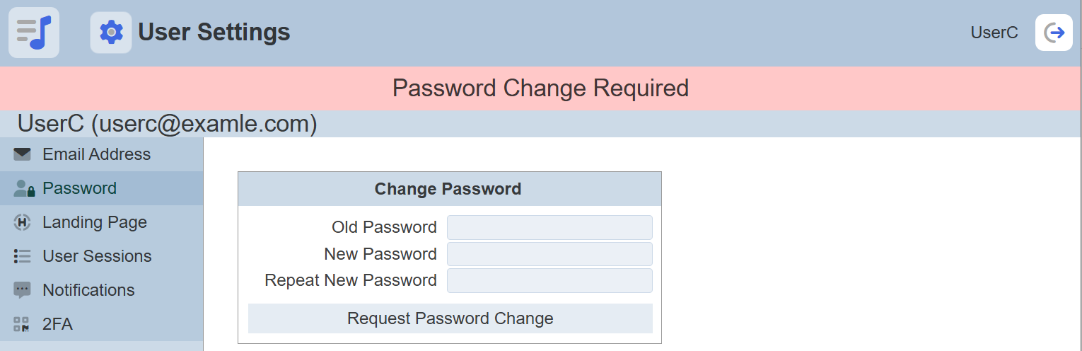
In the “Change Password” section, key in the old password and key in the new password twice. Hit the “Request Password Change” button. A verification panel will appear to request you to key in the validation code.
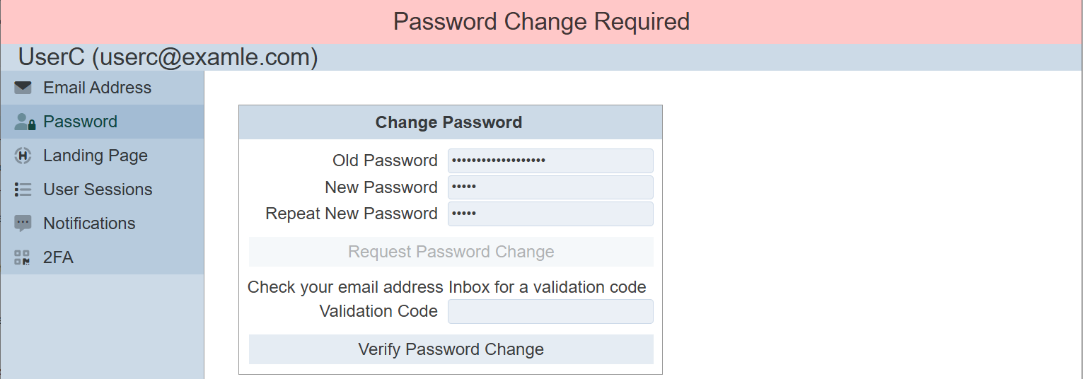
A validation code will be sent to your email upon successful change password request. Key in the validation code and click on the “Verify Password Change” button. A message will appear to inform you that the password change is successful.

After reloading, the Service Chooser page will appear.
Setup 2FA
By default, TOTP 2FA is disabled in Ambience. If it is enabled, users can set up their own TOTP 2FA using the User Settings module. Use the following steps to setup 2FA:
-
Click on the
“Elixir Ambience” logo on the upper left corner of the page and select “All Services” option in the left panel. -
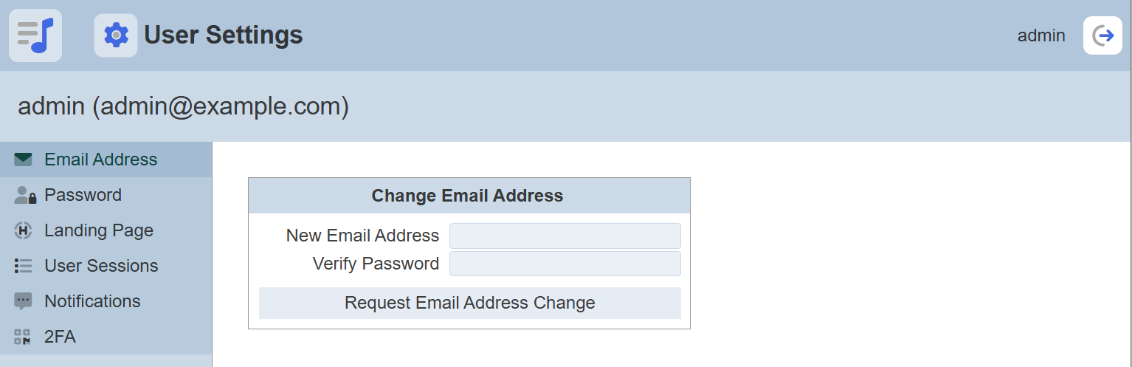
In the “Service Chooser” page, select “User Settings” in the right panel. The “User Settings” page will appear.
-
Select “2FA” from the left panel.

-
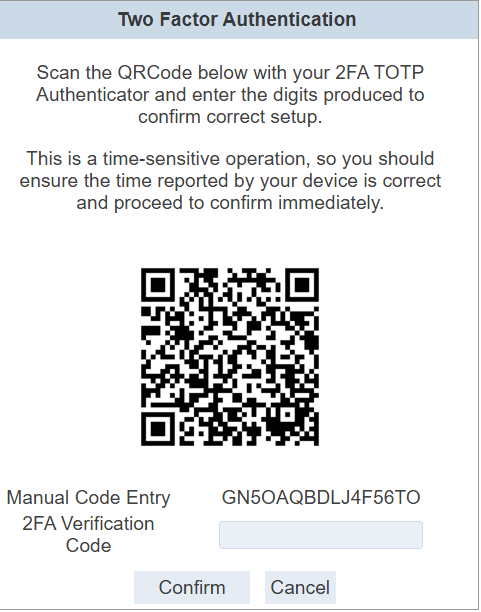
In the “Two Factor Authentication” section, click on the “Setup” button to display the QR code.
-
Open any 2FA Authenticator (such as Google Authenticator) on your phone to scan the QR Code. The app will register “ElixirAmbience (
) ” and provides a 6-digit code. This code will change every 30 seconds.Ambience provides a minute window for clock drift. Ensure the 2FA app and the Ambience server is in sync.
-
Enter the 6-digit code as the 2FA Verification Code (with or without) space and click on the “Confirm” button. Once authentication is completed, the “TOTP 2FA Enabled” panel will appear.

-
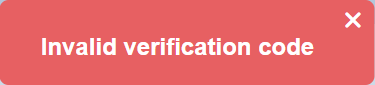
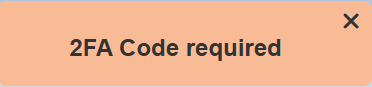
If the wrong code (6-digit, less than 6-digit) or no code is entered, the following error messages will appear accordingly.

Disable 2FA
There are two ways to disable 2FA. User can disable it for themselves using User Settings module. Identity administrators can disable 2FA for any user via the Identities module (e.g., if a user has lost their 2FA device). Once the 2FA is disabled or reset, the user will need to set up 2FA again.
User Settings
One way is to use the User Settings module. In the “Two Factor Authentication” section, key in the 6-digit code generated from the 2FA Authenticator into the “2FA Code” field and click on the “Disable” button.
Identity
The other method is to use the Identities module. To disable 2FA, use the following steps:
-
Click on the
“Elixir Ambience” logo and select the “All Services” option in the left panel.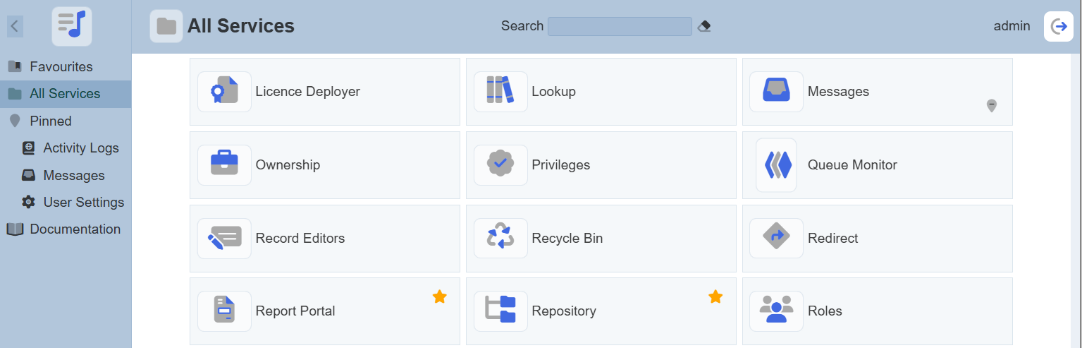
-
In the “Service Chooser” page, select “Identities” in the right panel. The “Identities” page will appear.
-
Select the
 “Reset 2FA” icon under the Actions column corresponding the desired user.
 -
Upon successful deletion, a notification will appear.
Configure and Test Mail Server
When identities are added, an email is sent containing a random password. When a user wants to change email or password, a verification is sent via email as well. If you have not set up an email server, the default behaviour is to store the emails in the “/mail” folder within Ambience. This is usually for diagnosis or debugging purposes. It is recommended to set up a mail server at the start. Below are two examples of how to set up a mail server. Example 1: Uses Gmail
-
Gmail allows only OAuth2 authentication without weakening security. Visit https://console.developers.google.com/apis/credentials to set up a “clientID” and “clientSecret”. Use these to generate a “refreshToken”.
-
In the Ambience root folder, navigate to the “/etc” folder. Open the “application.conf” file using a text editor. In the “elixir.mail” section, edit the following with the information obtained earlier accordingly.
elixir.mail { smtp = "gmail" gmail { host = "smtp.gmail.com" port = 587 debug = true oauth2 { userName = "xxx@gmail.com" clientId = "XXXX" clientSecret = "YYYY" refreshToken = "ZZZZ" } } } -
After the above is edited in the “application.conf” file, start the Ambience server and go to Identities module to create a user with a valid email address.
Example 2: Uses AWS
-
In the Ambience root folder, navigate to the “/etc” folder. Open the “application.conf” file using a text editor. In the “elixir.mail” section, edit the following:
elixir.mail { smtp = "aws" aws { from = "user@elixirtech.com" host = "email-smtp.us-west-2.amazonaws.com" dnsResolver = "" port = 465 user = "XXXX" password = "YYYY" connectionTimeout = 30000 tls = true ssl = true authMechanism = "" debug = false } } -
After the above is edited in the “application.conf” file, start the Ambience server and go to Identities module to create a user with a valid email address.