Dashboard Management
Description
Dashboard Management provides an interface to manage dashboard properties. Users can add, modify and delete dashboards here. This interface also leads to the dashboard designer and viewer. Uploading and downloading dashboards are also supported. Controlling the audience of the dashboard is also managed through this interface.

Add Dashboard
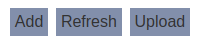
To add a new dashboard, start by clicking on the “Add” button on the upper right corner of the page.
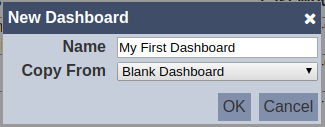
A dialog box prompting the user to key in the new dashboard’s name is displayed. The user also has the option to copy another dashboard (all components including pages, views, controls) and use it as a starting point.
| Field | Description | Mandatory | Input Type | Constraints | Default Value |
|---|---|---|---|---|---|
| Name | Unique name assigned to the dashboard that would be used as its identifier. | Y | Text field | Any text. The value must not exist in the current list of names, regardless of status (enabled or disabled) and ownership. The value is case-sensitive. | Empty string |
| Copy From | Indicates what template the dashboard would be based on. Selecting “Blank Dashboard” results in using a blank canvass as a starting point while selecting an existing dashboard would result in having the selected dashboard as the starting template. | Y | Select | 1 value can be selected. Options are: - “Blank Dashboard” - names of all enabled dashboards the user currently has read access to |
“Blank Dashboard” |
Note that in copying another dashboard, any change made to the dashboard in the “Copy From” would not be applied to the new dashboard after its creation. Copying does not link any of the dashboards.
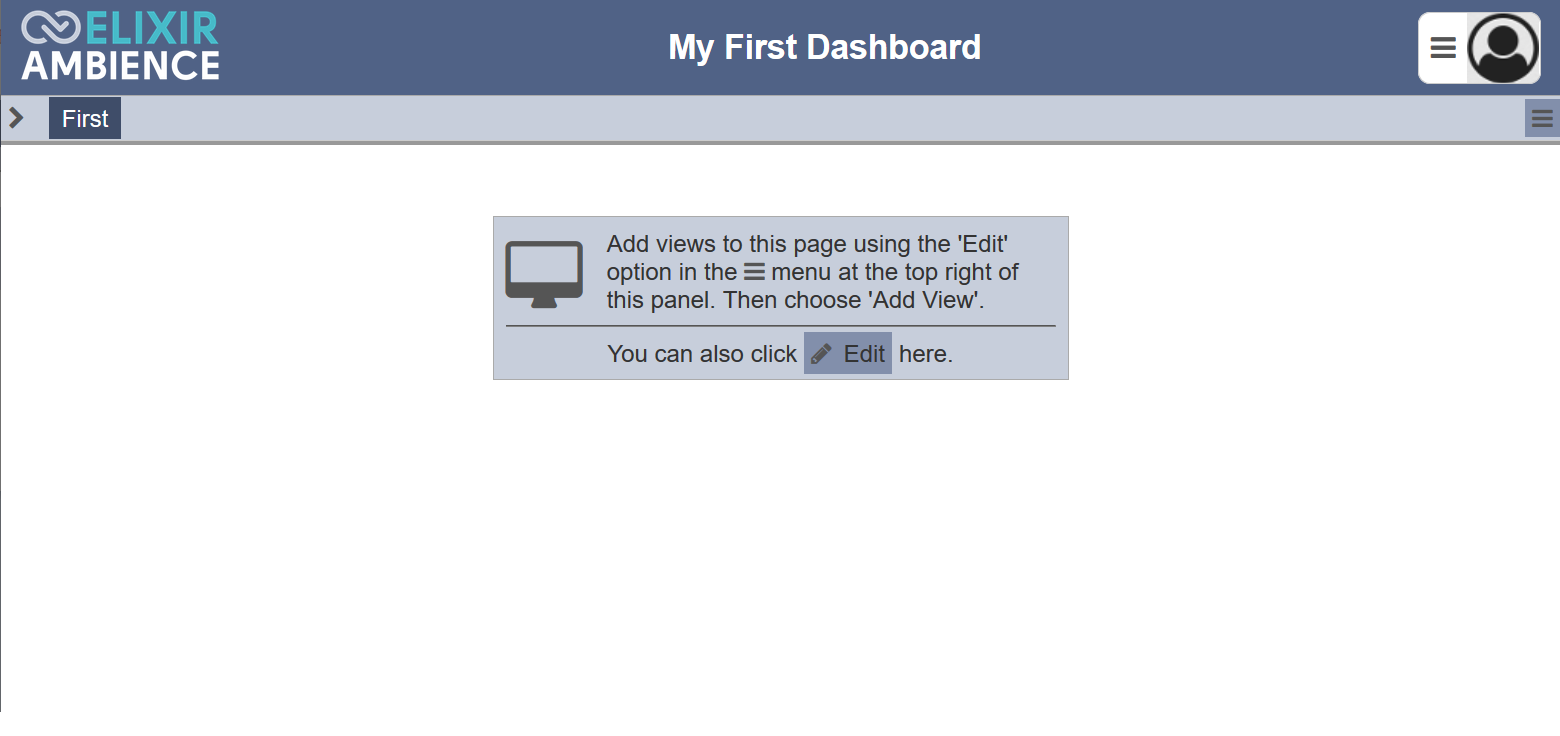
Clicking on the “OK” button on the dialog above redirects the user to the Dashboard Viewer, rendering the newly created dashboard with one page, entitled “First”. Clicking on the “Cancel” button aborts the action.
Edit Dashboard
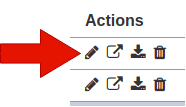
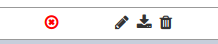
To modify an existing dashboard’s attributes, click on the “Edit” icon under the “Actions” column corresponding the said dashboard.
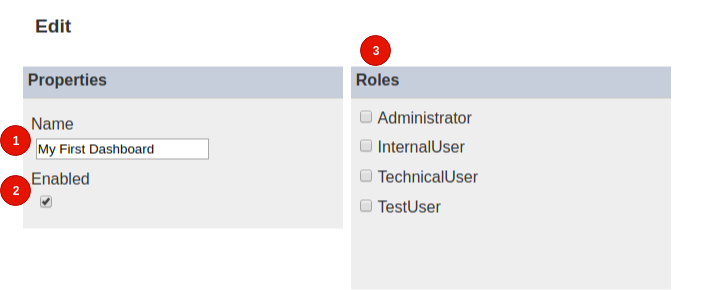
The “Edit” panel displays the selected dashboard’s attributes.
| No. | Field | Description | Mandatory | Input Type | Constraints | Default Value |
|---|---|---|---|---|---|---|
| 1 | Name | Unique name assigned to the dashboard that would be used as its identifier. | Y | Text field | Any text. The value must not exist in the current list, regardless of status (enabled or disabled) and ownership. The value is case-sensitive. | Empty string |
| 2 | Enabled | Indicates if the dashboard is enabled (selected) or disabled (unselected). | Y | Checkbox | True (selected) or false (unselected) | True (selected) |
| 3 | Roles | List of roles that are granted read-only access to the dashboard. Users who have the selected roles would be able to view the dashboard, assuming they have the appropriate privilege to the Dashboard Viewer interface. | N | Checkbox | Multiple values can be selected. All roles are listed as available options. | No value selected |
Enable and Disable Dashboard
Disabling a dashboard temporarily makes it unavailable for all allowed read users. Enabling and disabling a dashboard can be done through editing an existing dashboard.
To enable a disabled dashboard, select the “enabled” checkbox under “Properties” then save.
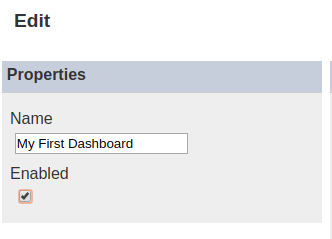
Similarly, deselect the checkbox to disable an enabled dashboard. Disabling a dashboard also disables using it with both the Dashboard Viewer and Dashboard Designer interfaces.
Open Dashboard
Click on the “Open Dashboard” button to load the Dashboard Viewer.
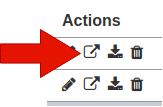
The Dashboard Designer is accessed through the Dashboard Viewer.
More details on the two interfaces can be found below:
Download and Upload Dashboard
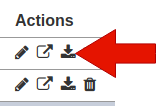
Clicking on the “Download” button corresponding an existing dashboard exports the its configuration, including all its properties, pages, controls and views into a JSON (.json) file. This is particularly useful for several purposes such as keeping backup copies and uploading it in the future. Filename format: <dashboard name>.dashboard.json
Clicking on the “Upload” button on the upper right corner of the interface prompts the user to upload a JSON (.json) file.
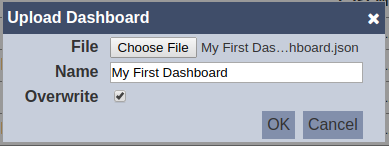
For the “Name” field, the same constraints for “Name” in the add dashboard dialog are applied to the “Name” field here. Verification on name uniqueness is not applied if “Overwrite” is selected.
After clicking on the “OK” button on the upload dialog, a record of a new dashboard is uploaded (new name given) or an existing dashboard with the same name (existing name with “Overwrite” selected) is updated. Clicking on the “Cancel” button aborts the action.
Delete Dashboard
Deleting a dashboard removes it from the records, which means another dashboard with the same name as the deleted one can be added.
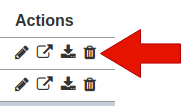
To delete an existing dashboard from Ambience, click on the “Delete” icon under the “Actions” column corresponding the said user.
There is an option to undo the deletion. A notification with an “Undo” button appears right after clicking on the “Delete” icon.
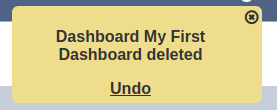
Upon clicking on the “Undo” button, the deleted dashboard is restored and is added back to the list of dashboards.
Refresh List
After performing actions (e.g. add dashboard, delete dashboard) on the browser window/tab, the list is reloaded to display the updated data. The manual “Refresh” button is available and is particularly useful if there are others making changes on the same page.
The “Refresh” button is available on the upper right corner of the page. Clicking on it reloads the list of dashboards.
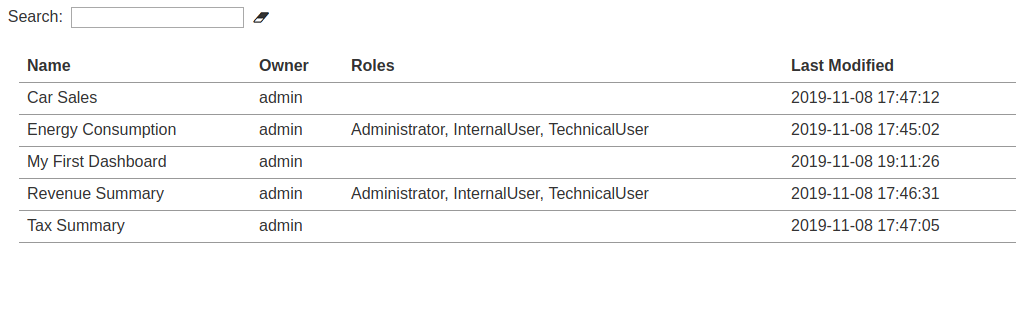
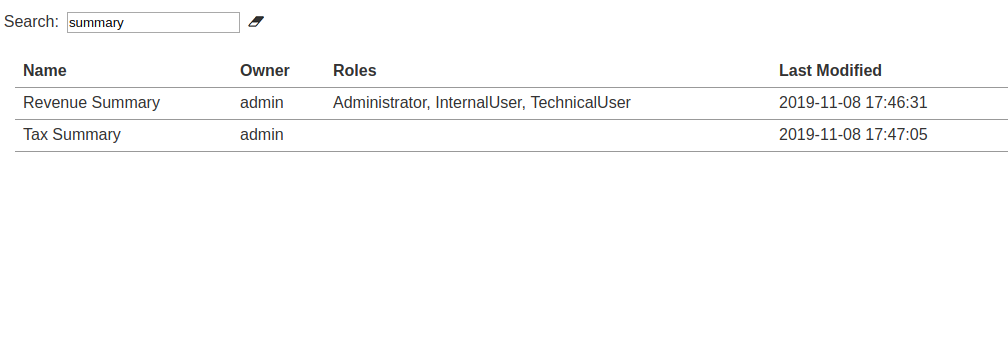
Search
The search bar appears on the upper left corner of the page.

This provides an easy way to search through the dashboard list. It is case-insensitive and displays records that have the entered search value in any of the values of the fields below:
- Name
- Owner
- Roles
- Last Modified